This Analytic Pencil Drawing course is designed for absolute beginners and those who feel gaps in their foundational skills. Whether you’re transitioning into more serious drawing or want to strengthen your technique before moving into painting — this course will help you see and draw like an artist.
For those who feel that something is missing in their knowledge base.
For those who want their drawings to have more air, atmosphere, correct tonal shades and a strong perspective.
If you want to draw and not just trace, then this course is for you!
This Analytic Pencil drawing course is a basic program for the absolute beginner level.
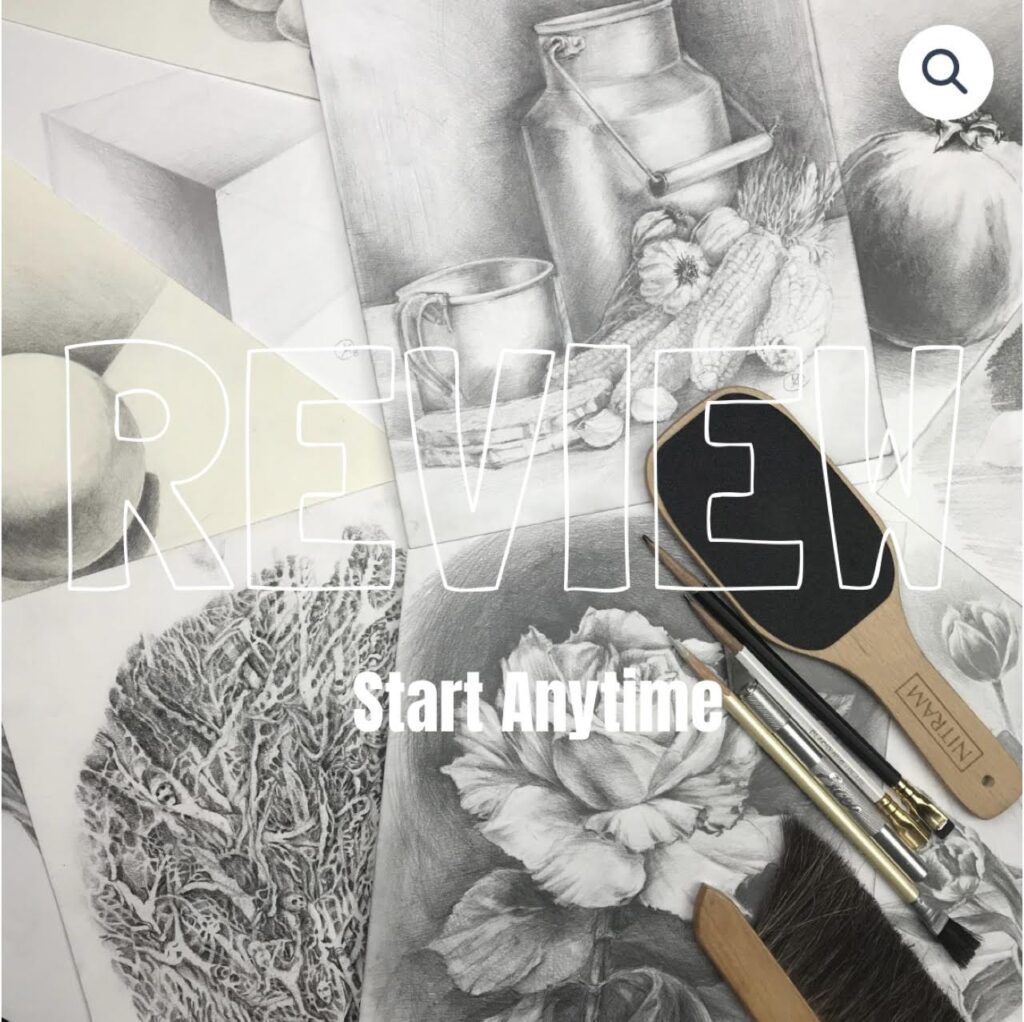
REVIEW package for self study with 140 days
of teacher support with 6 homework reviews

6 video lessons
12+ pencil drawings
60+ practical exercises

THREE YEARS  video access for self-studying
What this course gives you?
This 6 lessons course is the foundation for future drawing and painting work. This intense program covers themes from the material choice to the basics of light and shadow.
What you will learn?
- – How to draw confidently from observation
– Understanding light, shadow, and tonal contrast
– Constructive drawing: shapes, structure, and perspective
– Composition theory for still life and floral subjects
– Clean pencil techniques (no smudging!)
– Using tone to create depth, mood, and realism
What is in the course?
Course Content
The Lesson List:
Lesson 1
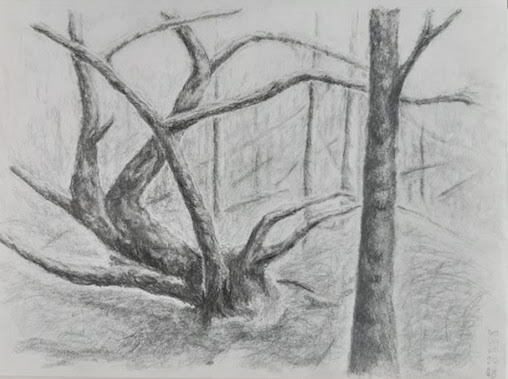
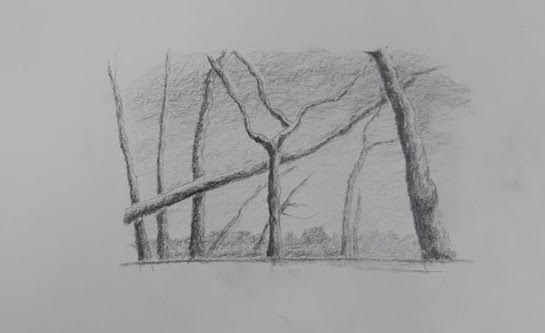
Line of Horizon. Frontal and Aerial Perspective. Line, Stroke and Tone
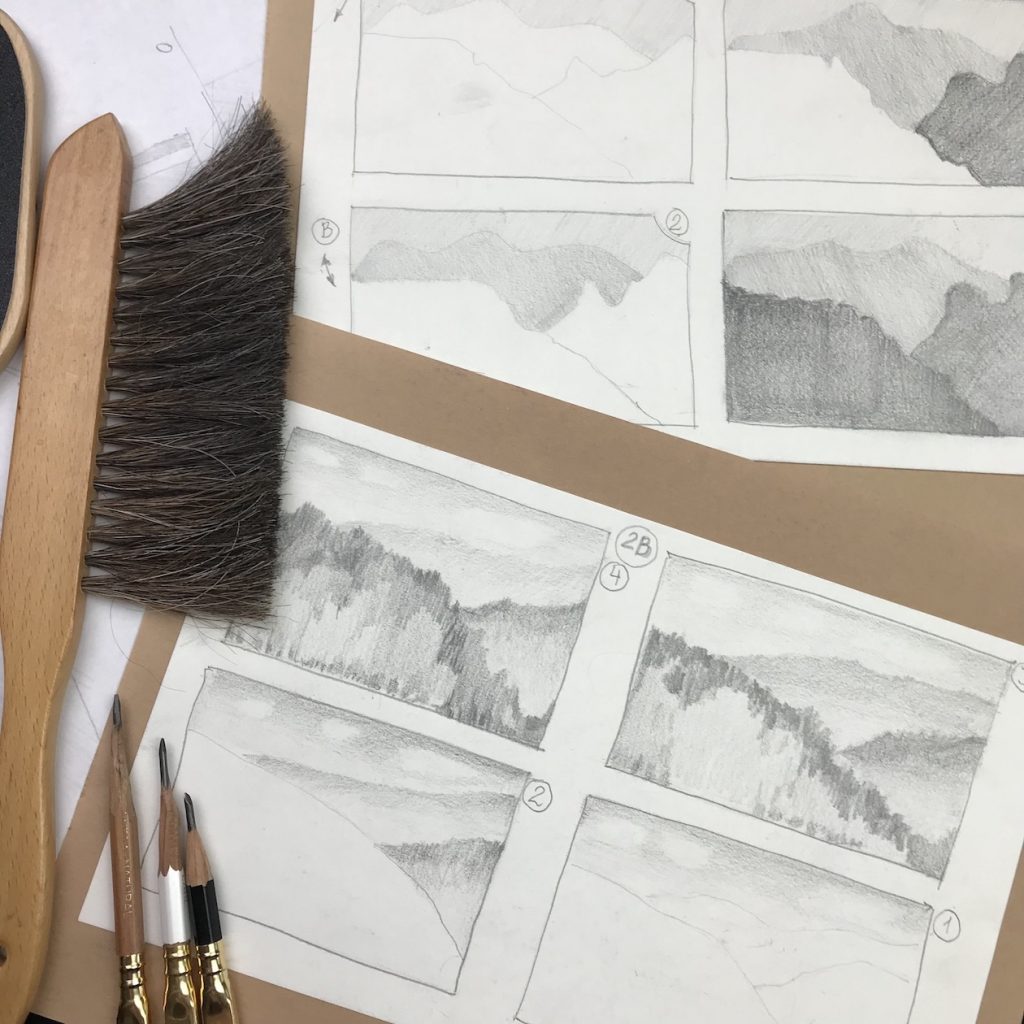
In this lesson we will talk about materials and tools. In this lesson, you will earn how to build space and atmosphere in your drawing from the very first line. You’ll practice simple landscapes using frontal and aerial perspective, and understand how tone brings depth to space.
Lesson 2
Simple Geometrical Forms
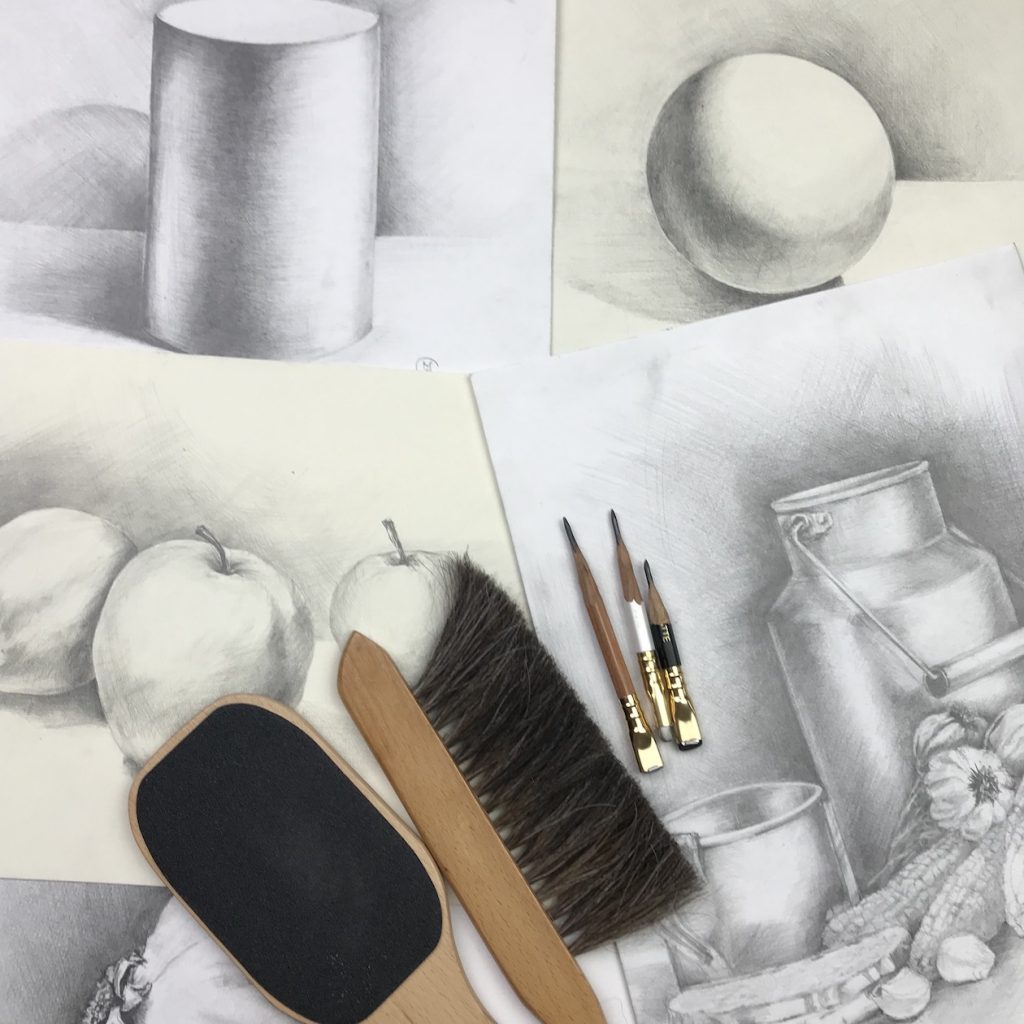
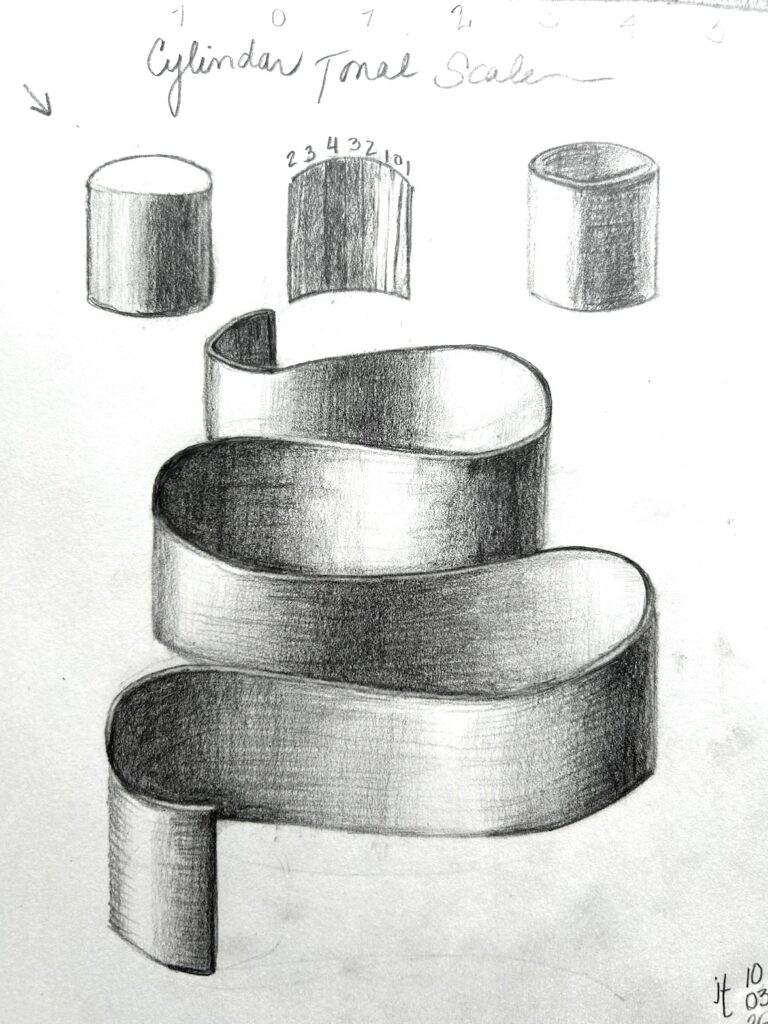
This class focuses on building the basic shapes that underlie all objects. You’ll learn to draw spheres, cubes, and cylinders — and understand how light and shadow create volume.
Lesson 3
Still Life and Composition Theory
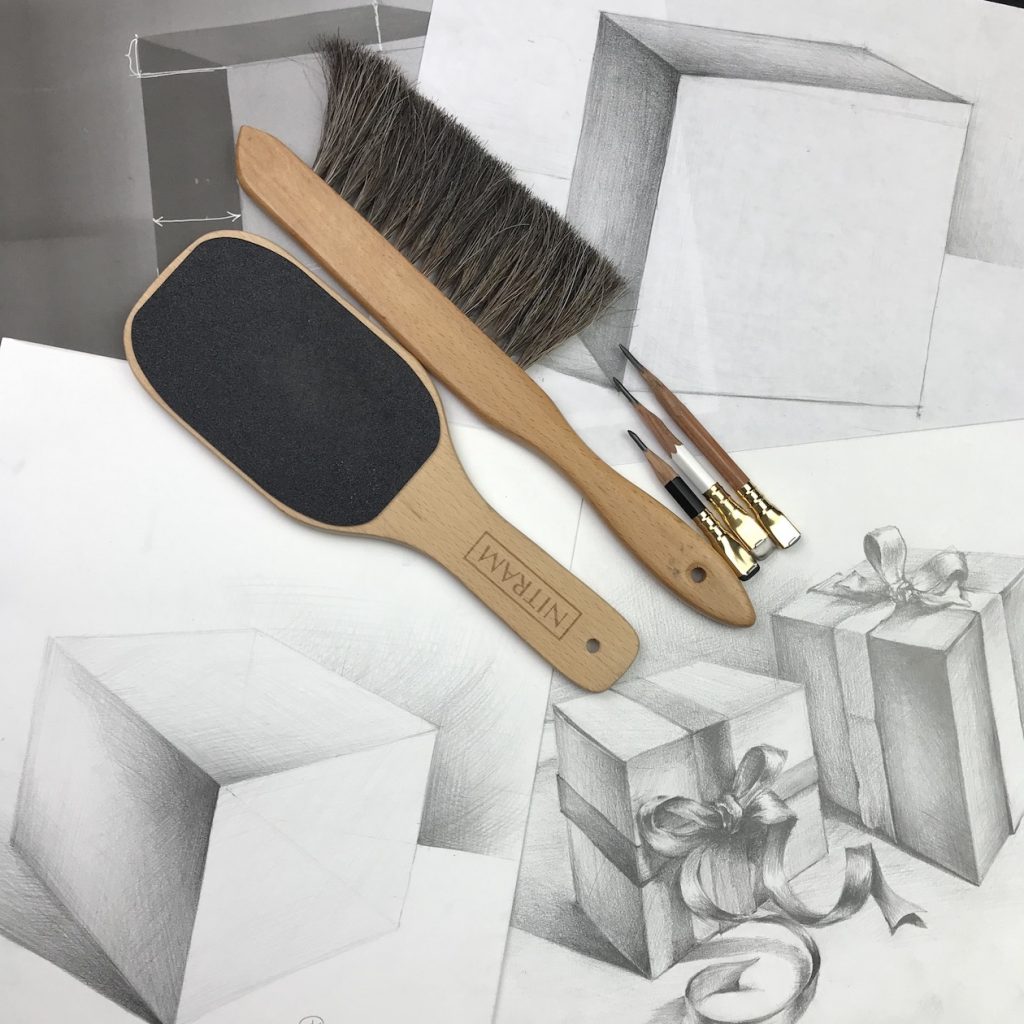
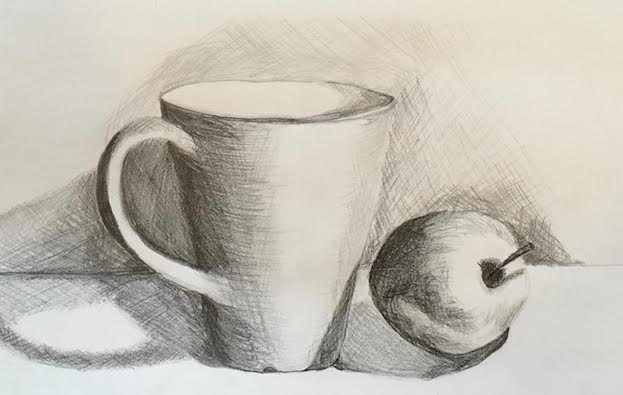
Take your understanding further by combining multiple forms in still life. Learn the secrets of balanced composition and how to use light to enhance it.
Lesson 4
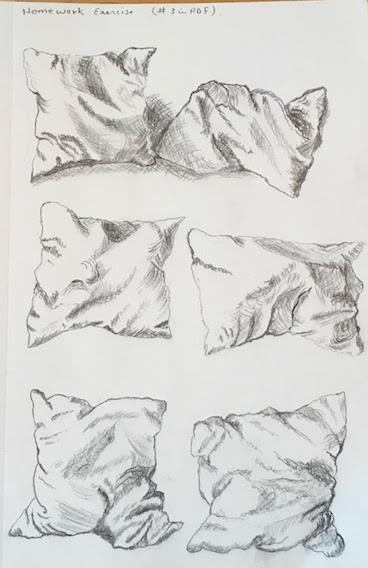
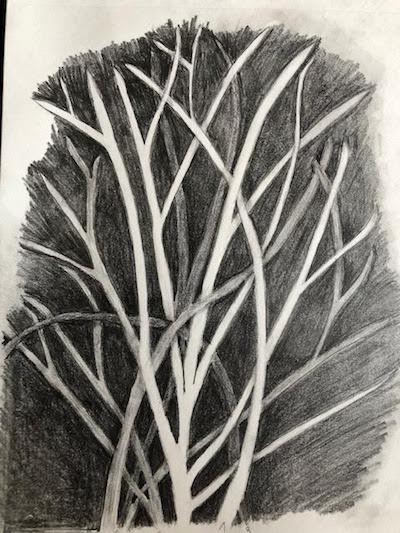
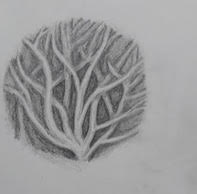
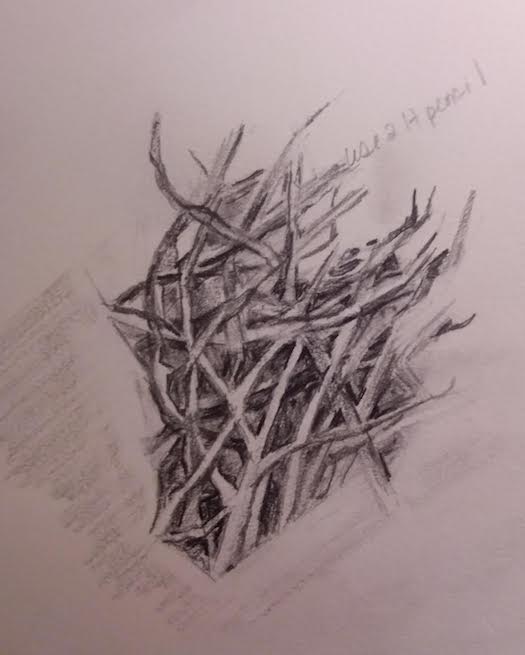
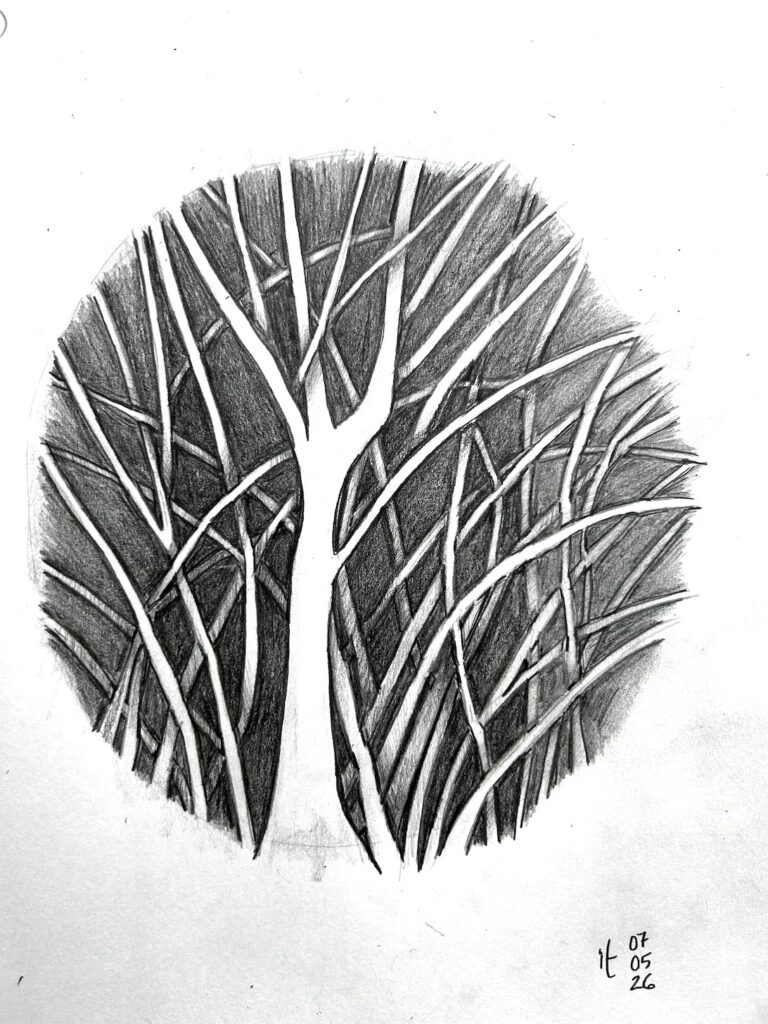
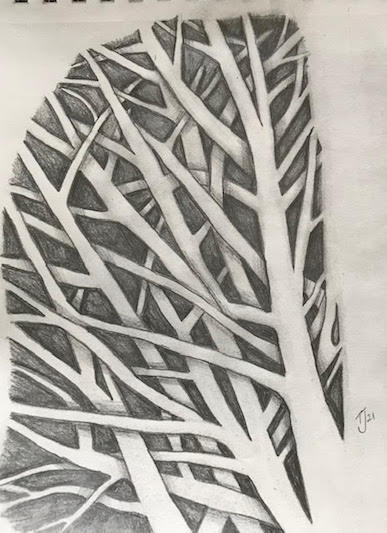
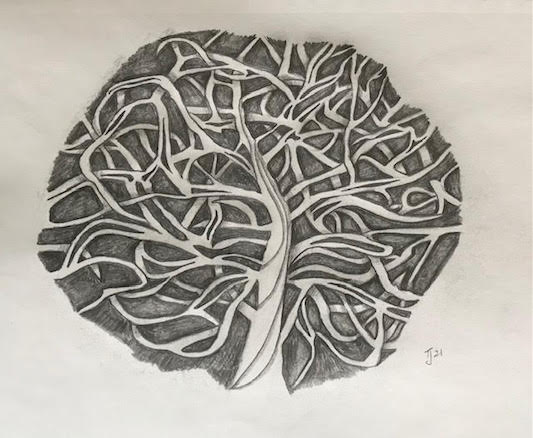
Theory of Holes & Shadows

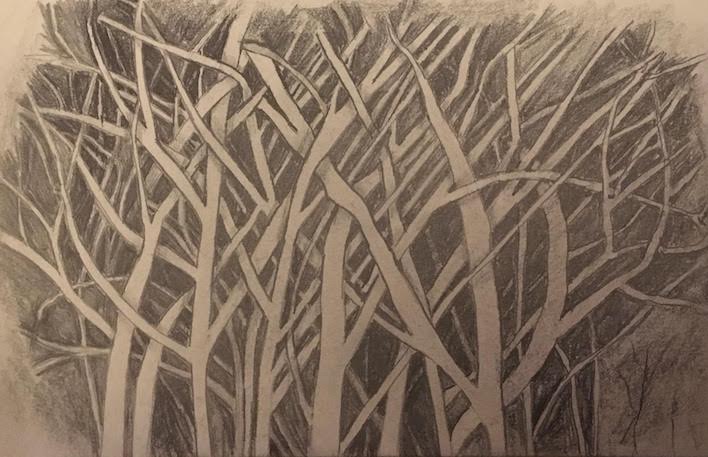
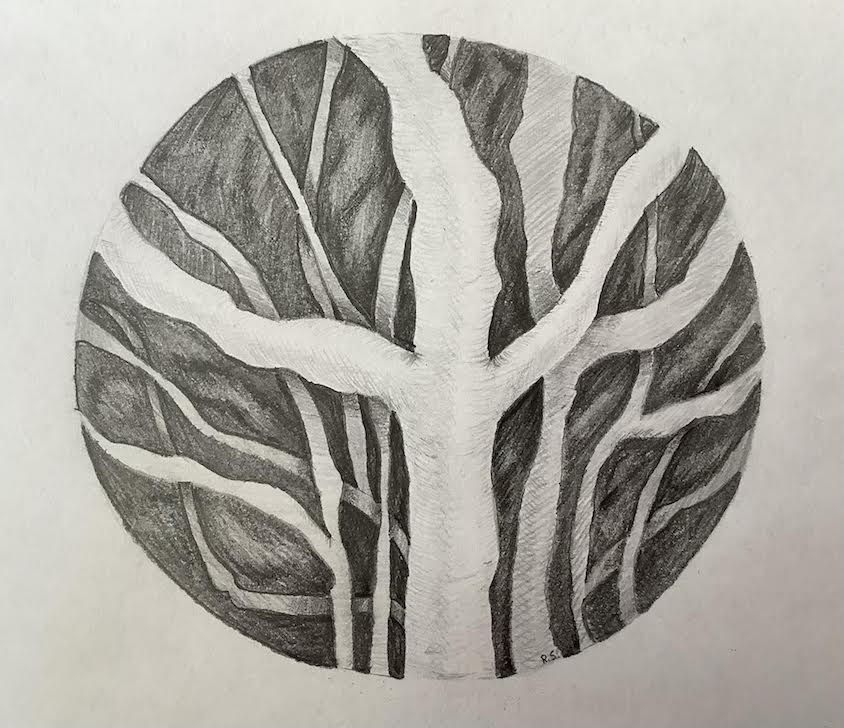
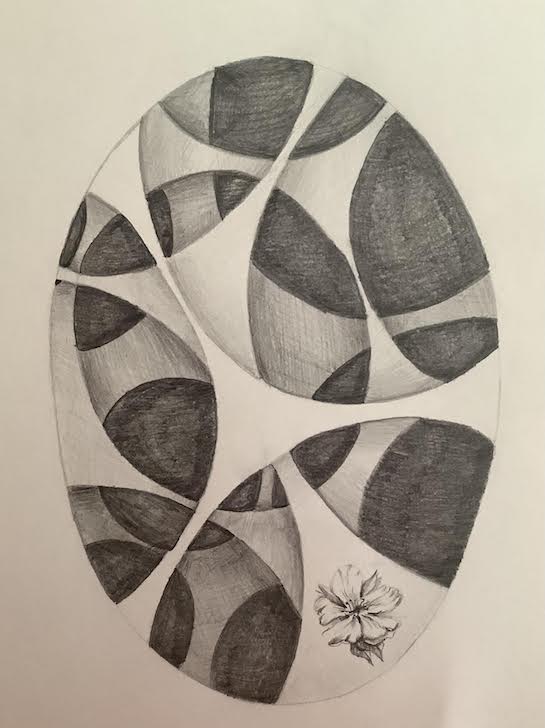
Discover how to draw complex surfaces like bark, leaves, or woven textures using pencil only. Learn how negative space and shadows build realism.
Lesson 5
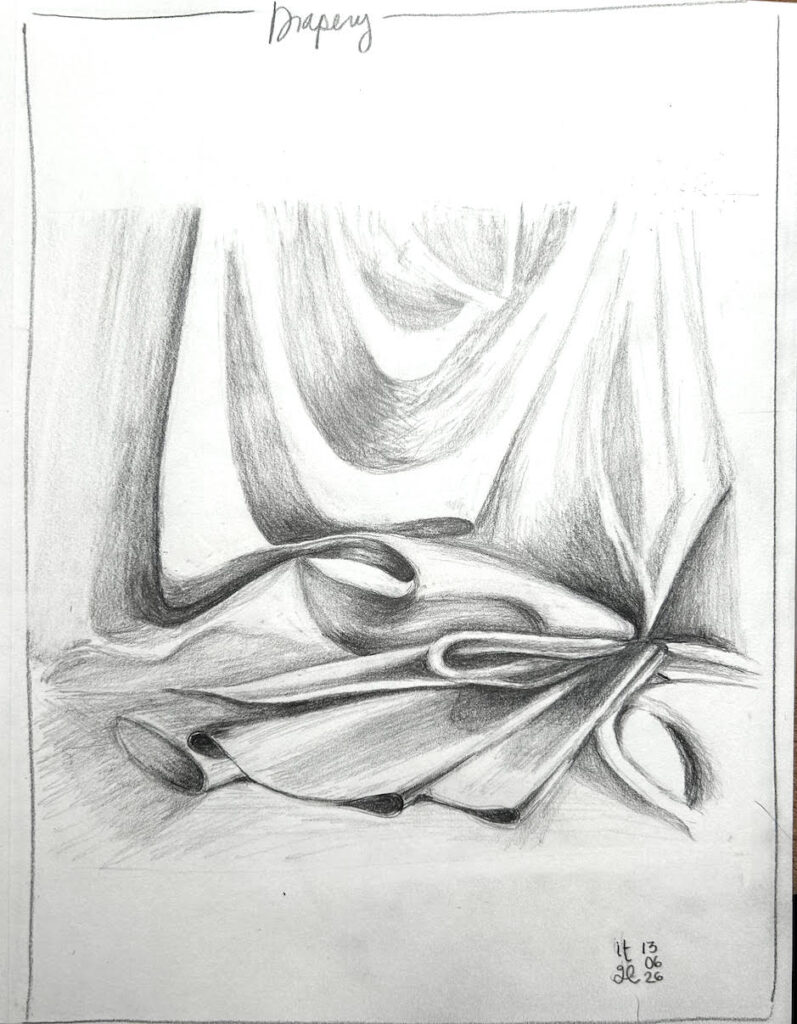
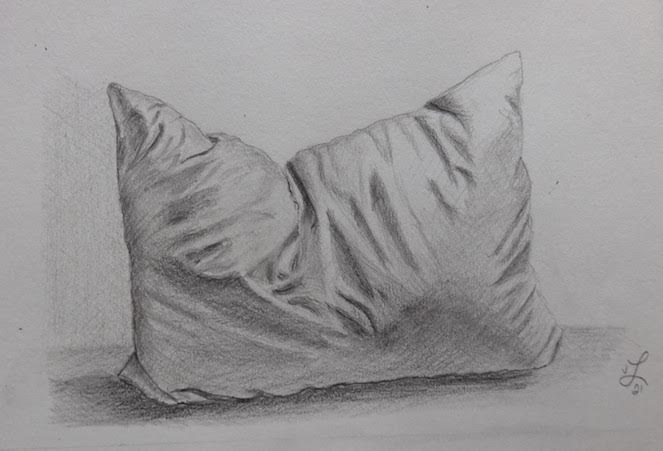
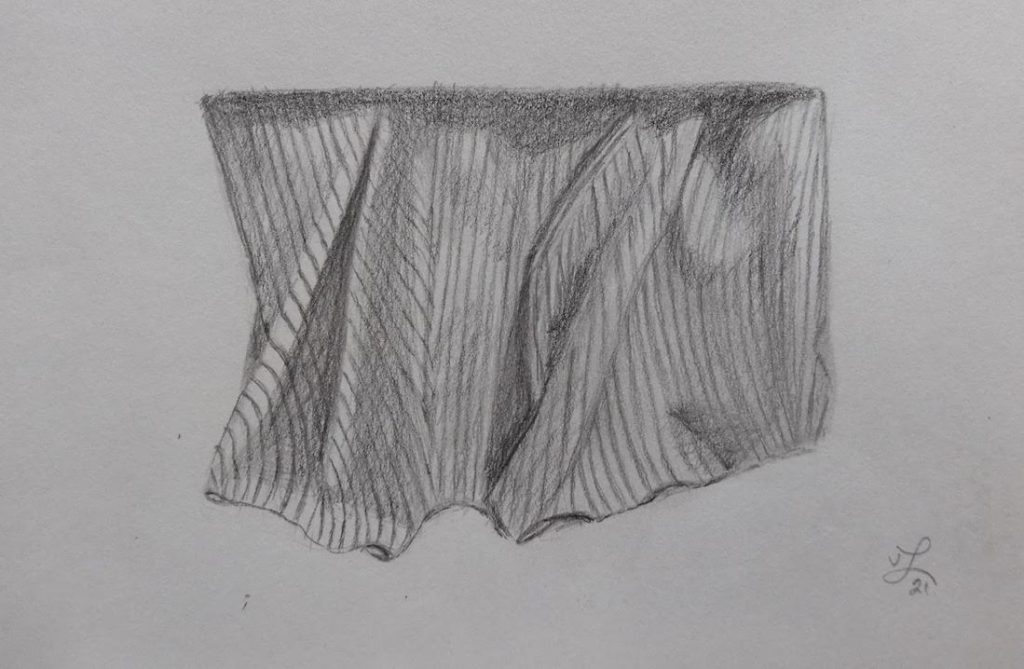
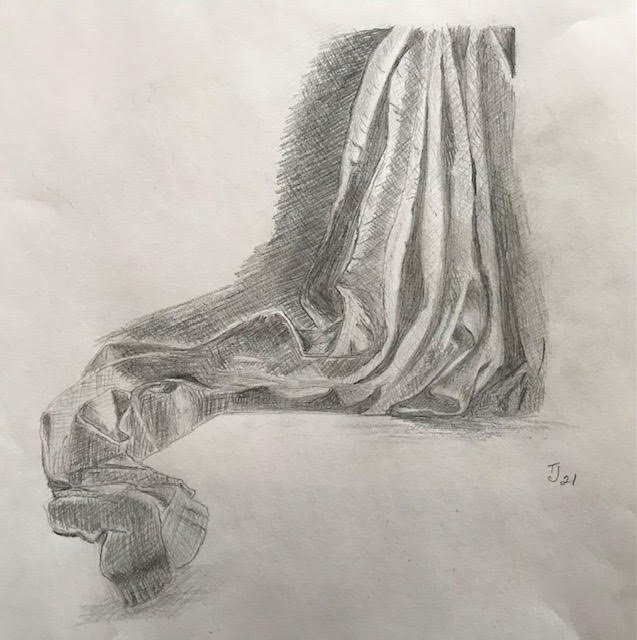
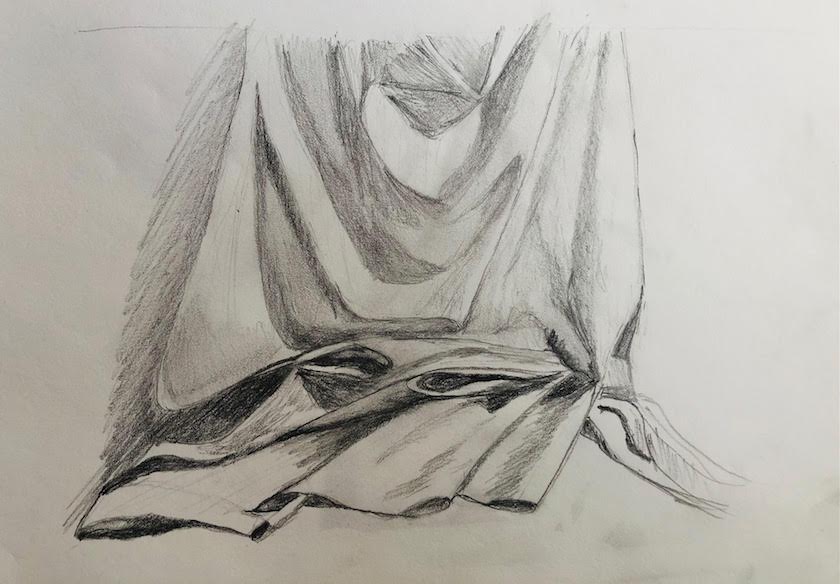
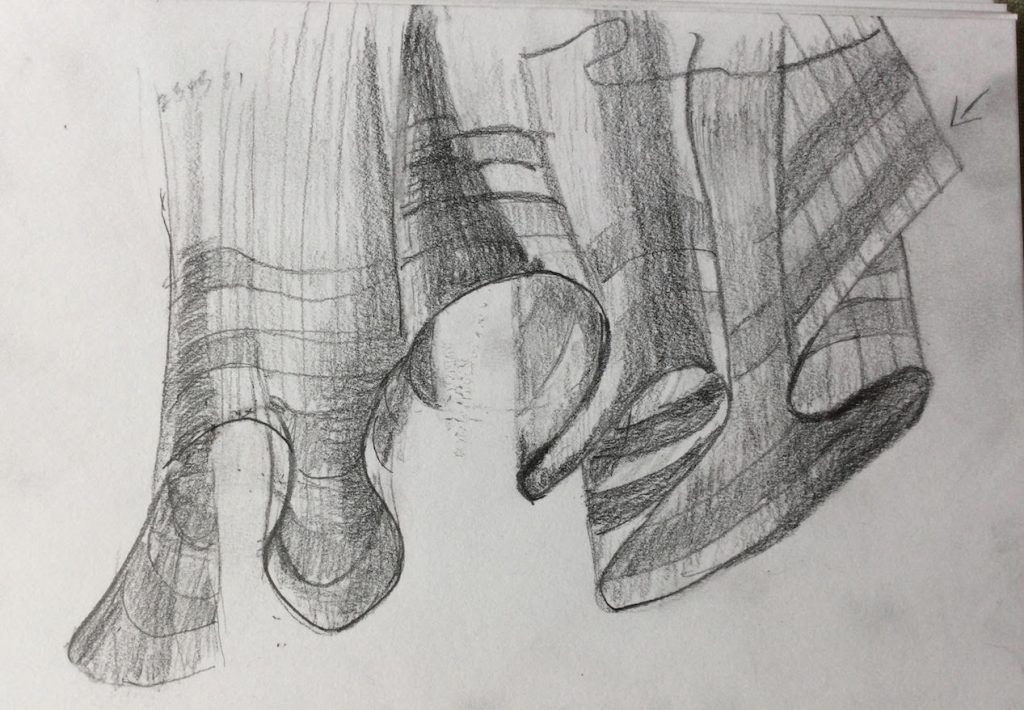
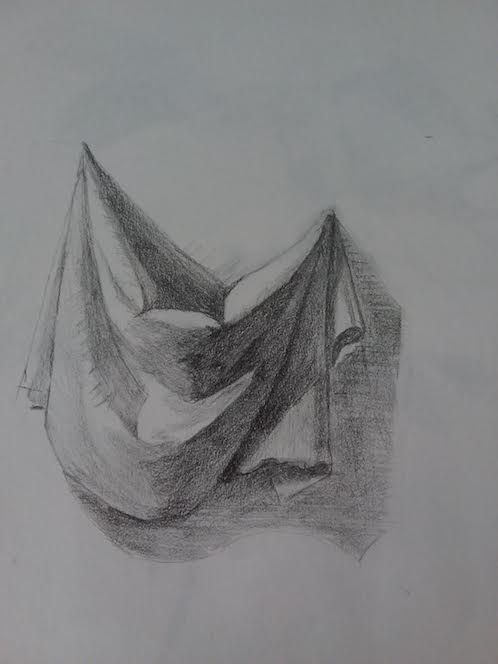
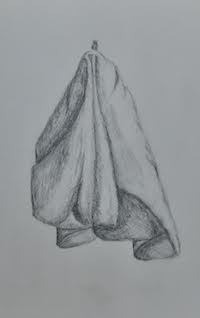
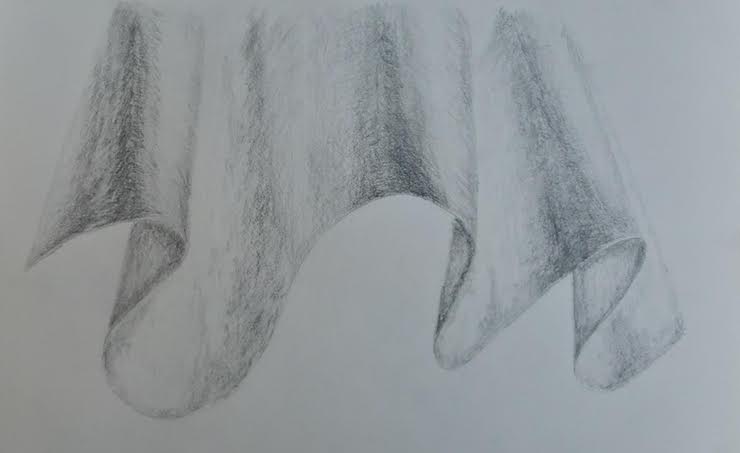
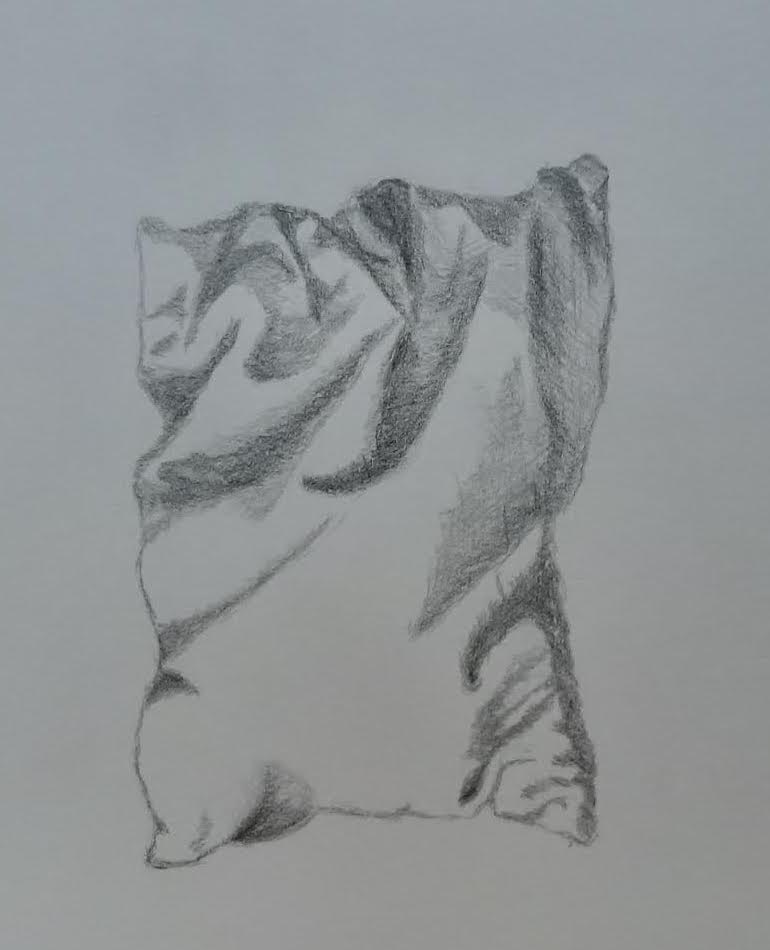
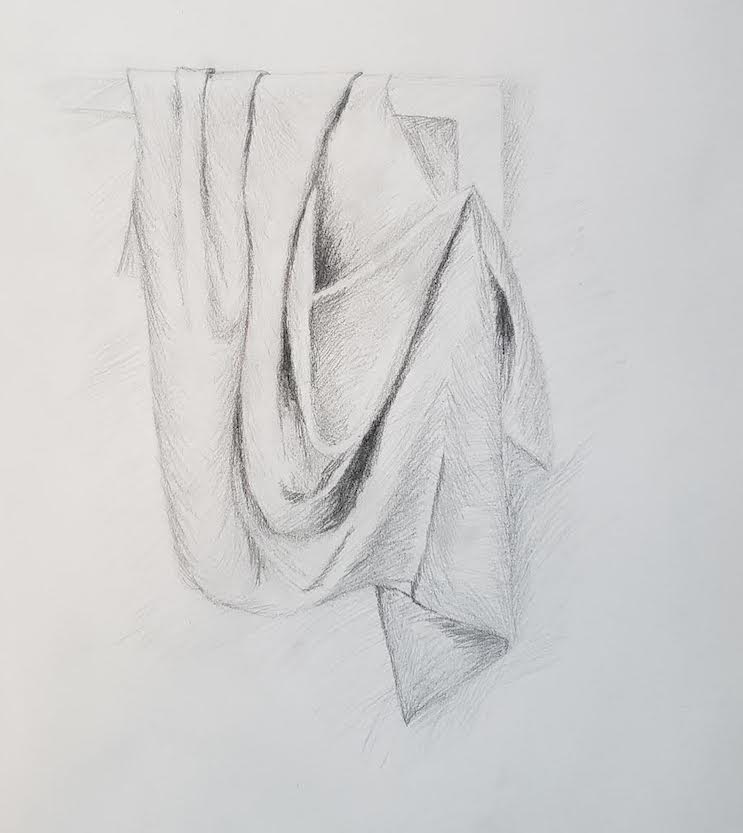
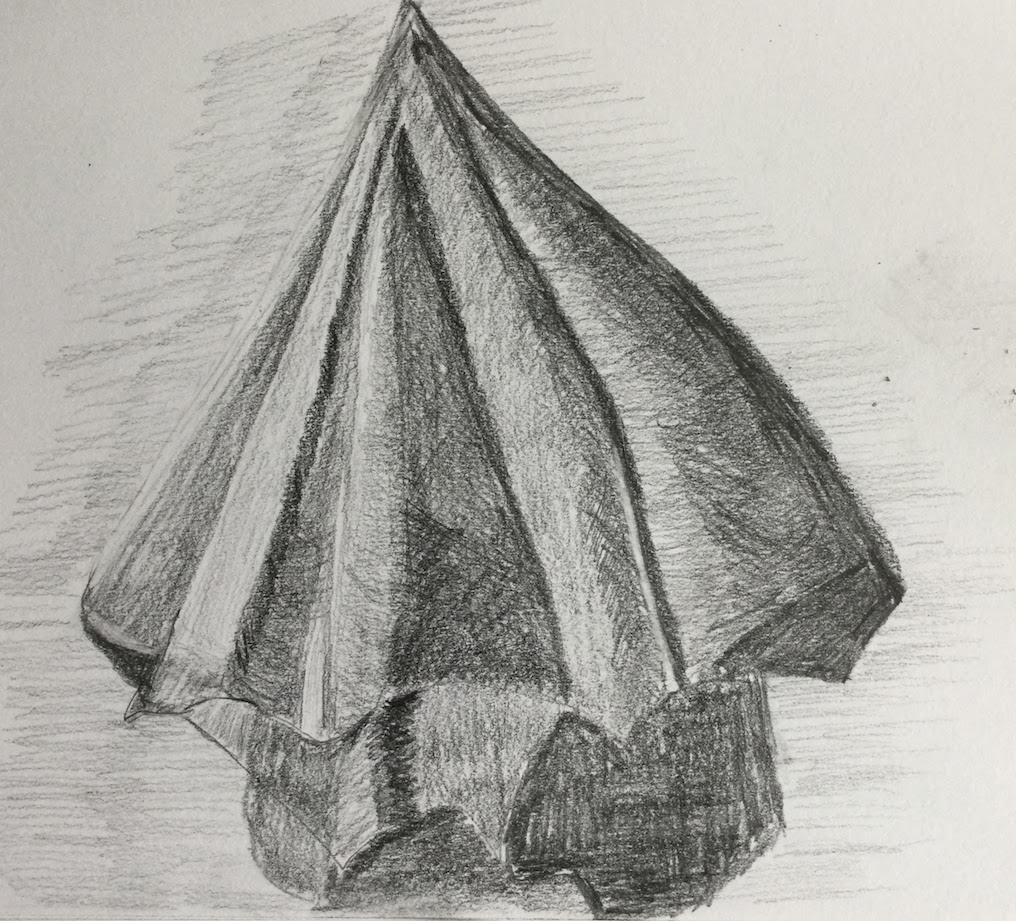
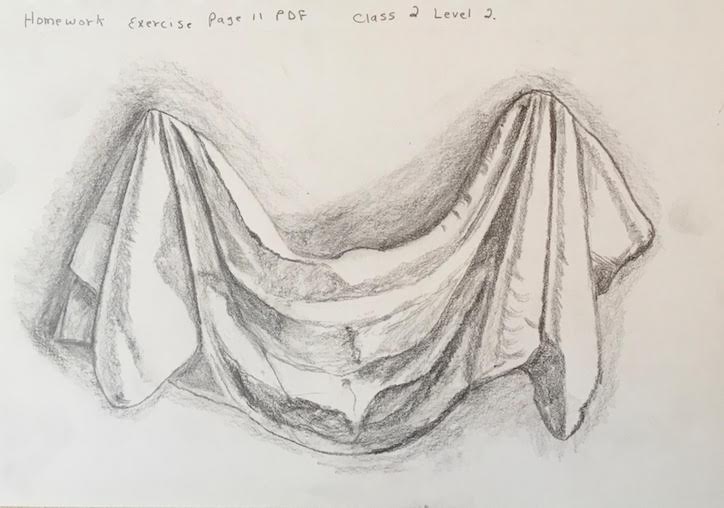
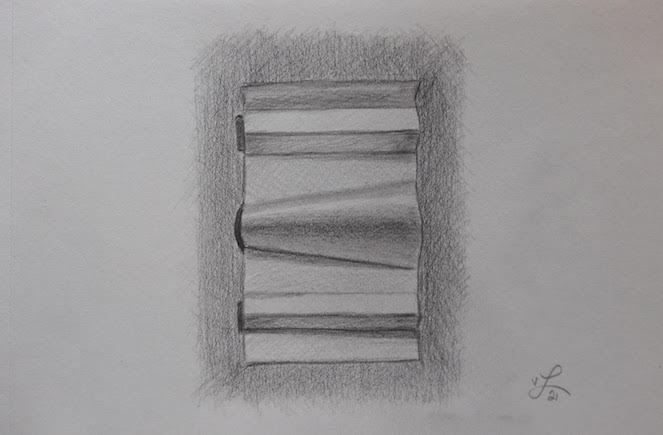
Drapery: Understanding Folds & Flow
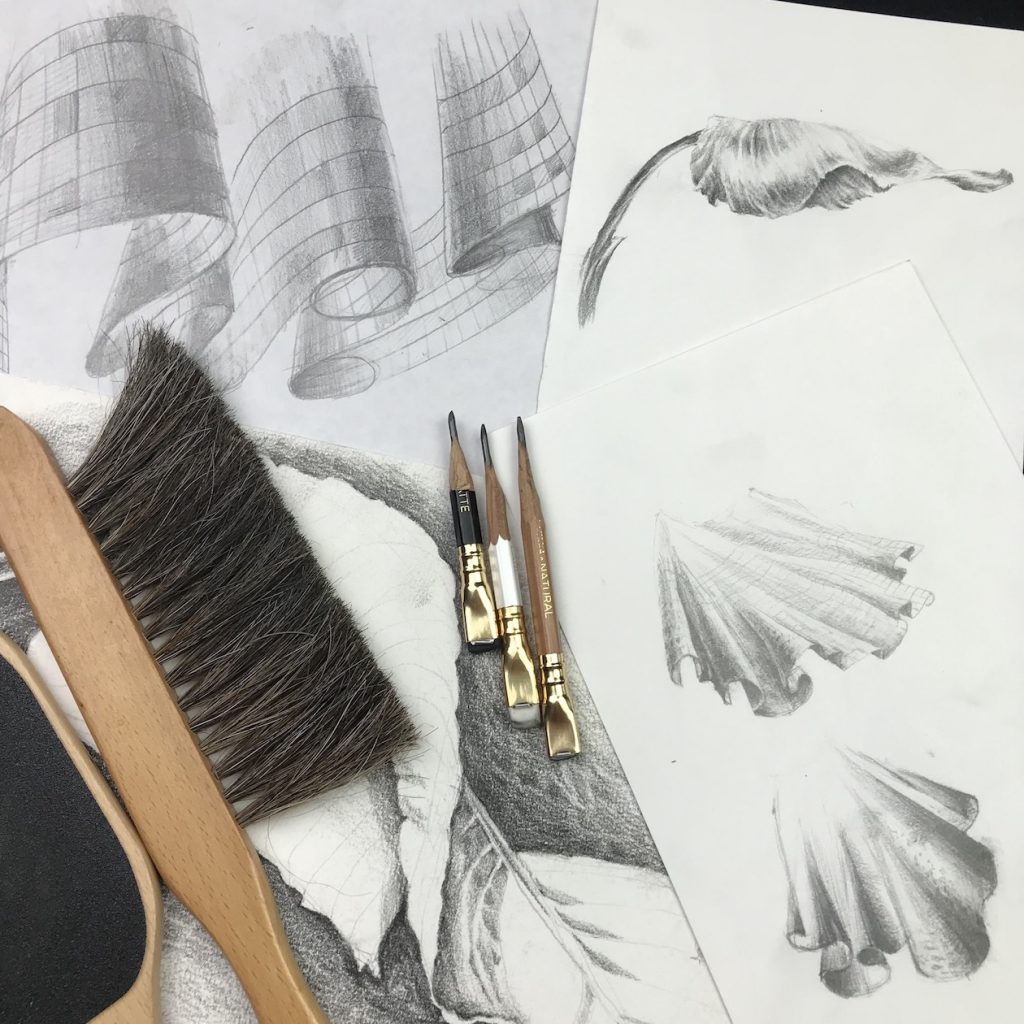
Drapery is one of the most expressive elements in drawing. Learn how to draw folds, flow, and form — from clothing to fabric still lives.
Lesson 6
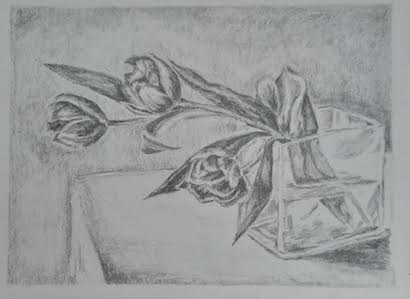
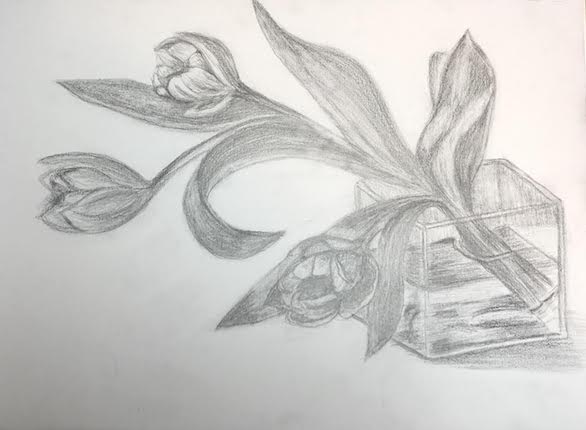
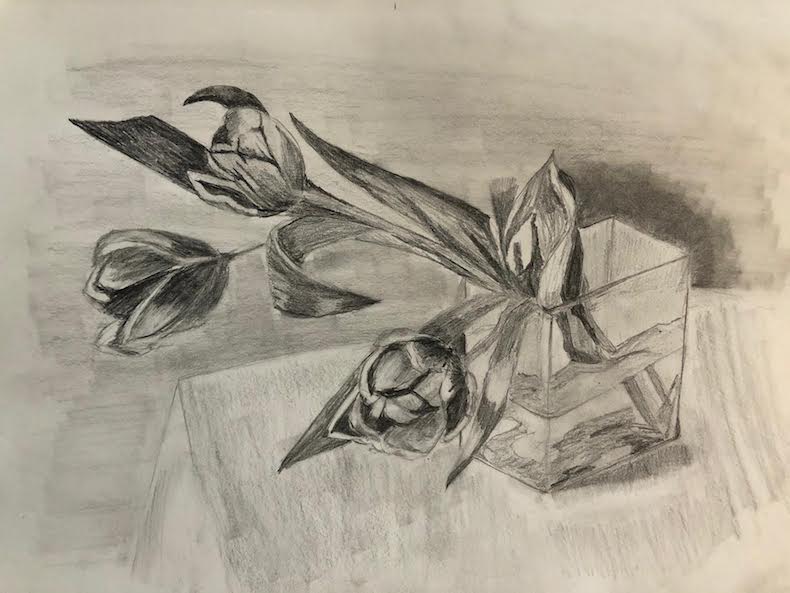
Flowers & Bouquets: Composition with Organic Forms
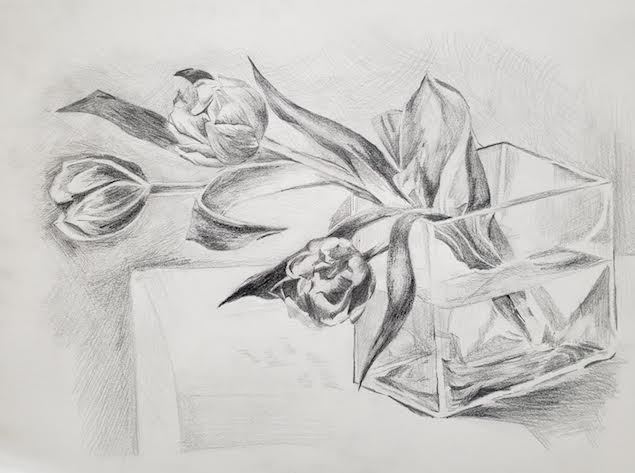
In this final class, bring together everything you’ve learned. Work with floral forms and arrange a bouquet composition, balancing texture, shape, light, and space.
This course is offered in a different package

Analytic Pencil Drawing course. Beginners. BASIC
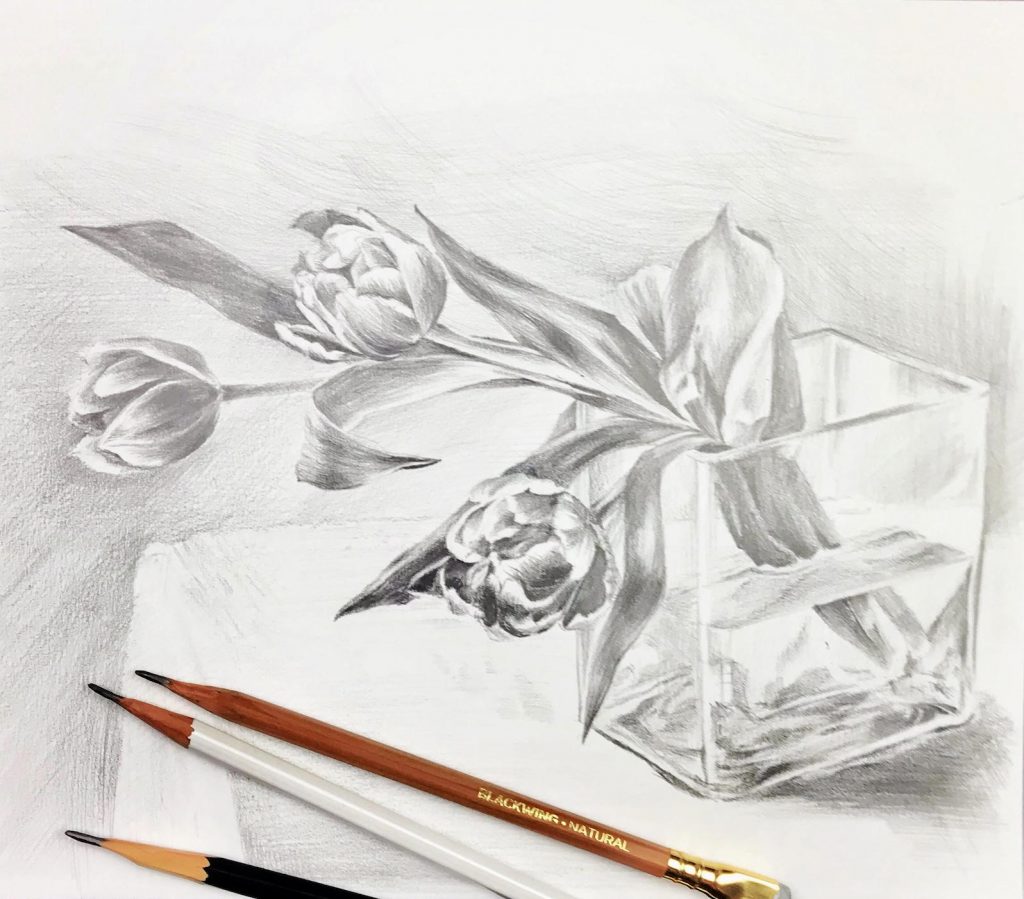
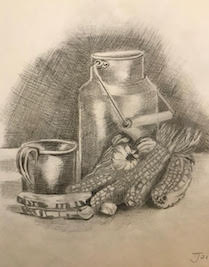
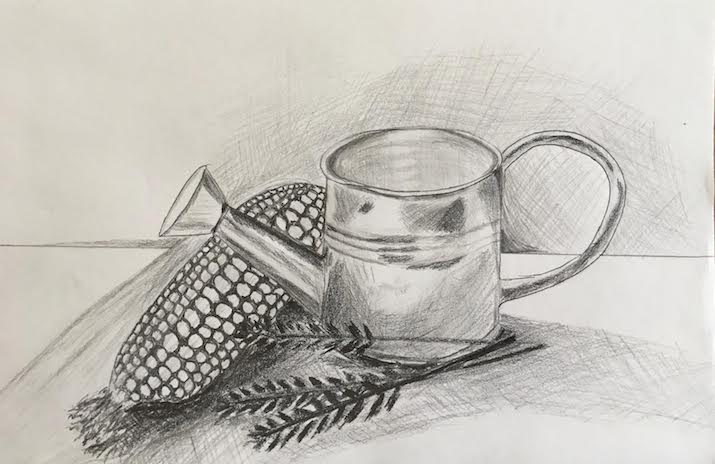
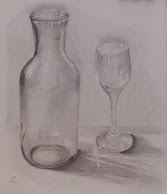
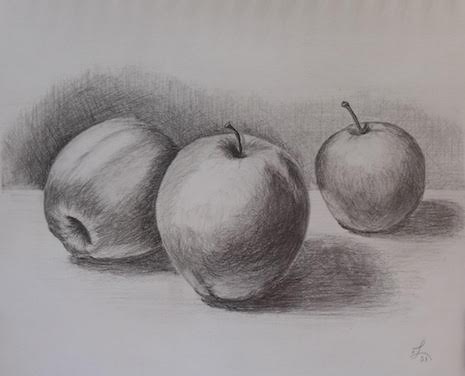
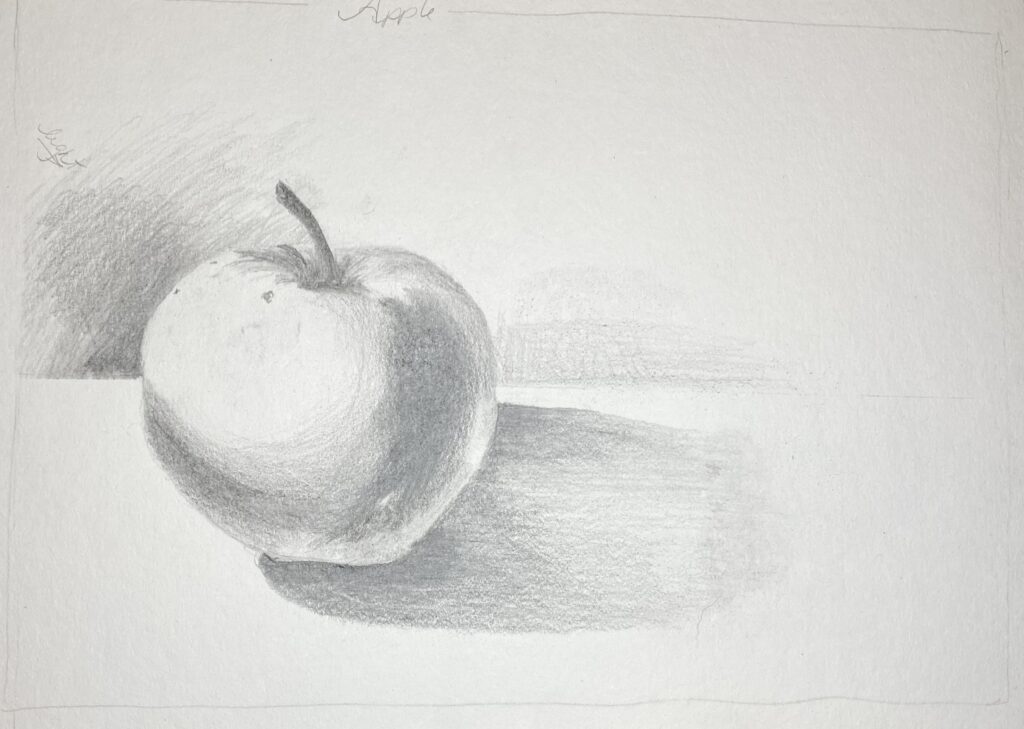
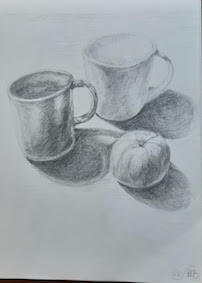
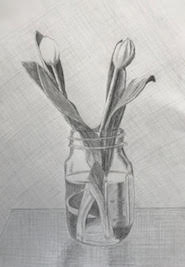
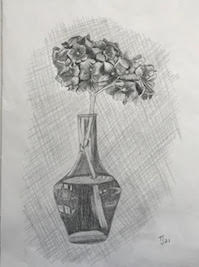
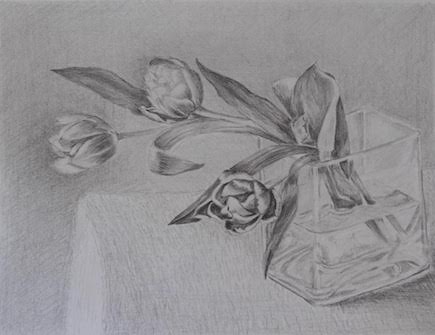
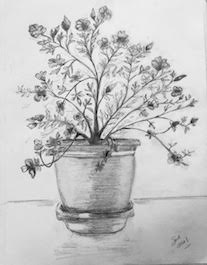
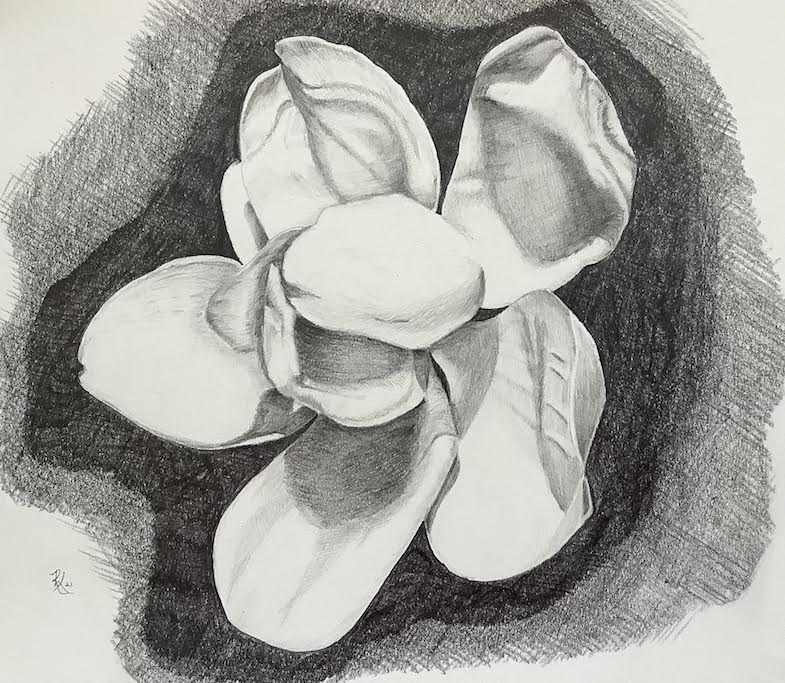
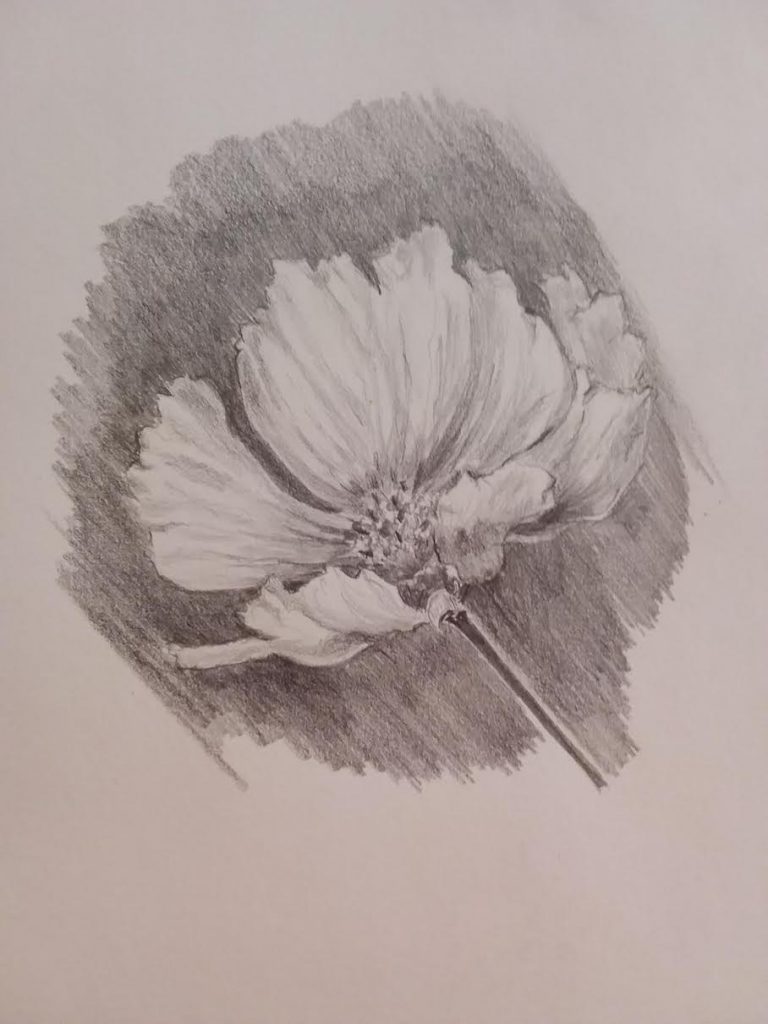
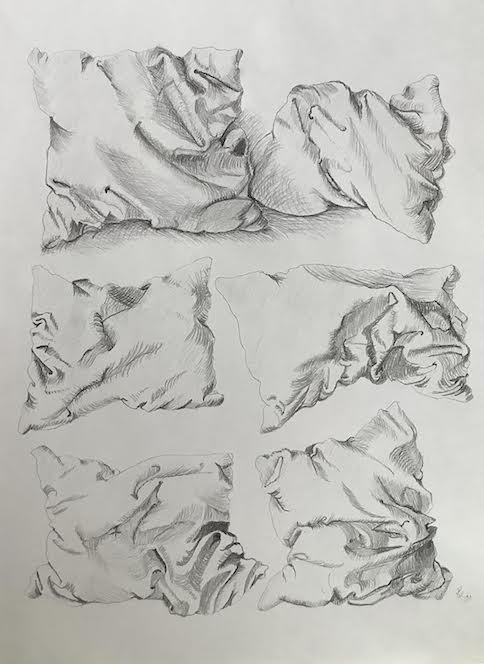
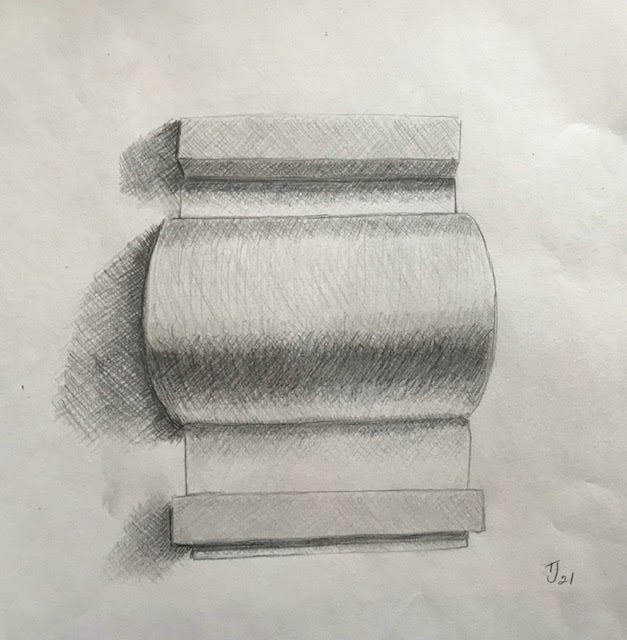
Student’s work:
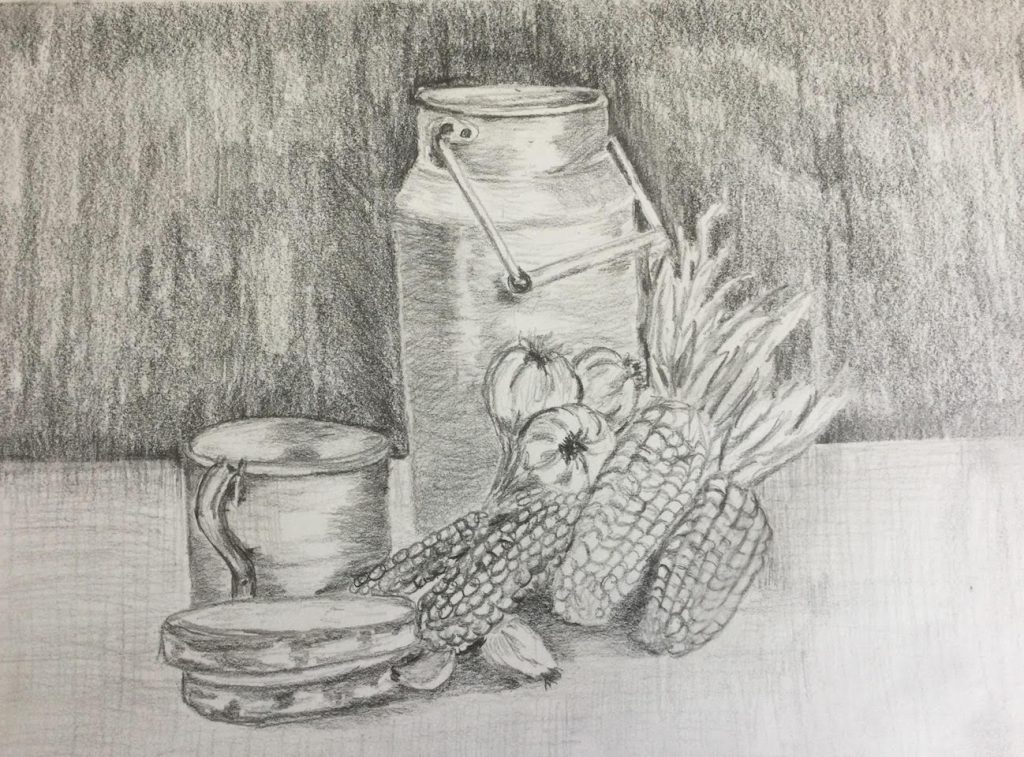

isabel 2026 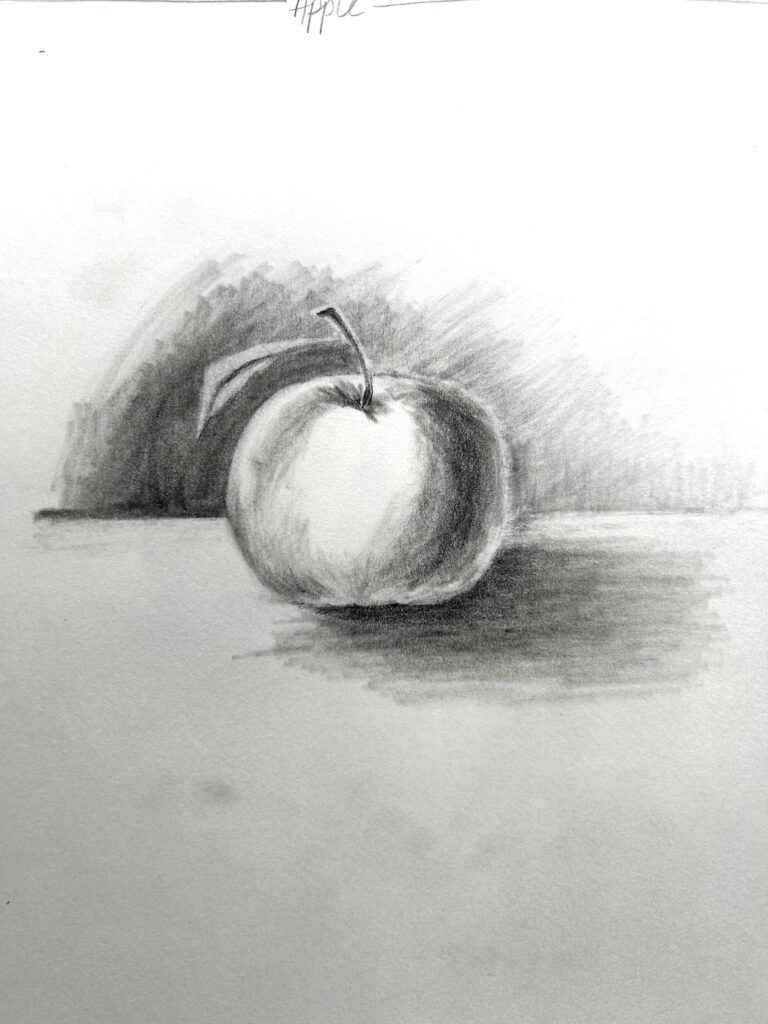
Isabel 2026 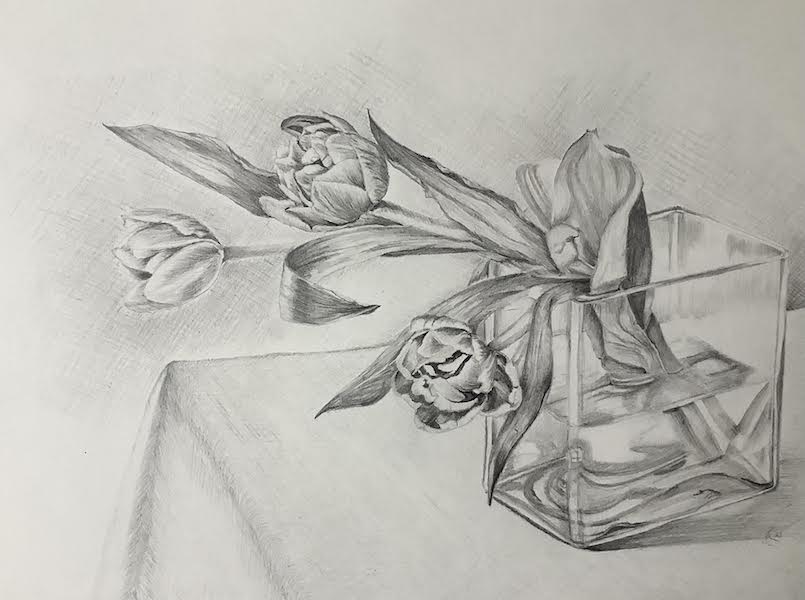
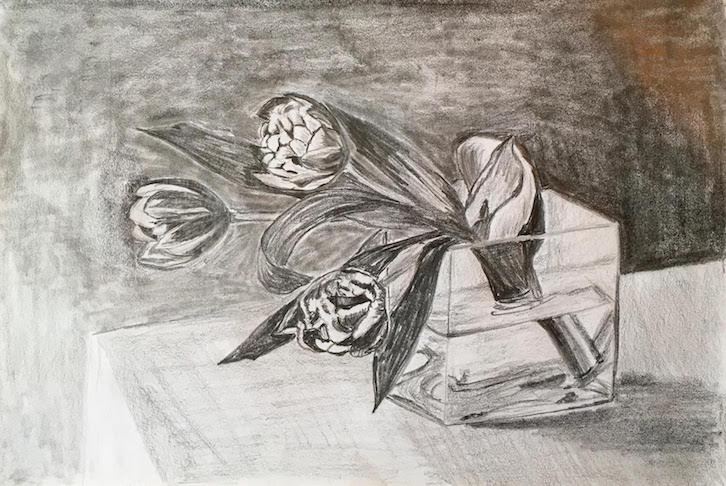
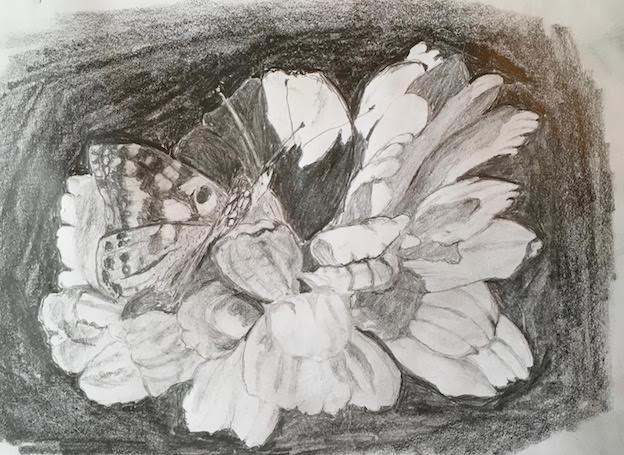
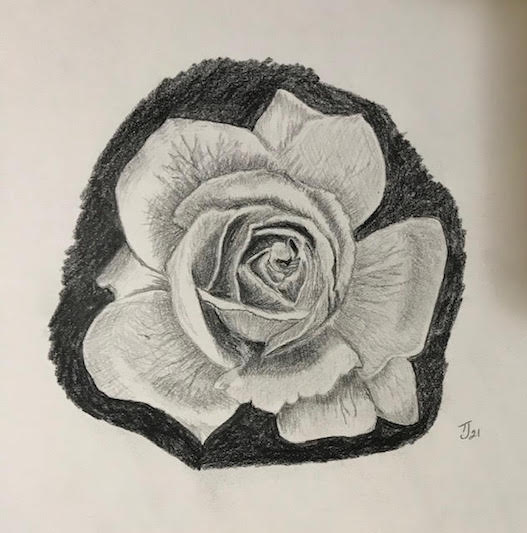
Isabel 2026 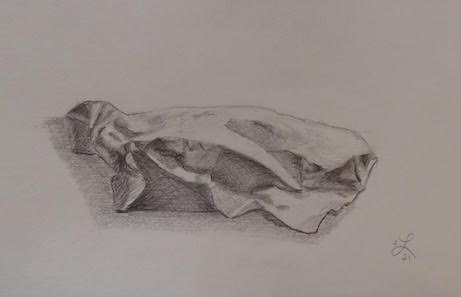

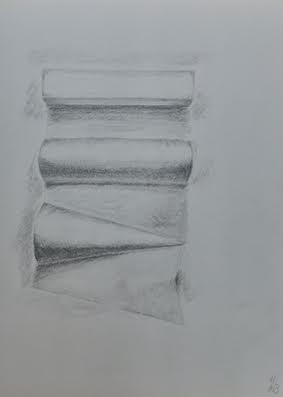
Isabel 2026 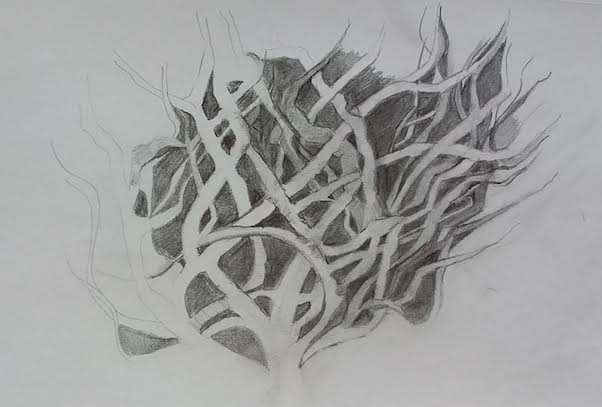

Isabel 2026 
Sarah 2026 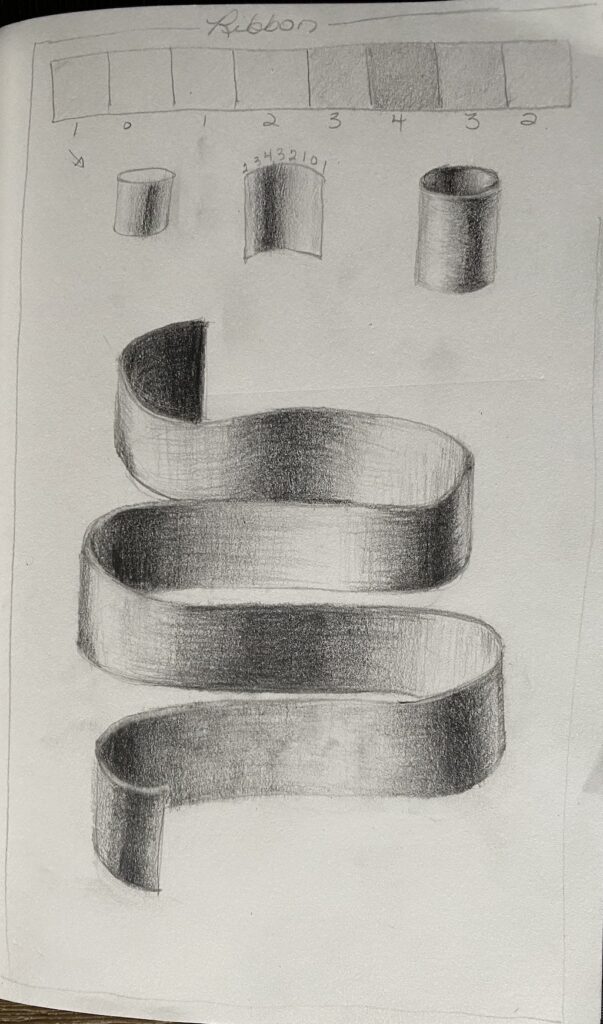
Tanya 2025
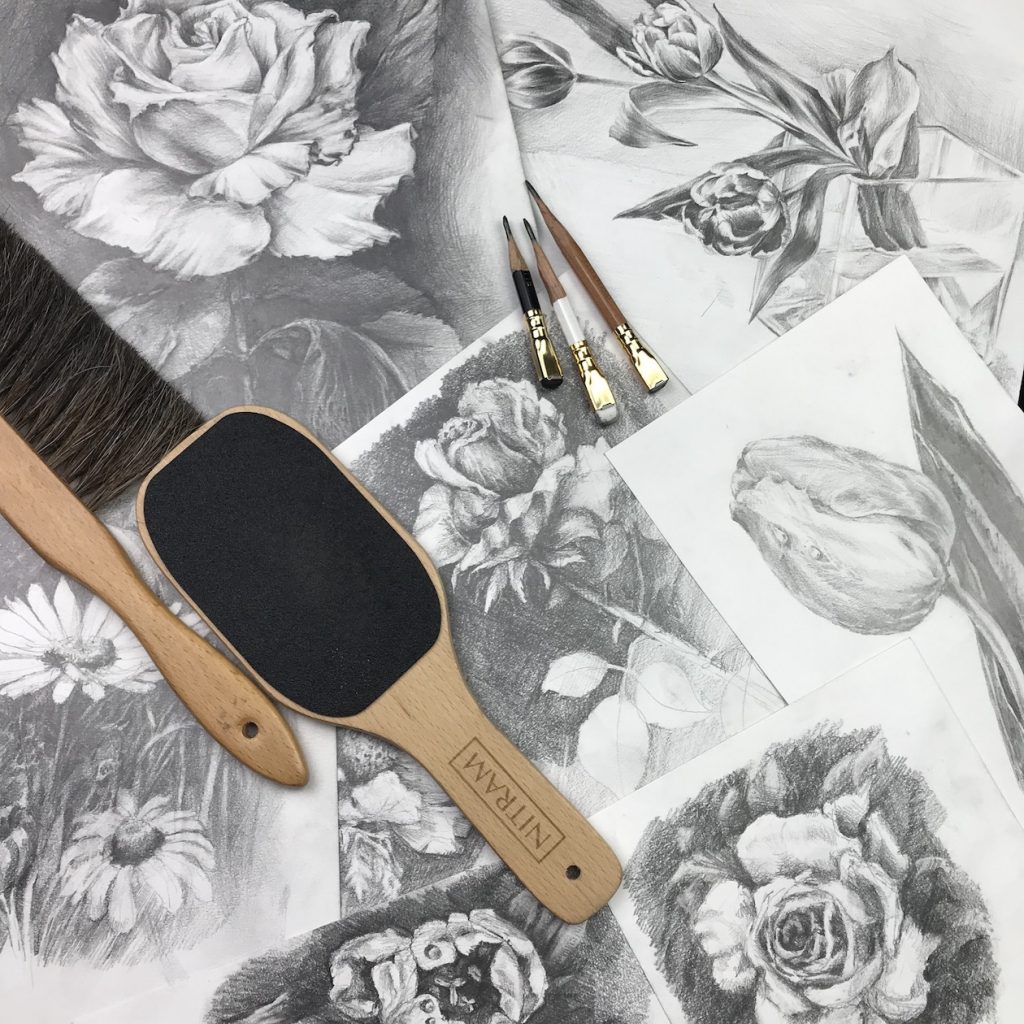
Materials that I am going to use during the course;
This list is only for your information, there is no need to get exactly what I am using:
- Printer paper for photo references (optional);
- Drawing paper, at least 15-20 sheets Format A4 (printer paper) plus 1-2 sheets Format A3 (double printer paper). You might need more, depending on how many home work exercises you will be doing. You can use any type of paper for your class and home exercises, even printer paper would be acceptable to use. Although for the better result the drawing paper with weight 80 lb. (130g/m2) or more is recommended. My recommendation is Strathmore 400 series Drawing paper, 80 lb;
- Pencils; 2H, H, HB, 2B, 4B, 6B, 8B. You can use any type of pencils. My recommendation is Blackwing; Derwent, Staedtler Mars Lumograph;
- Artistic tape;
- Eraser. You can use any type of erasers. My recommendations are: black eraser, electric eraser and kneading eraser;
- Paper towel and Kleenex;
- Drawing board (the board which you will tape your paper to); You can use a clipboard or any smooth surface board big enough to place you paper on it;
- Ruler;
- Pencil sharpener or Craft knife;
- Dust brush (optional);
- Blending Stumps and Tortillons (optional);
- Q-tips (optional);
- Sharpening bloc (optional);
- Geometrical solid blocks (optional)
The list of subjects you need to have for the visual exercises (optional):
Lesson 1.
- A small box (light weight, preferable square);
- Transparent glass with water or some other liquid or/and small transparent plastic (glass) bottle with liquid;
- Marker.
Lesson 2.
- any round subject (ball, apple, orange)
- Printer paper - a few sheets;
- Tape and scissors;
- Table lamp.
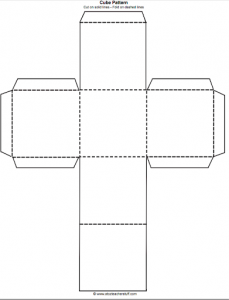
Lesson 3.
- Cube model. Any cube shape box. Or make it using the pattern (file attached). Print the pattern, cut it and glue it together. (optional)
- Table lamp.
Lesson 4.
- 6-8 medium size books, at least 2 cm thick;
- Printer paper, a few sheets;
- Scissors;
- Tape;
- Shoe box (optional)
- Table lamp.
Lesson 5.
- Soft fabric, solid colour
- Soft fabric, striped pattern, with equal lines;
- Printer paper, a few sheets;
- Scissors;
- Tape;
- Glue or double side tape;
- Card stoke, 1 pc;
- Shoe box (optional)
- Table lamp.