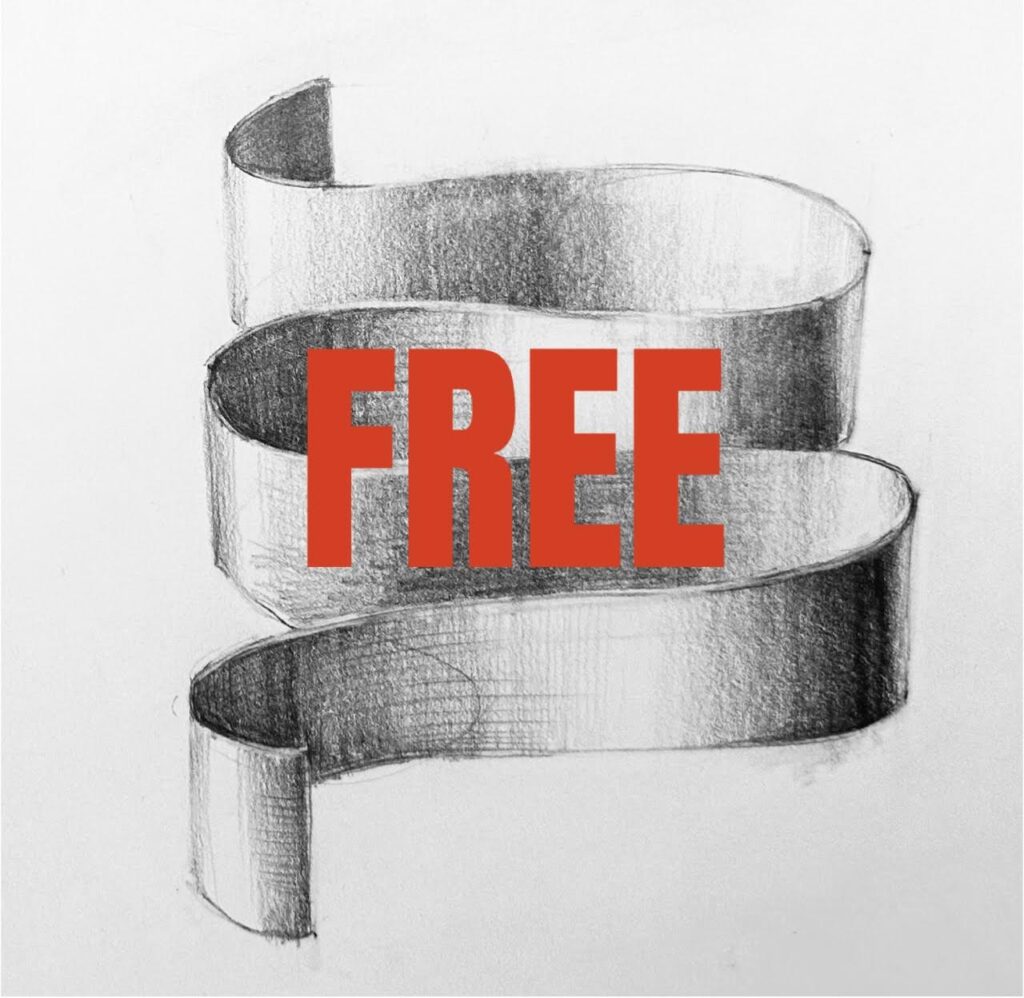
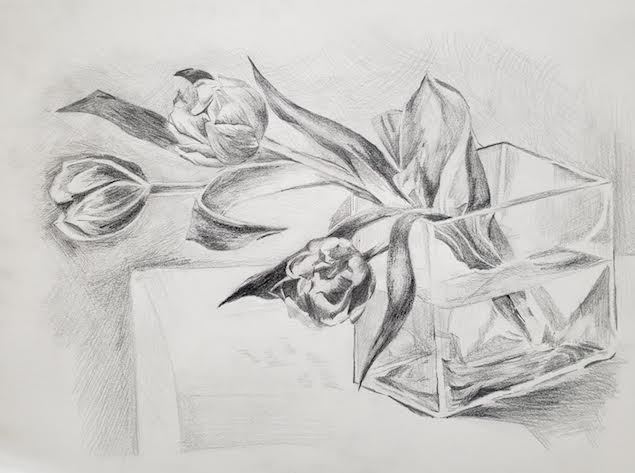
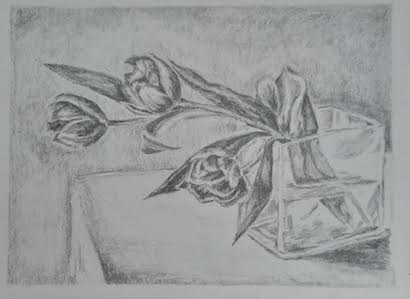
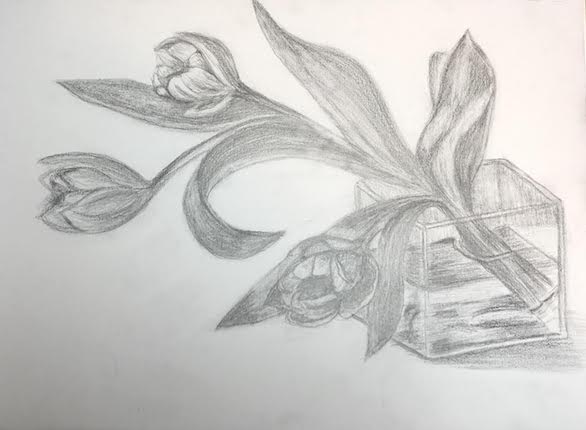
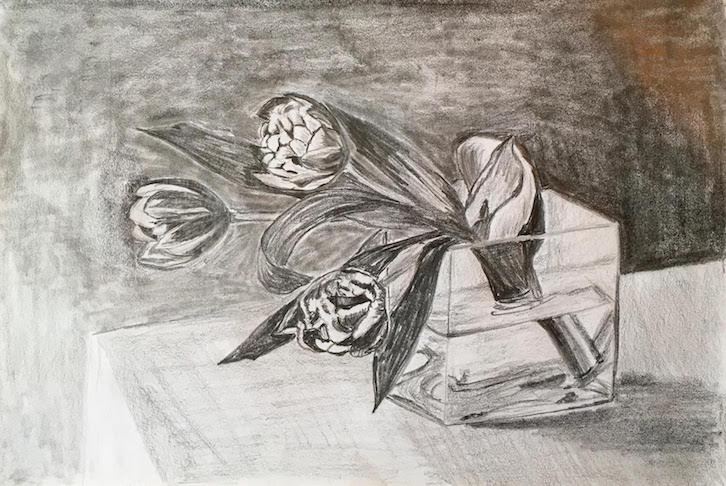
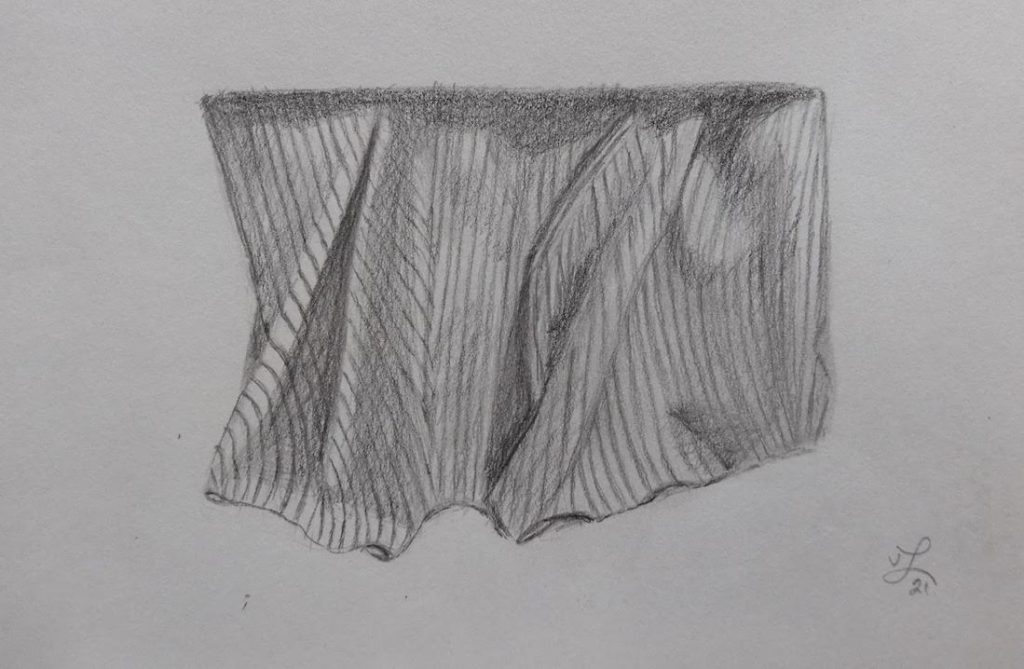
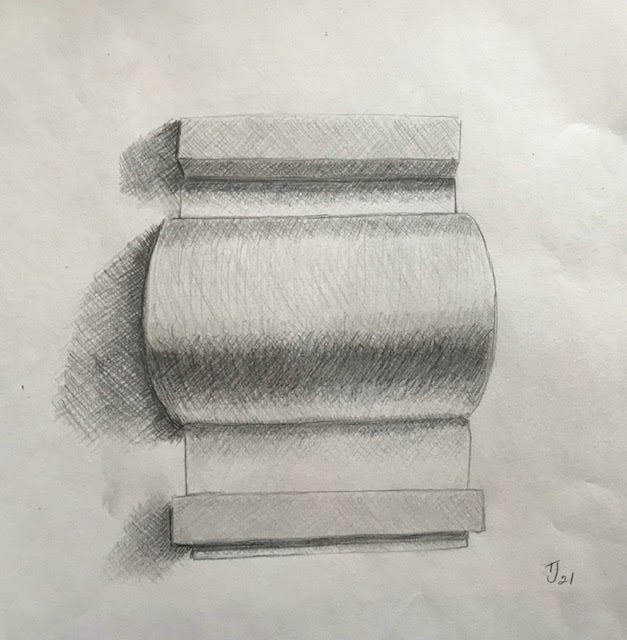
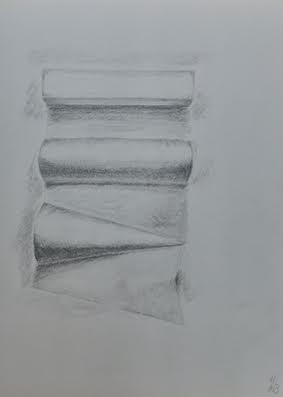
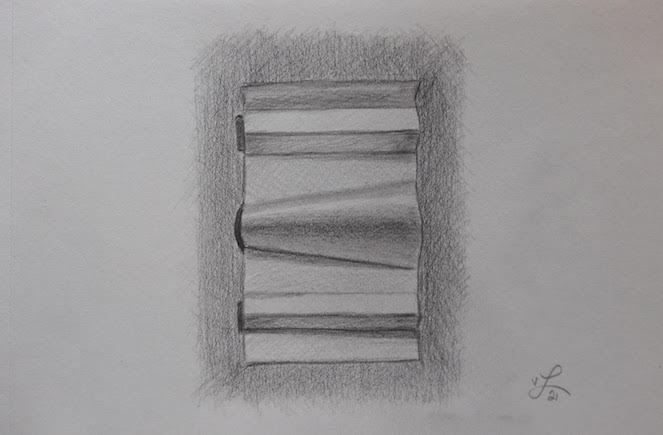
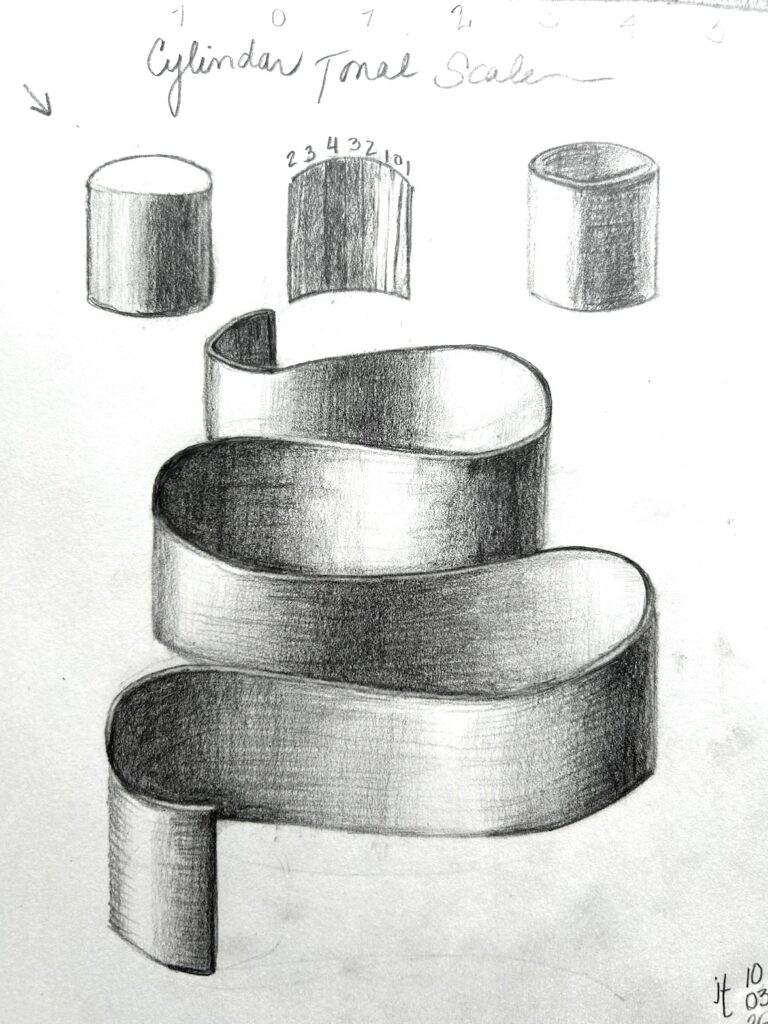
RIBBON
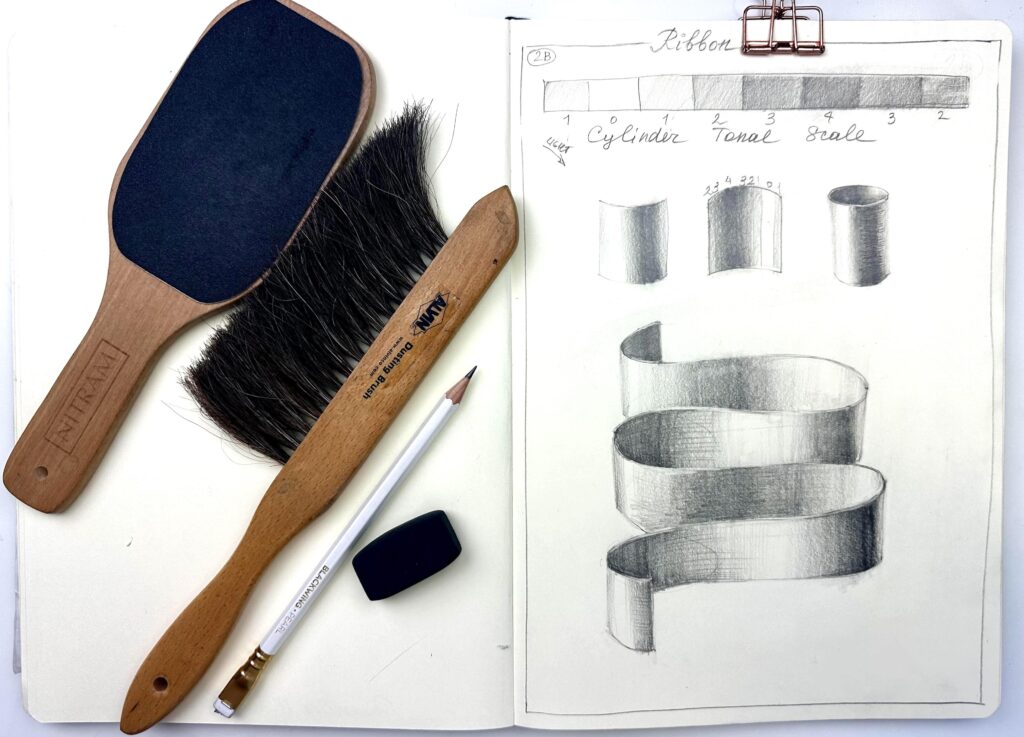
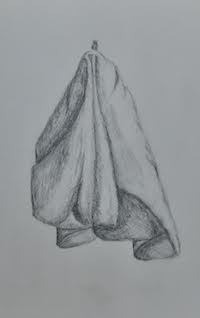
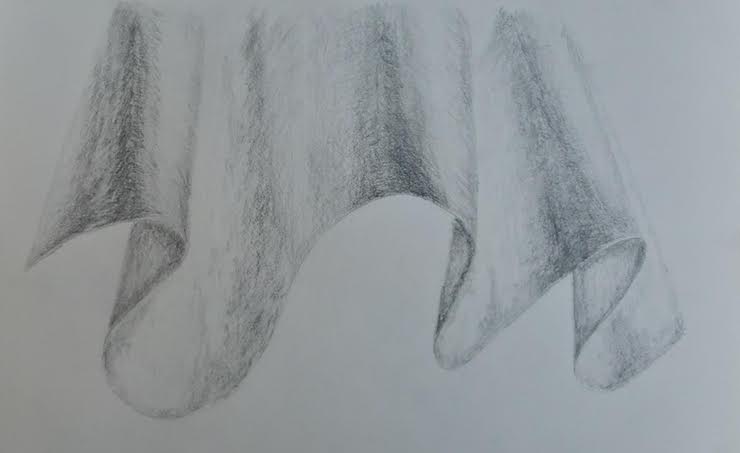
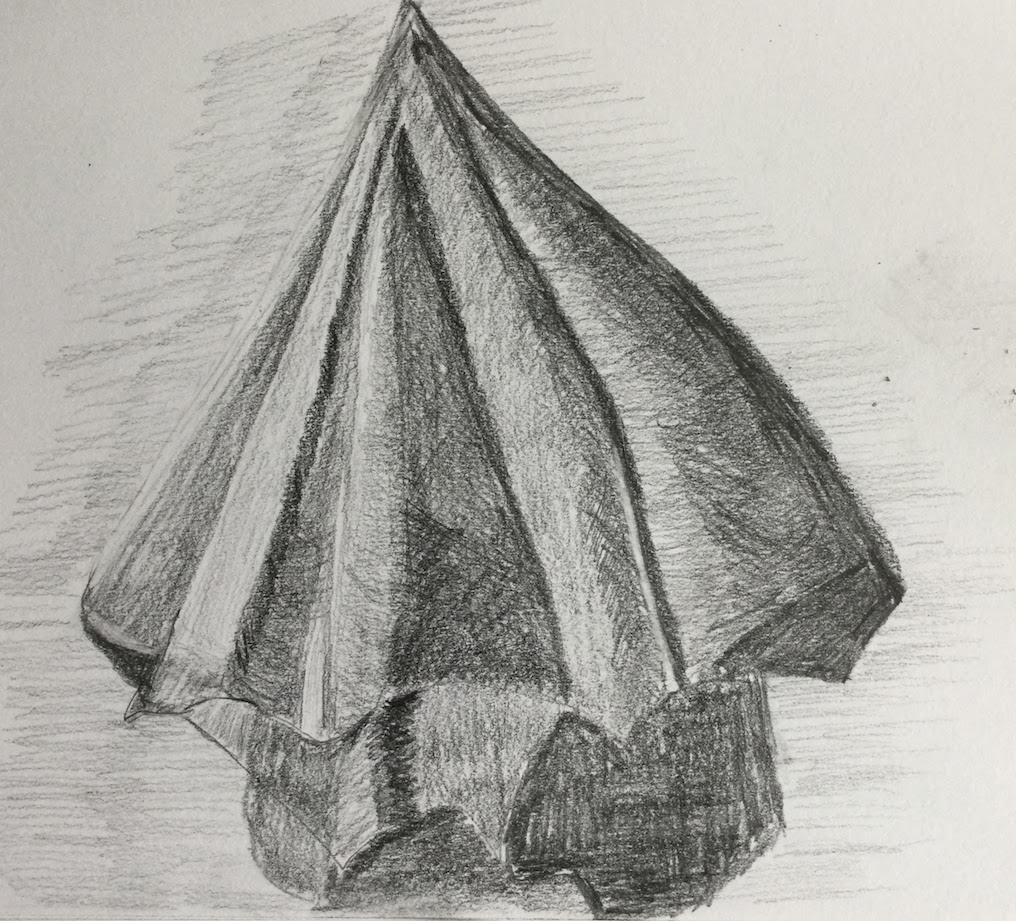
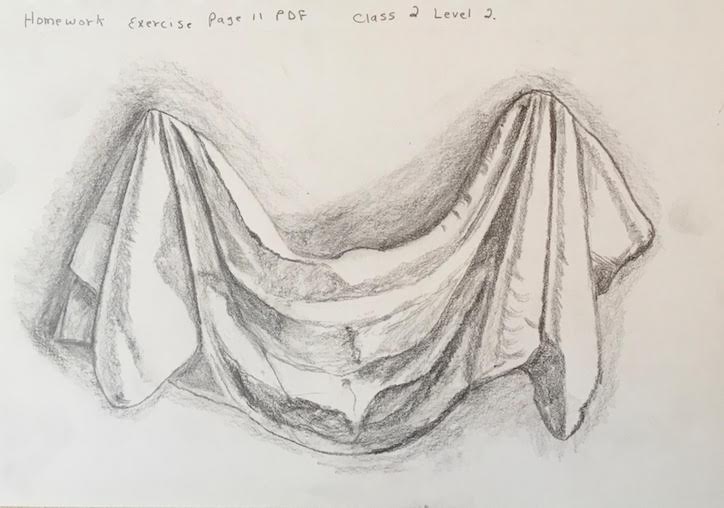
This is a free video tutorial from the course Analytic Pencil Drawing for Beginners where you’ll practice to create the realistic illusion of a flowing ribbon by applying the tonal logic of the cylinder form. You’ll explore how light and shadow interact along curved surfaces to convey rhythm and movement.
FREE BASIC package for self  studying

START ANYTIME
LIFETIME ACCESS

35 minutes of detailed video tutorials
Once you register you will get access to the course content
Willing to study more pencil drawing?
Strengthen your foundation and unlock new artistic possibilities!
The Analytic Pencil Drawing courses for BEGINNER and INTERMEDIATE levels are designed to build a strong, confident foundation in classical drawing through a clear, structured, and highly practical approach.
With over 60 targeted exercises in each course, you will gradually develop an artist’s eye, learning to understand form, light, shadow, proportion, and depth with precision.
Through step-by-step demonstrations, you’ll explore essential drawing principles such as tonal structure, atmospheric depth, linear and intuitive perspective, and the illusion of 3D form. Each lesson is supported by visual theory, guided practice, and carefully crafted exercises that strengthen your understanding from the inside out.
What You Will Learn
• Recognize light direction and tonal hierarchy to create convincing volume.
• Understand proportional relationships and confidently map your subject on paper.
• Learn structural thinking—how complex objects are built from simple forms.
• Master the rules of perspective, foreground/background depth, and overlapping forms.
• Build control over gradients, clean edges, textures, and soft transitions.
• Train your eye to observe subtle values, shadows, reflected light, and air between forms.
Why These Courses Stand Out
Whether you’re picking up a pencil for the first time or already drawing with experience, these programs offer a solid, time-tested method that leads to real, visible progress.
By the end of each course, you’ll complete multiple polished studies and have the analytical tools to approach any subject, from simple cubes to complex still lives, with clarity, confidence, and artistic insight.
Let’s build your drawing skills step by step and discover how beautifully your vision can come to life in pencil!
Choose the package BASIC or REVIEW
ANALYTIC PENCIL DRAWING BEGINNER
ANALYTIC PENCIL DRAWING INTERMEDIATE
EARLY BIRD UP TO 50% SALE

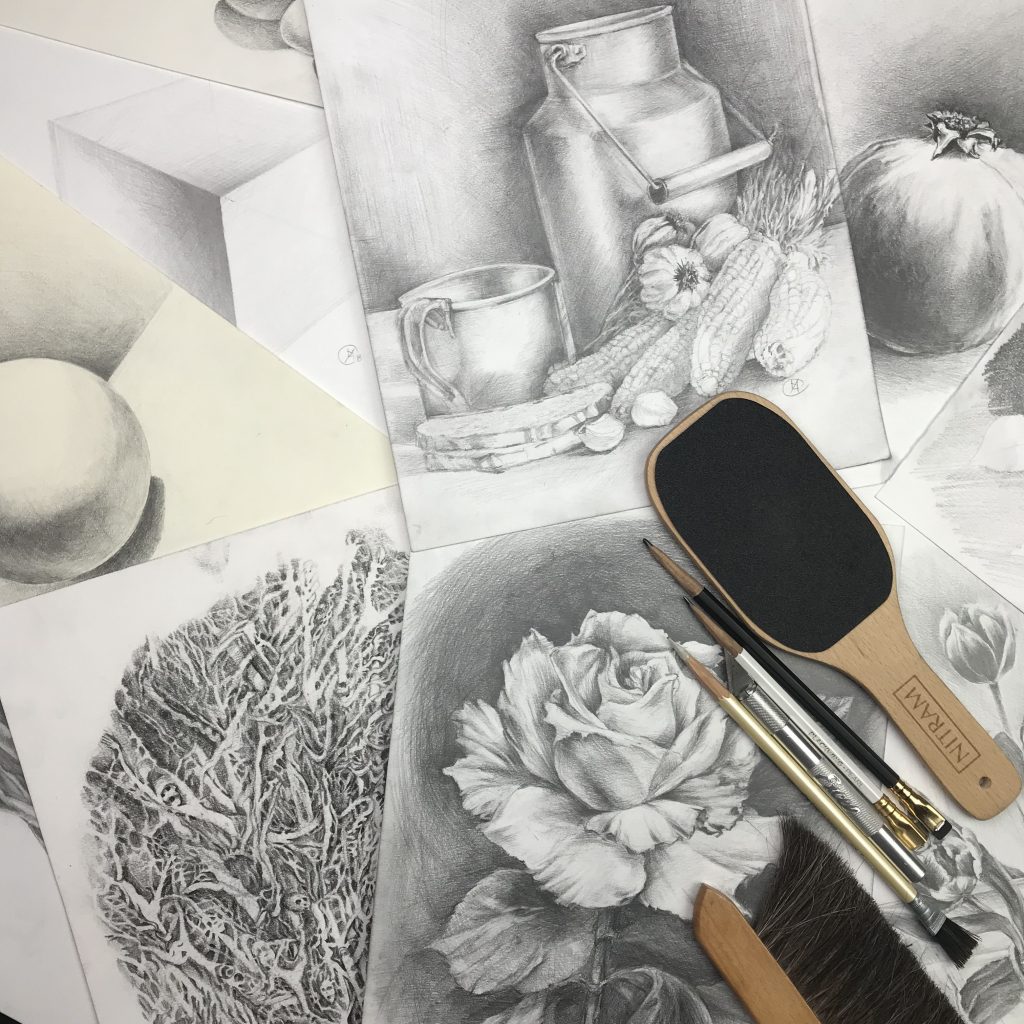
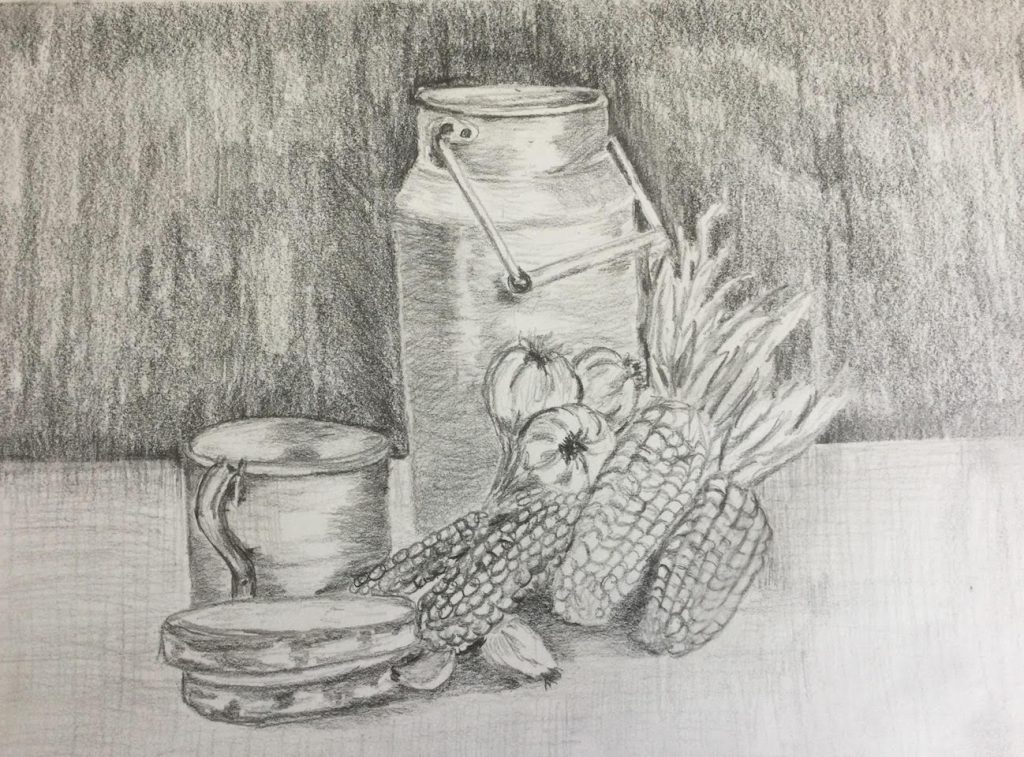
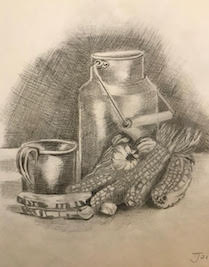
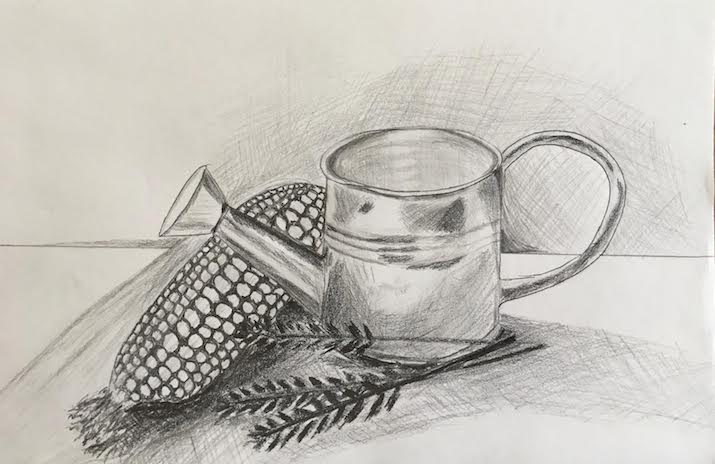
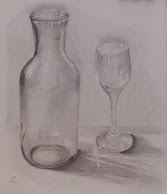
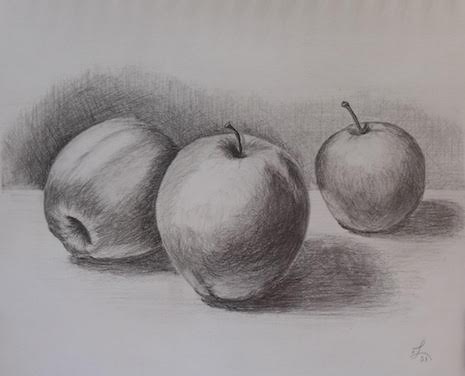
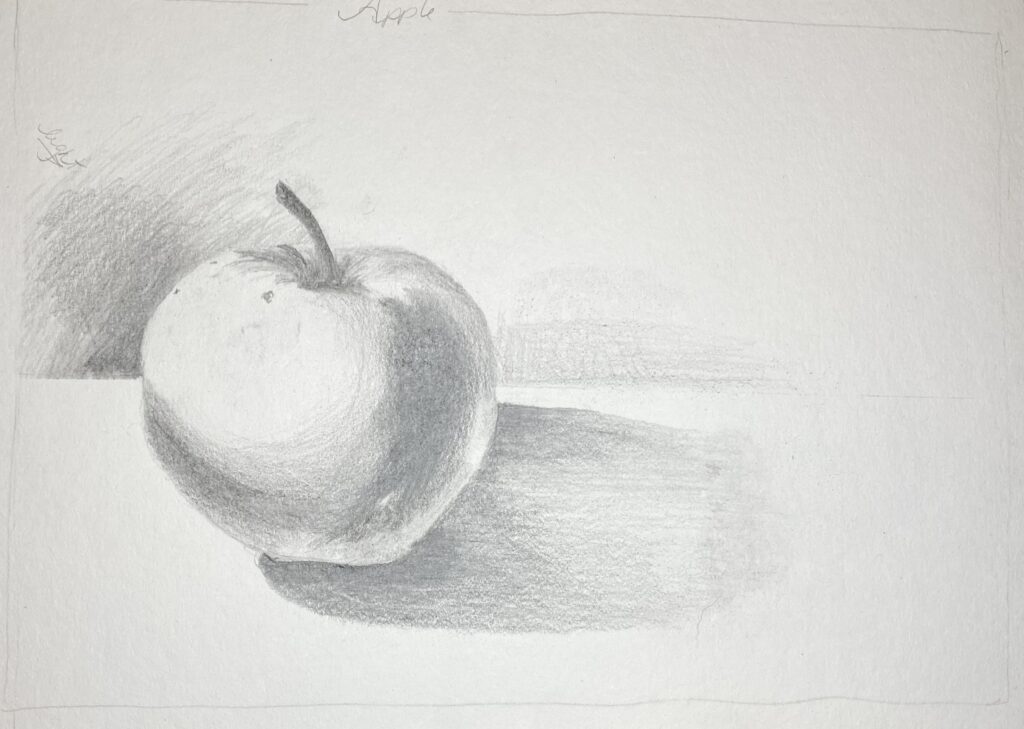
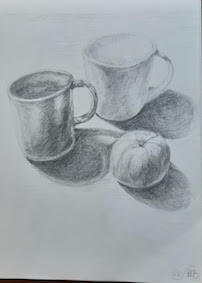
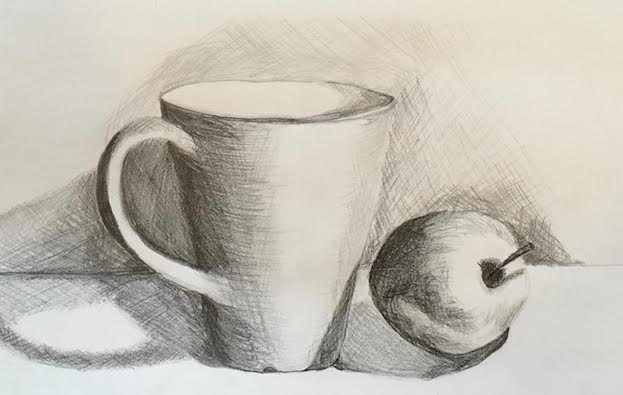
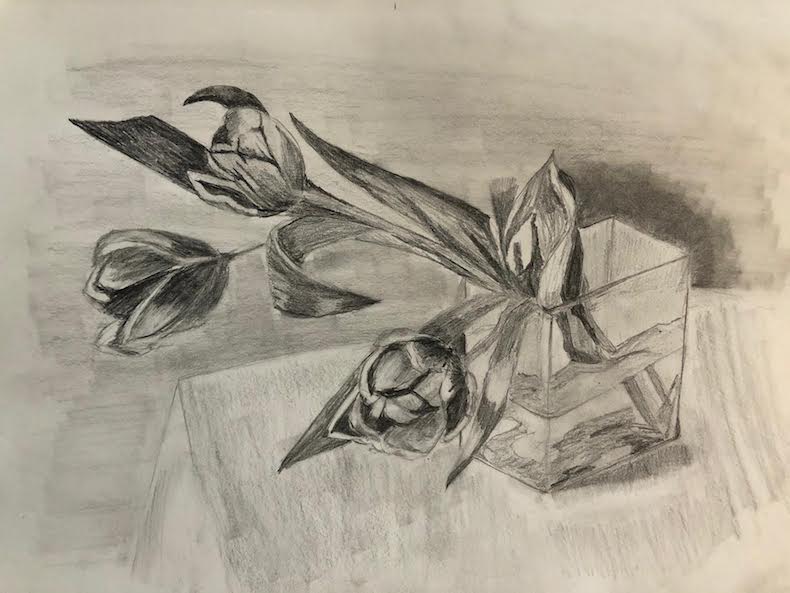
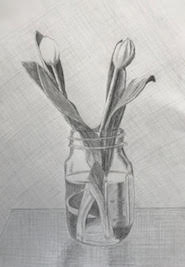
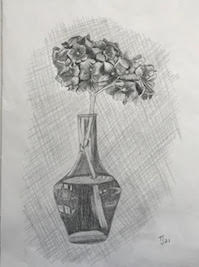
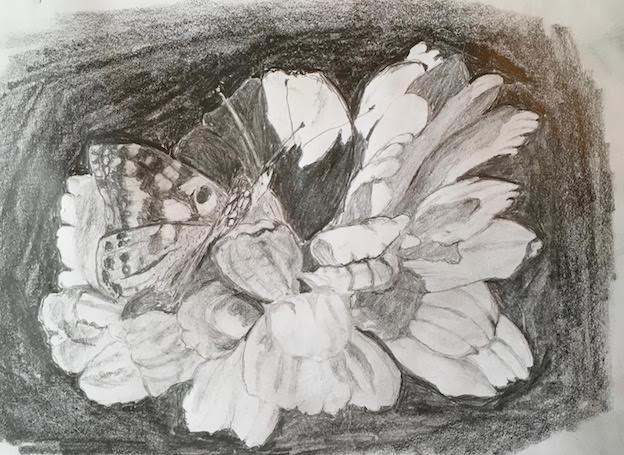
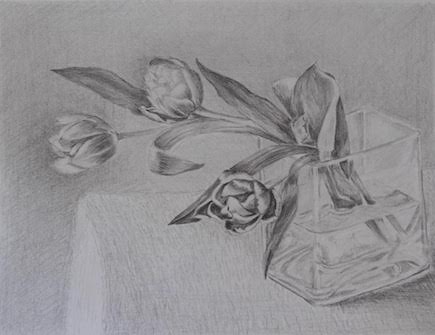
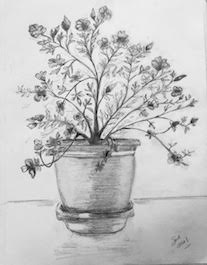
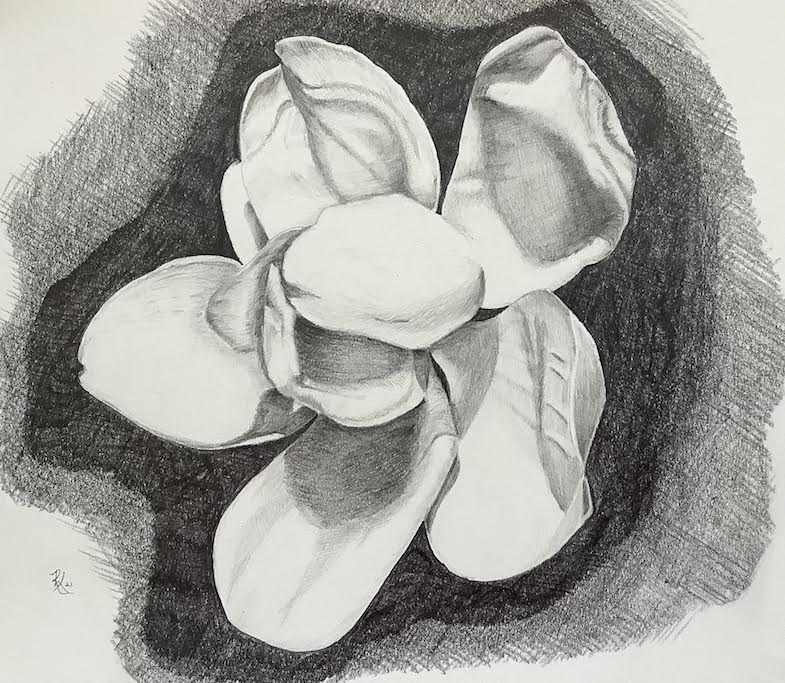
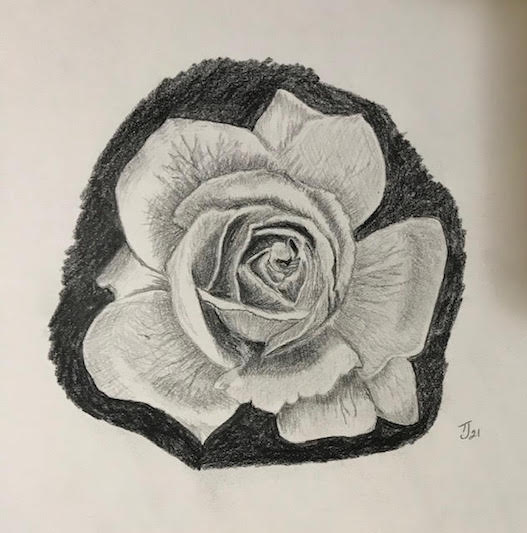
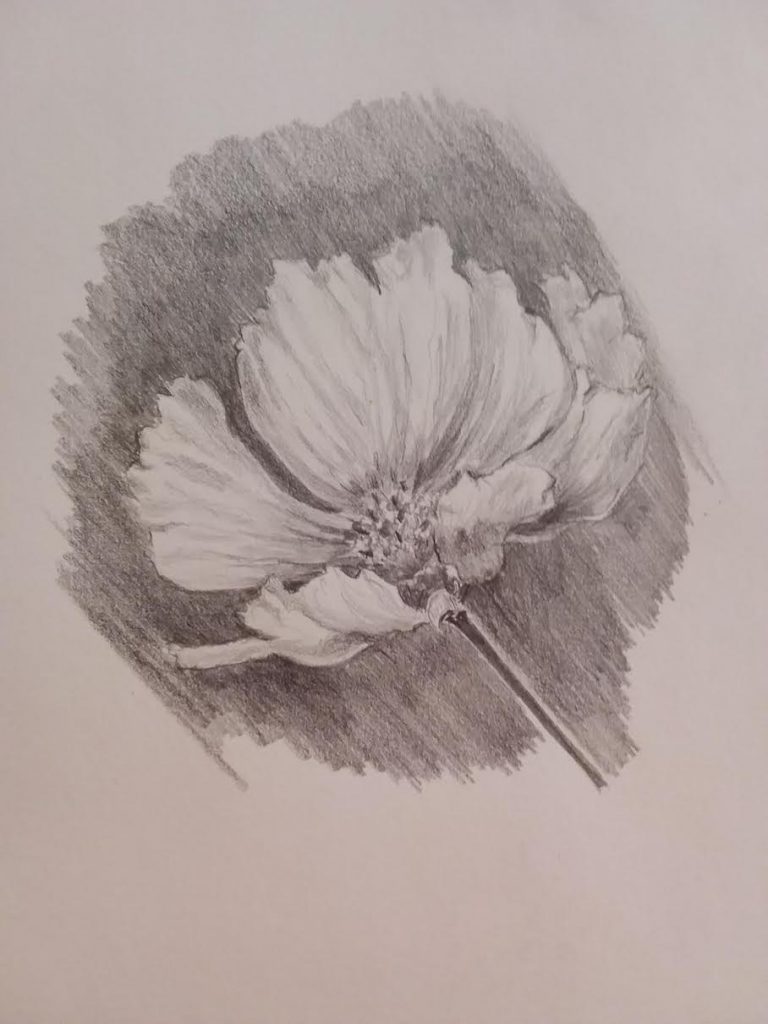
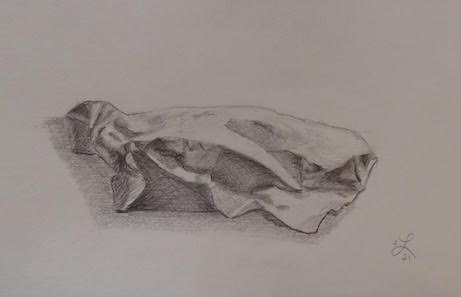
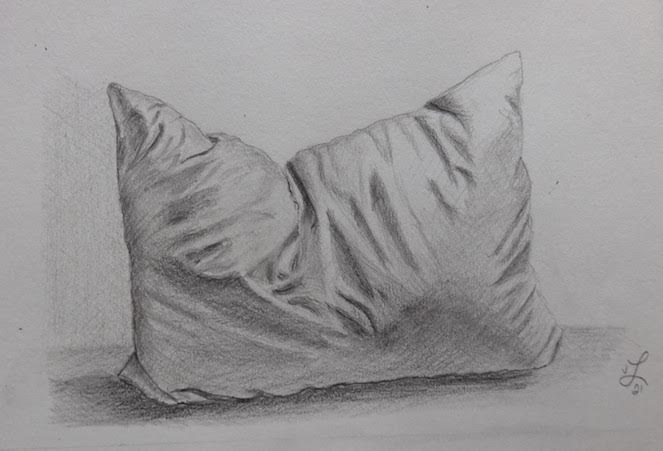
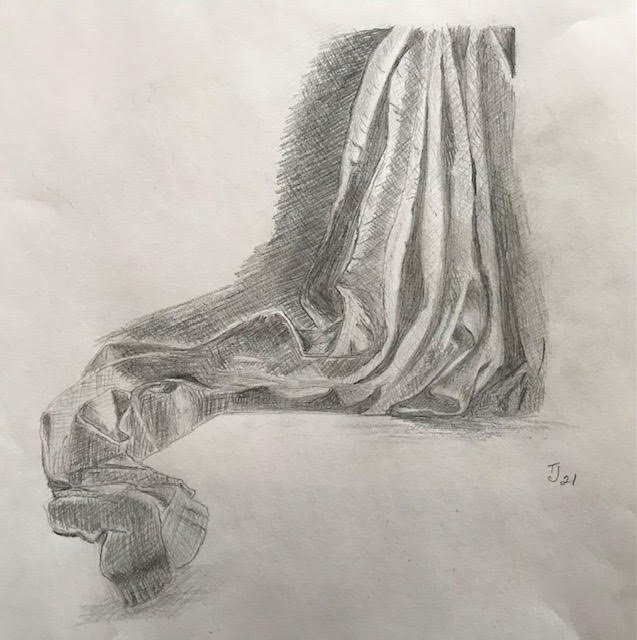
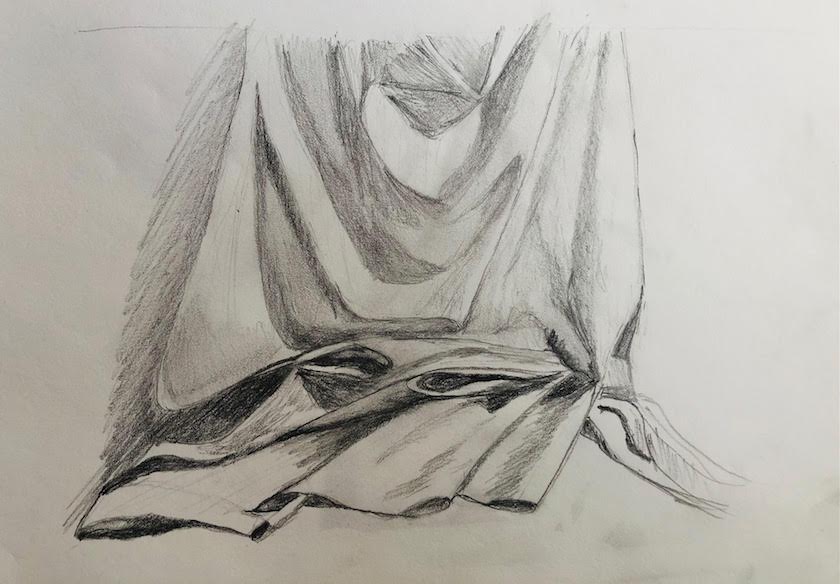
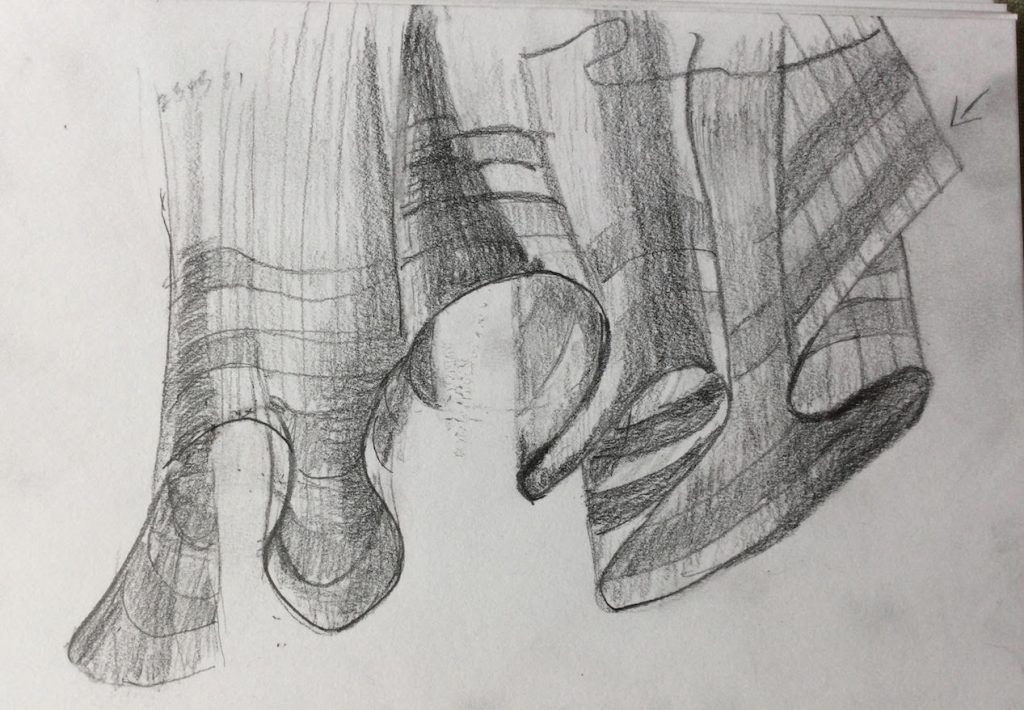
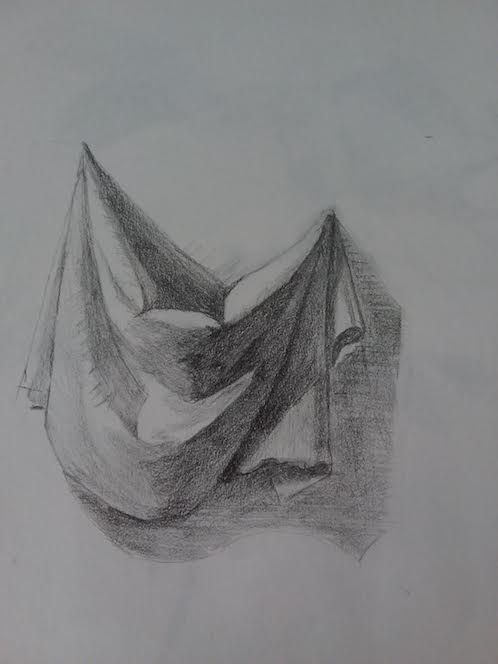
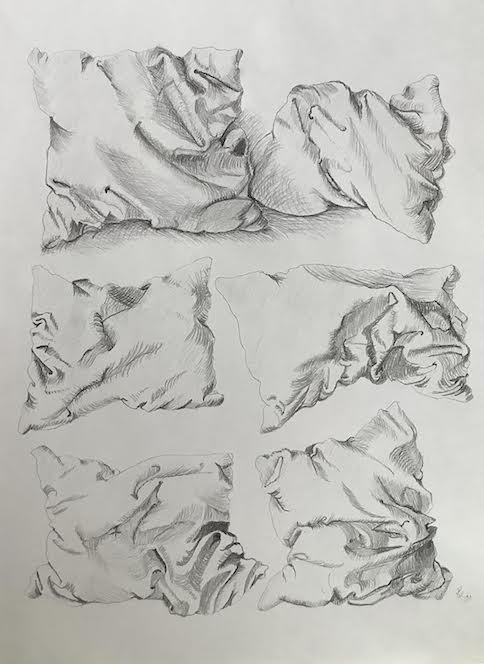
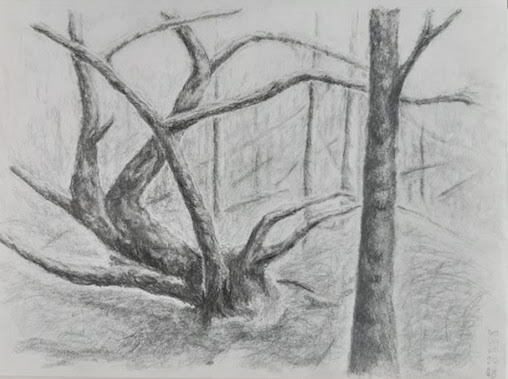
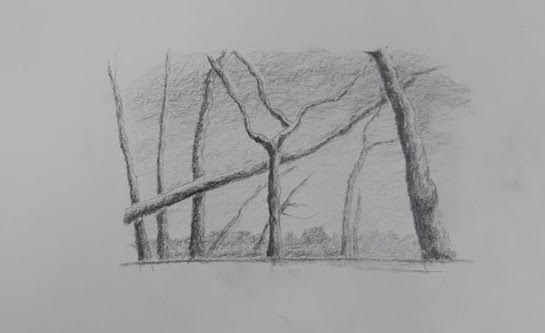
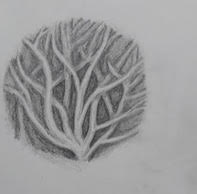
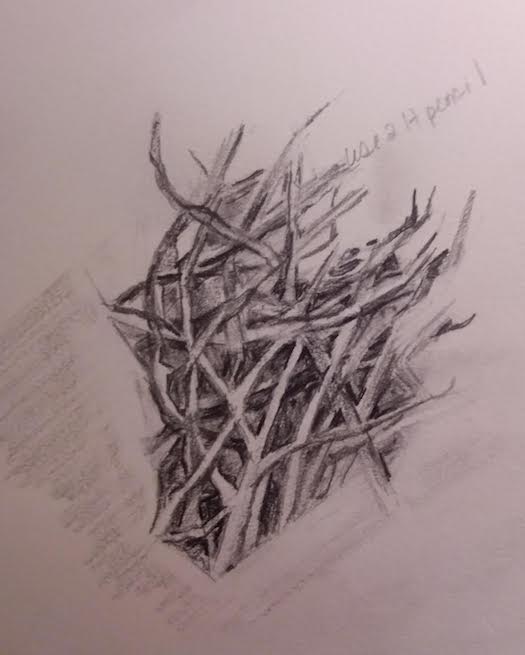
Student’s work from the BeGINNER course

Sarah 2026 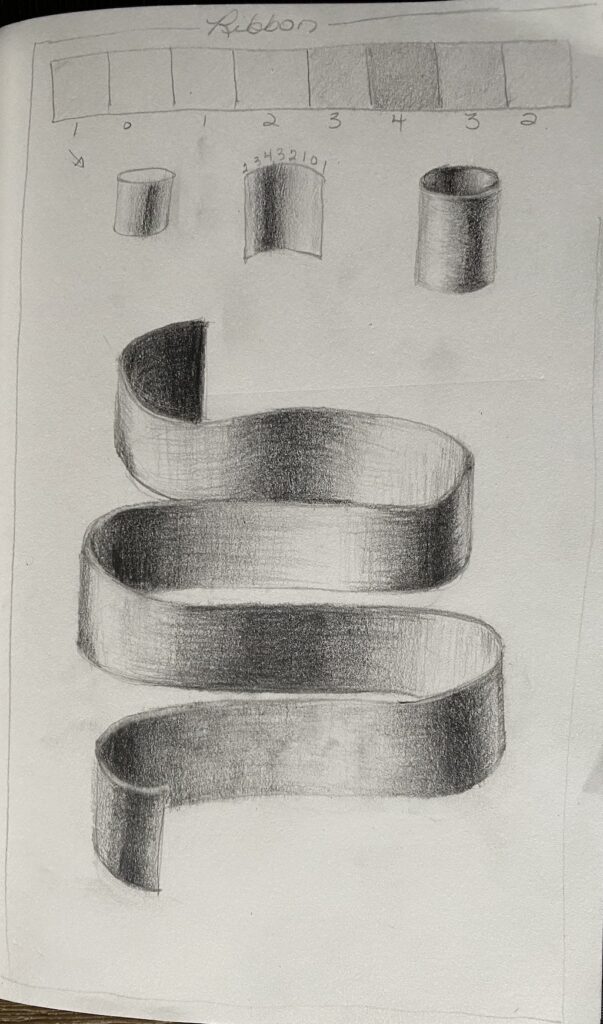
Tanya 2025

isabel 2026 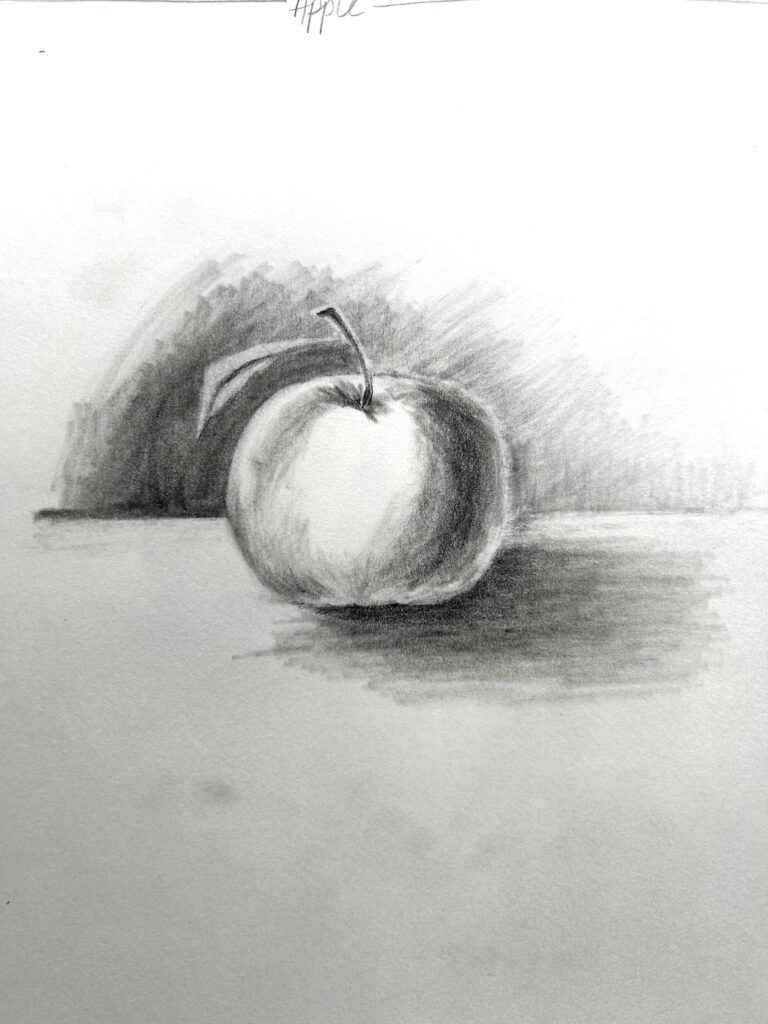
Isabel 2026 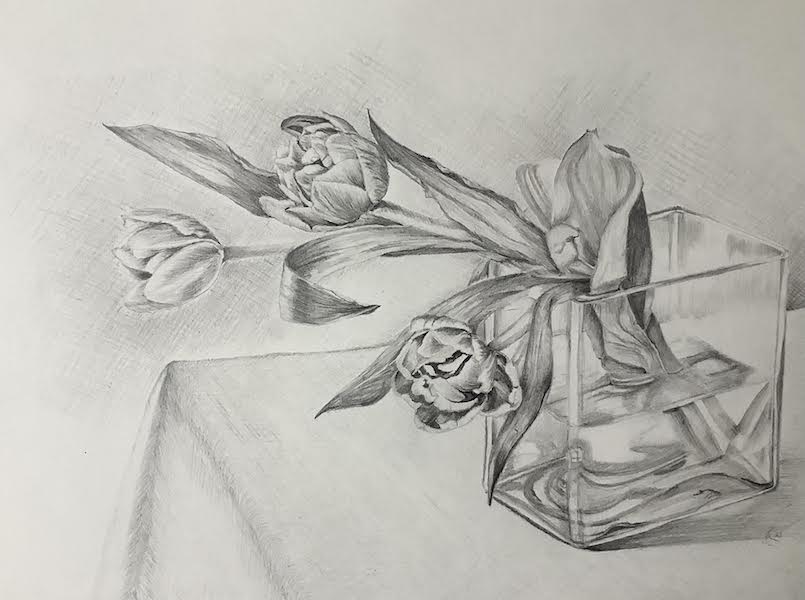

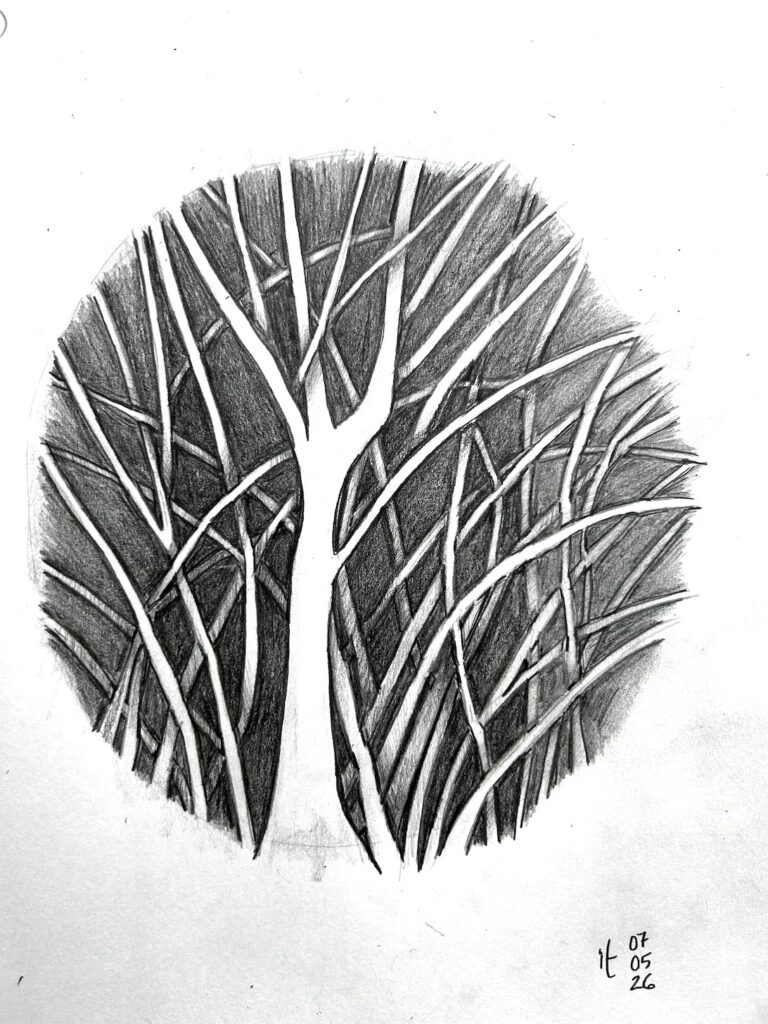
Isabel 2026 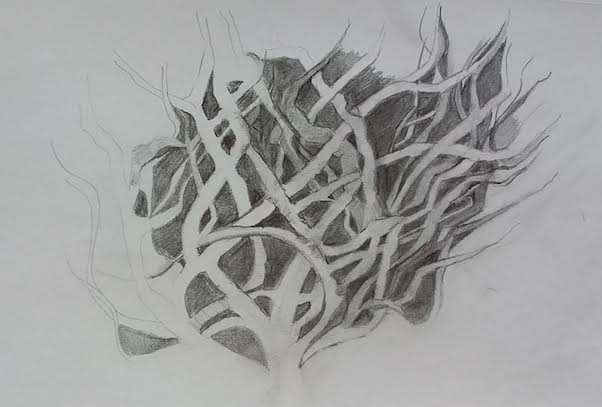

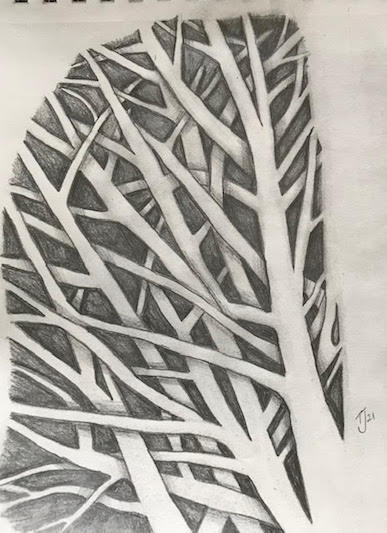
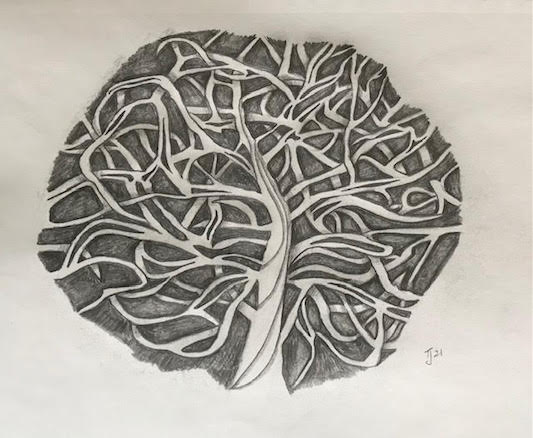
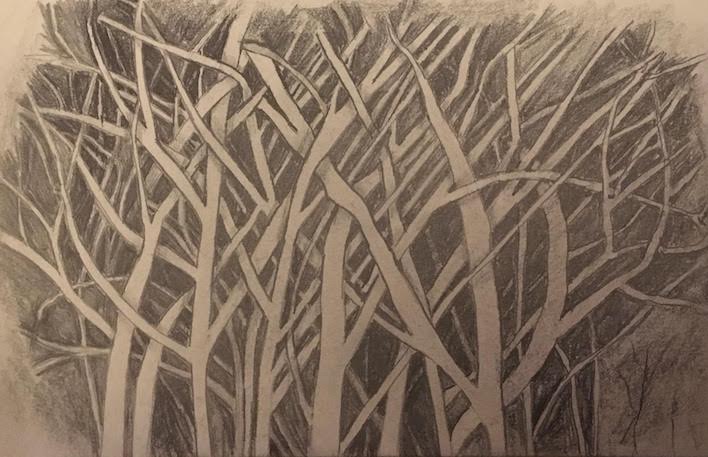
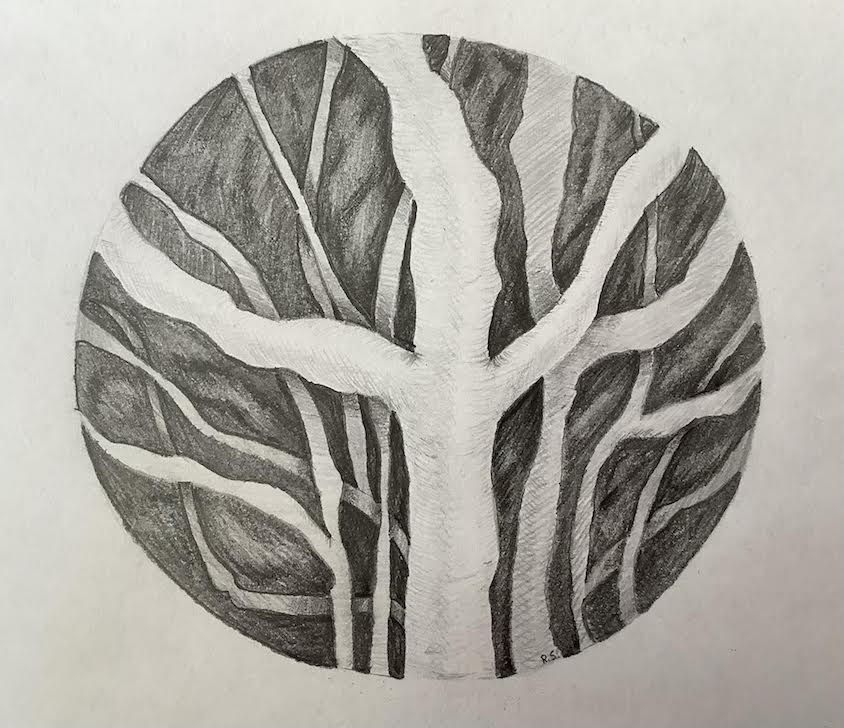
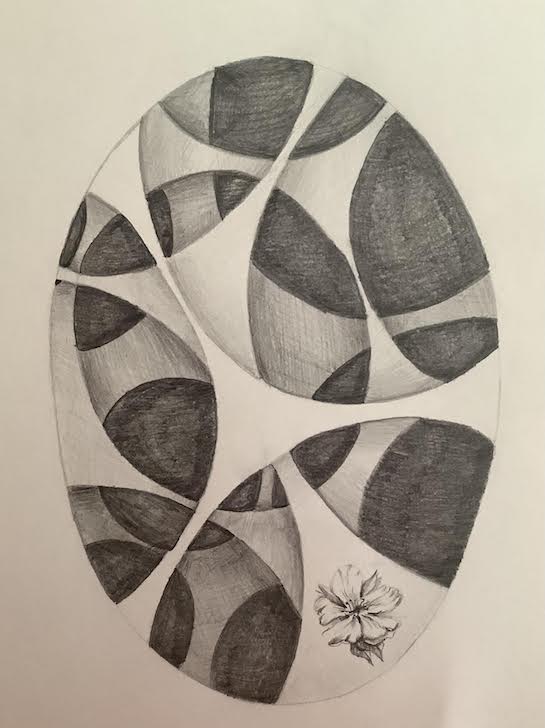
Isabel 2026 Sarah 2026 Tanya 2025
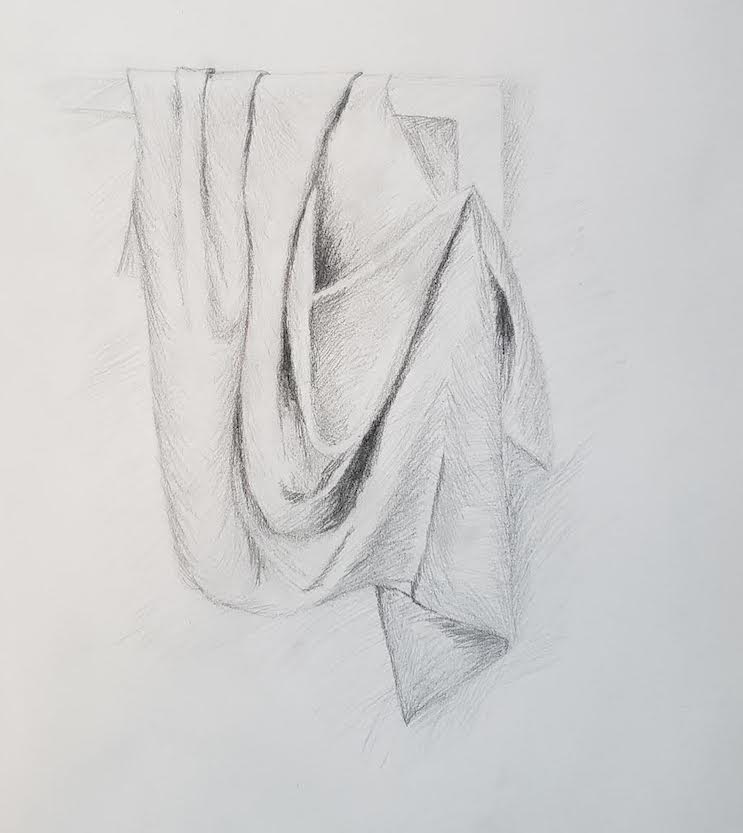
Student’s work from the INTERMEDIATE course
Materials that you will need for this exercise:
- any type of drawing paper
- any type of pencil (HB or 2B)
- any type of eraser
Materials that I am going to use during the course;
This list is only for your information, there is no need to get exactly what I am using:
- Printer paper for photo references (optional);
- Drawing paper, at least 15-20 sheets Format A4 (printer paper) plus 1-2 sheets Format A3 (double printer paper). You might need more, depending on how many home work exercises you will be doing. You can use any type of paper for your class and home exercises, even printer paper would be acceptable to use. Although for the better result the drawing paper with weight 80 lb. (130g/m2) or more is recommended. My recommendation is Strathmore 400 series Drawing paper, 80 lb;
- Pencils; 2H, H, HB, 2B, 4B, 6B, 8B. You can use any type of pencils. My recommendation is Blackwing; Derwent, Staedtler Mars Lumograph;
- Artistic tape;
- Eraser. You can use any type of erasers. My recommendations are: black eraser, electric eraser and kneading eraser;
- Paper towel and Kleenex;
- Drawing board (the board which you will tape your paper to); You can use a clipboard or any smooth surface board big enough to place you paper on it;
- Ruler;
- Pencil sharpener or Craft knife;
- Dust brush (optional);
- Blending Stumps and Tortillons (optional);
- Q-tips (optional);
- Sharpening bloc (optional);
- Geometrical solid blocks (optional)
The list of subjects you need to have for the visual exercises (optional):
Lesson 1.
- A small box (light weight, preferable square);
- Transparent glass with water or some other liquid or/and small transparent plastic (glass) bottle with liquid;
- Marker.
Lesson 2.
- any round subject (ball, apple, orange)
- Printer paper - a few sheets;
- Tape and scissors;
- Table lamp.
Lesson 3.
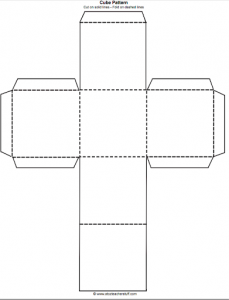
- Cube model. Any cube shape box. Or make it using the pattern (file attached). Print the pattern, cut it and glue it together. (optional)
- Table lamp.
Lesson 4.
- 6-8 medium size books, at least 2 cm thick;
- Printer paper, a few sheets;
- Scissors;
- Tape;
- Shoe box (optional)
- Table lamp.
Lesson 5.
- Soft fabric, solid colour
- Soft fabric, striped pattern, with equal lines;
- Printer paper, a few sheets;
- Scissors;
- Tape;
- Glue or double side tape;
- Card stoke, 1 pc;
- Shoe box (optional)
- Table lamp.