Lesson 2
In this lesson, we will continue to build a foundation for academic drawing by studying simple three-dimensional forms: the cylinder and the sphere. Understanding how light interacts with these basic shapes is essential for depicting any complex object realistically.
We will explore how light defines form. Through a series of exercises: cylinder, sphere, and apple – you’ll learn to build convincing volume and understand the logic of light and shadow in drawing.
Use these buttons to navigate the lesson content
Please use this navigation button to jump directly to the homework upload section at the bottom of the lesson page
THEORY AND VISUAL EXERCISES
Light and Volume
Principles of Light and Shadow
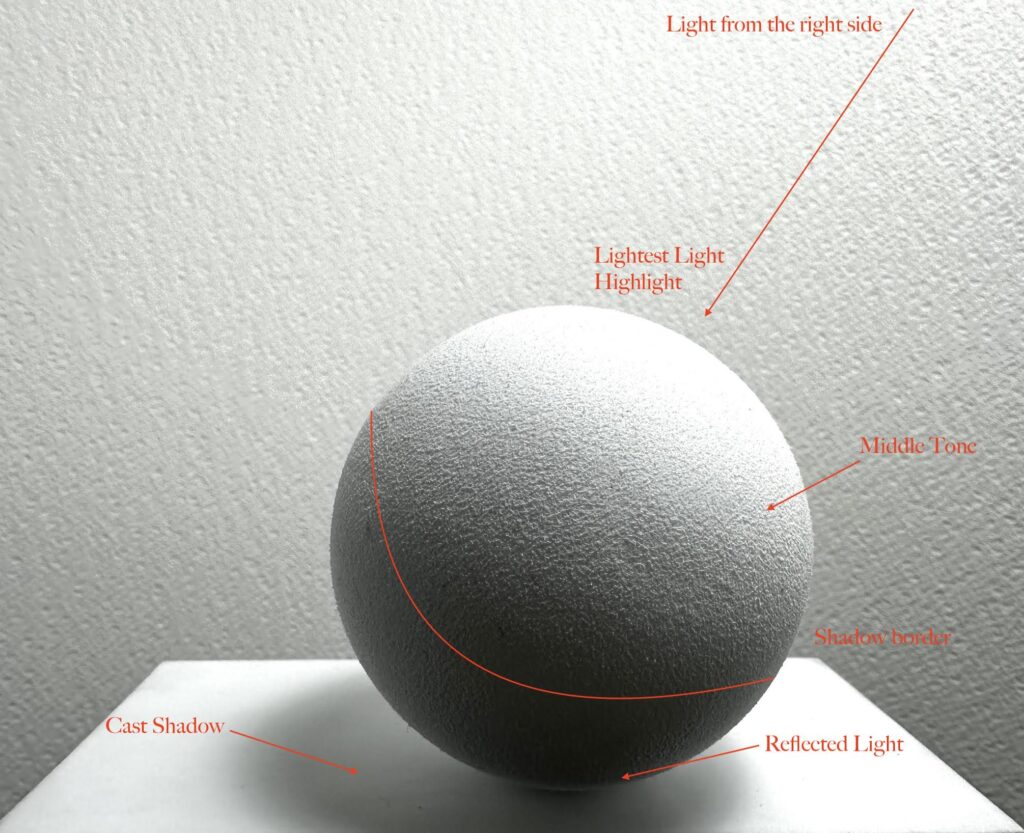
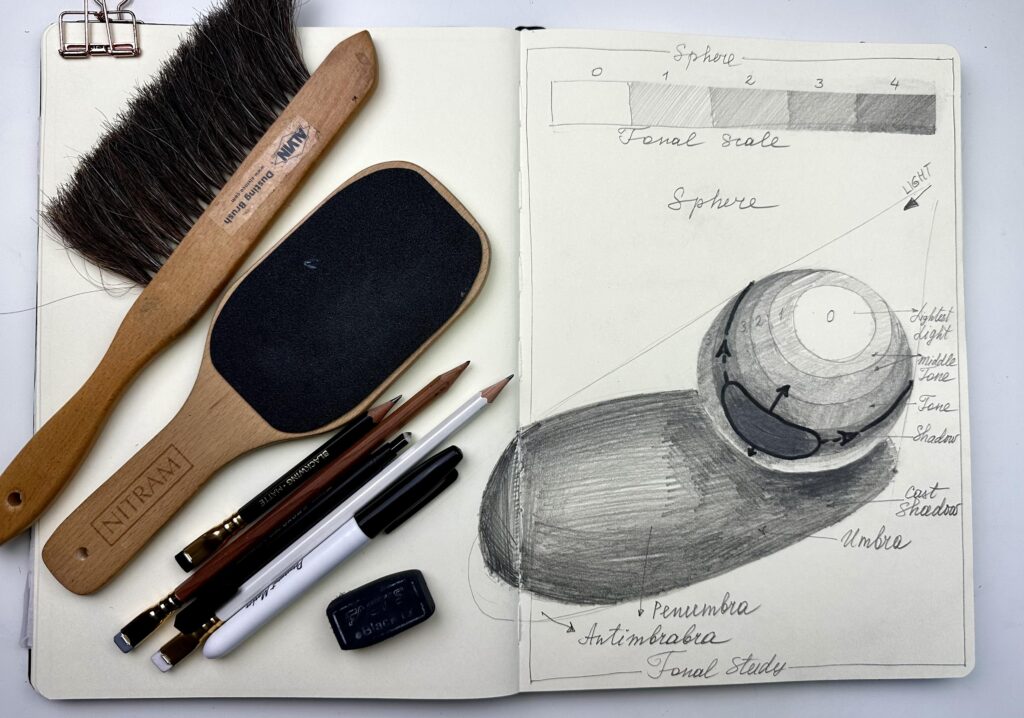
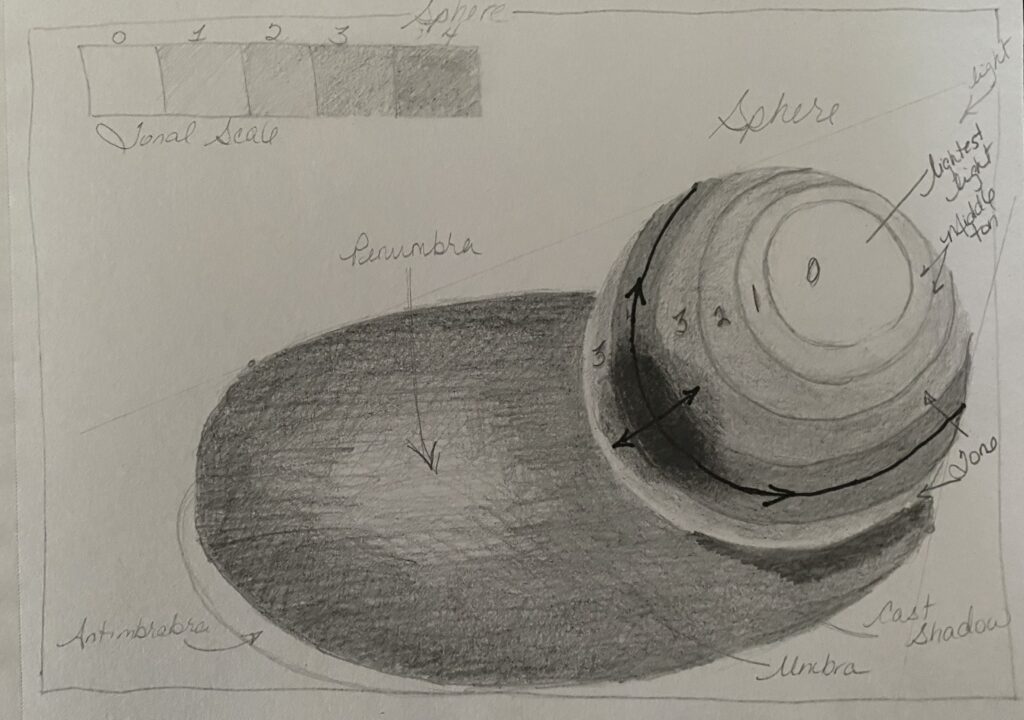
In this lesson, we study how light reveals the form of an object and creates its sense of volume. The way light falls determines the tonal division of an object into distinct zones: lightest light, highlight, middle tone, tone, core shadow, reflection and cast shadow.
Direction of Light
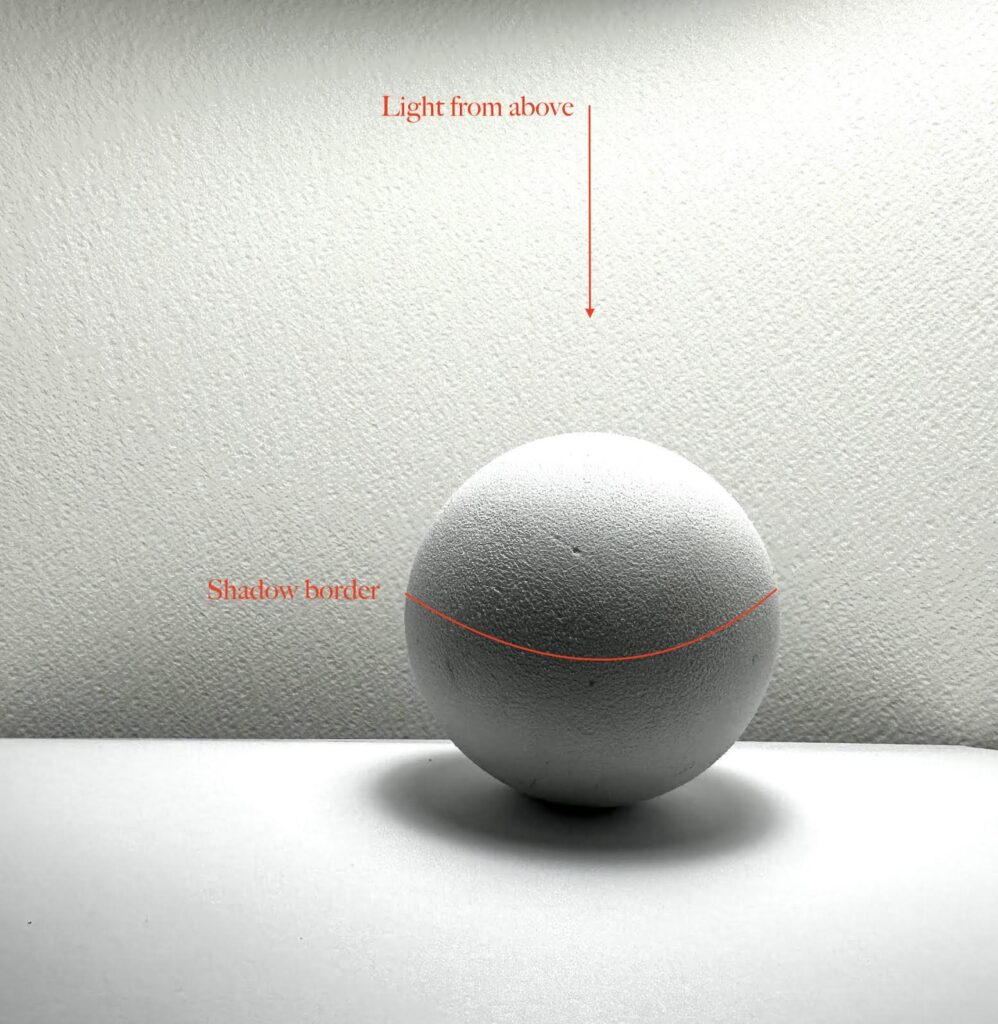
The direction of light plays a key role in defining the tonal pattern. When the light source is frontal, the transitions between light and shadow are smooth, and the overall contrast is low. With side lighting, the form appears more dramatic and the contrast increases, one side of the object becomes illuminated, while the other side moves into deep shadow. When light comes from above, it creates natural daylight effects with shortened cast shadows. Backlighting or low-angle light produces expressive silhouettes and strong contrast between illuminated edges and dark masses.
Tonal Zones on the Object
Every object lit by a single light source can be divided into several main tonal areas:
Lightest Light or Highlight – the brightest spot directly facing the light source.
Light, Tone and Middle Tone – the gradual transition from bright to mid-tone areas; this defines the roundness of the form.
Core Shadow – the darkest part of the shadow on the object itself, located just beyond the halftone.
Reflection or Reflected Light – the softer, lighter area inside the shadow, caused by light bouncing from nearby surfaces. It gives depth and realism to the shadowed side.
Cast Shadow – the shadow the object throws onto the surface it rests on; it helps “anchor” the object in space.
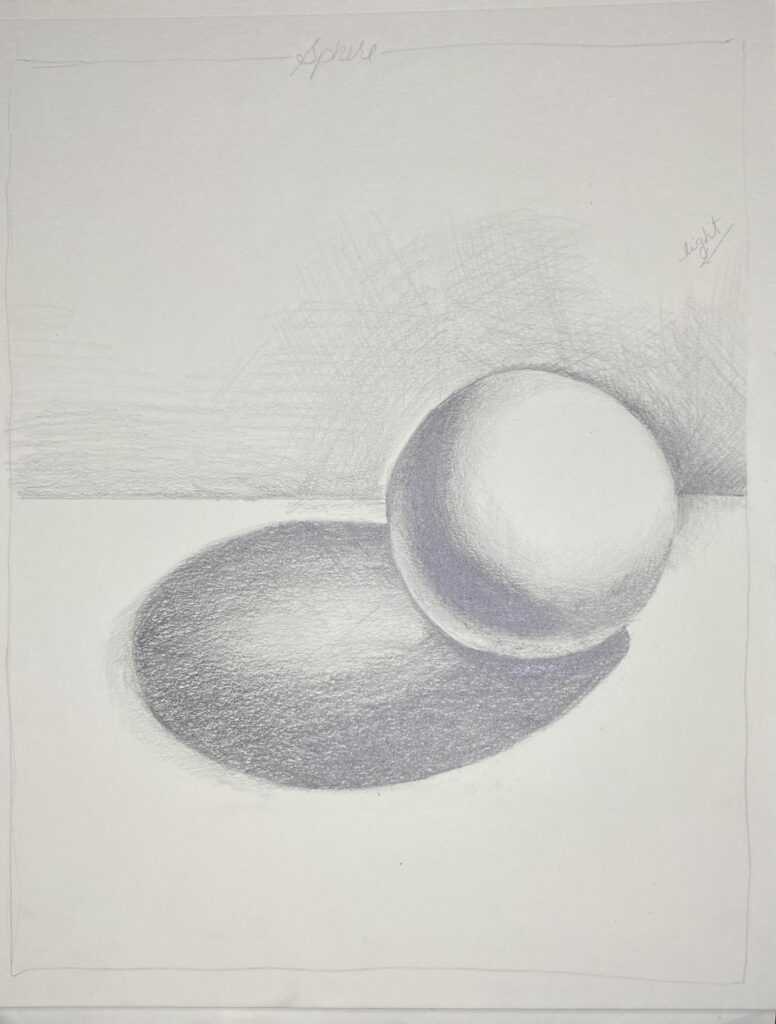
OVAS APD L2 Sphere Side Light
Change of Shadows with Light Direction
As the light source moves, all the tonal zones shift:
The lights light and core shadow move according to the new direction of the light.
The cast shadow changes its length and direction – it becomes longer when the light is lower, shorter when it’s higher.
As I mentioned in the video above, try a visual exercise observing “location” and value tones of the cast and core shadow on the subjects around you in different time of day or with different light course.
You can see on this image that the location and form of the core and cast shadows are different from when the lite course is from side position.
Reflection and Color Interaction
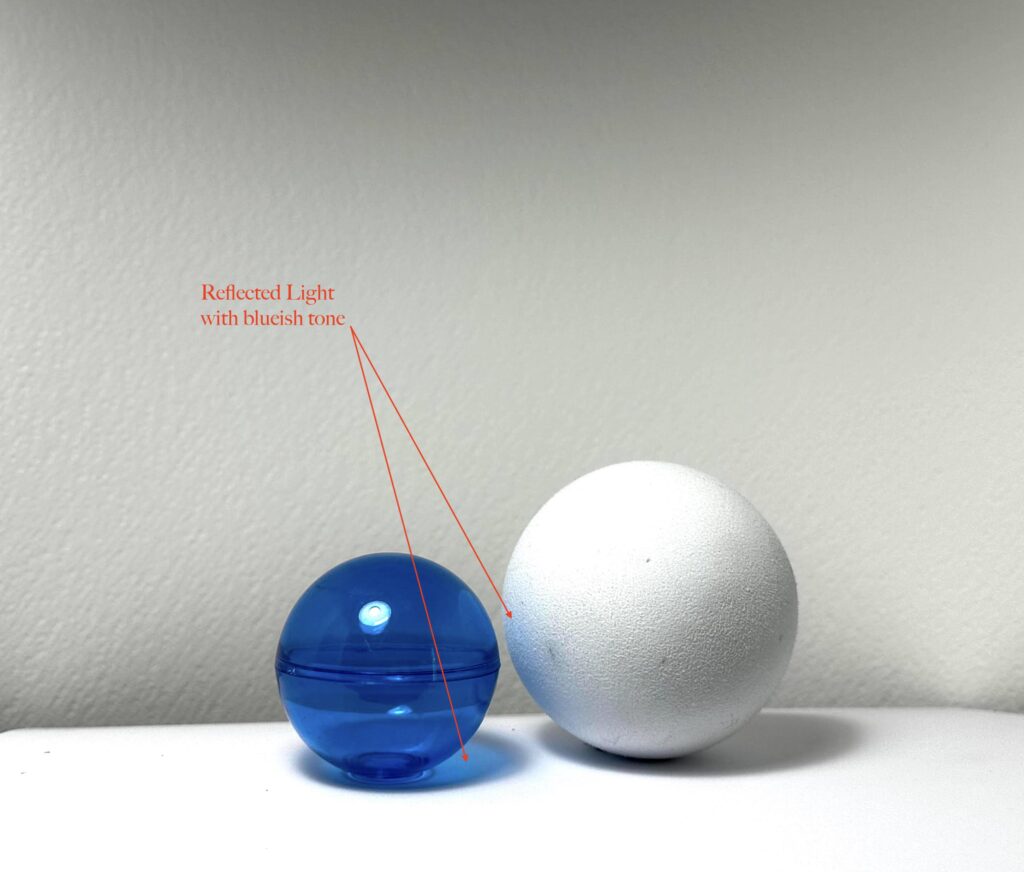
In real life, objects influence each other through reflected light. A coloured surface reflects part of its hue onto neighbouring objects. For example, a blue ball placed beside a white surface will cast a subtle warm reflection on that surface, and the blue ball’s shadow may contain soft bluish tones. Or, the wooden (yellowish) ball on other side will project the yellowish tone on fat white ball and has yellowish toned cast shadow.
This phenomenon enriches the realism of your drawing or painting and connects all the objects harmoniously within a single light environment.
OVAS APD L2 Sphere Blue Ball 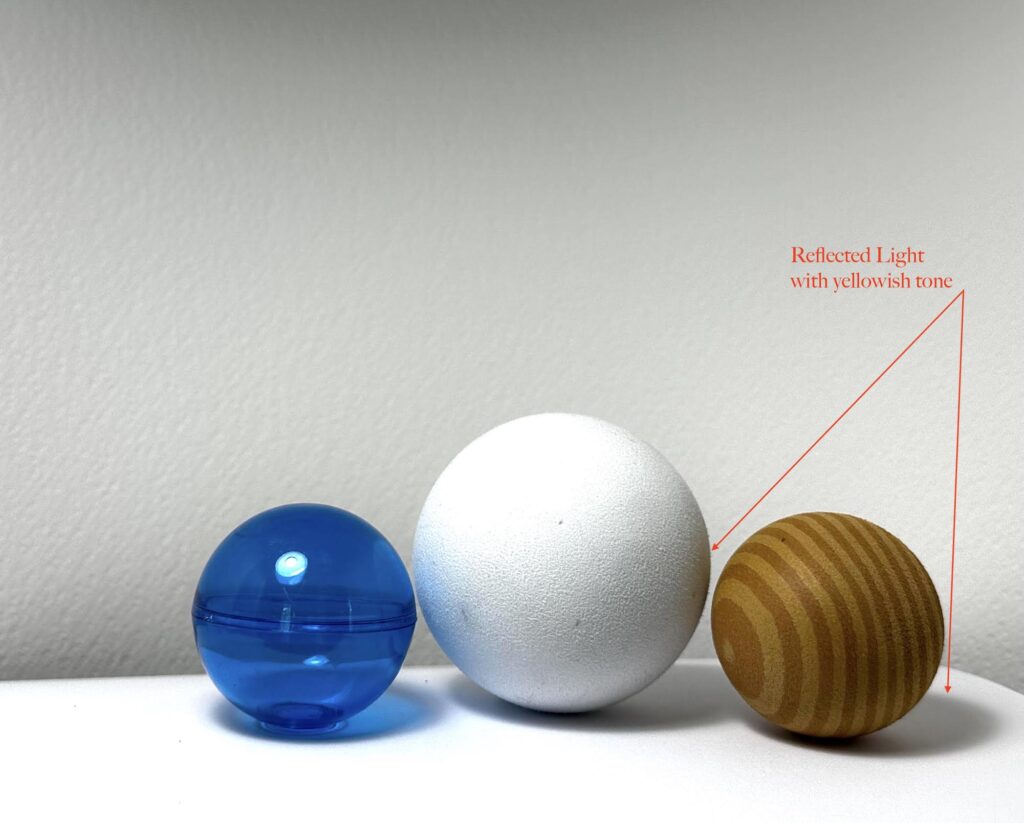
OVAS APD L2 Sphere Wooden Ball
For now, let’s move forward and begin practicing how to create beautiful tonal values!
PRACTICAL EXERCISES
Cylinder Tonal Study 
Cylinder Gradation 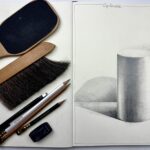
Cylinder Practice 
Sphere Tonal Study 
Sphere Practice 
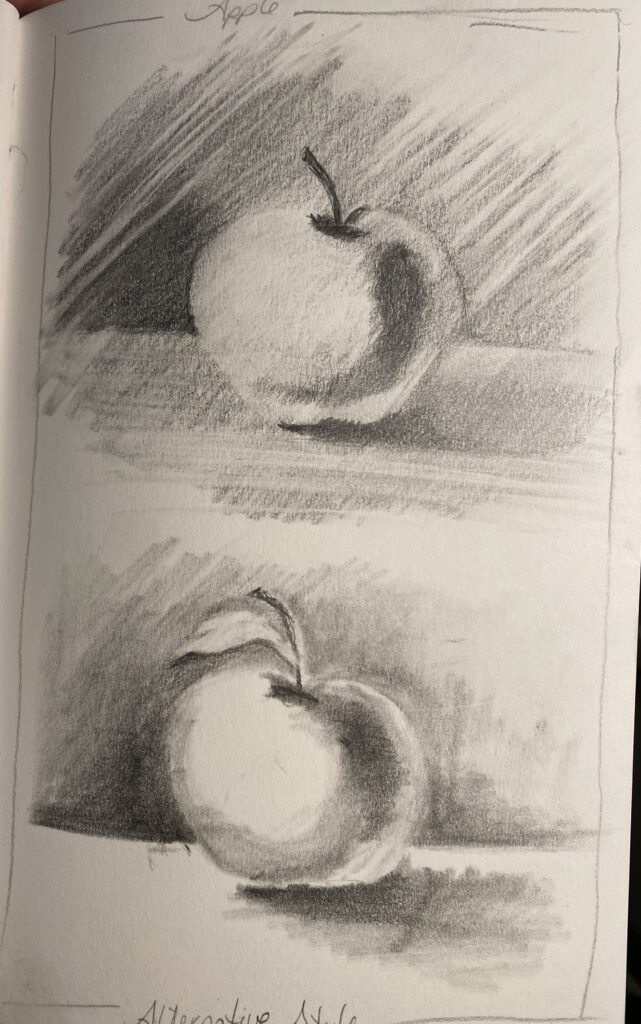
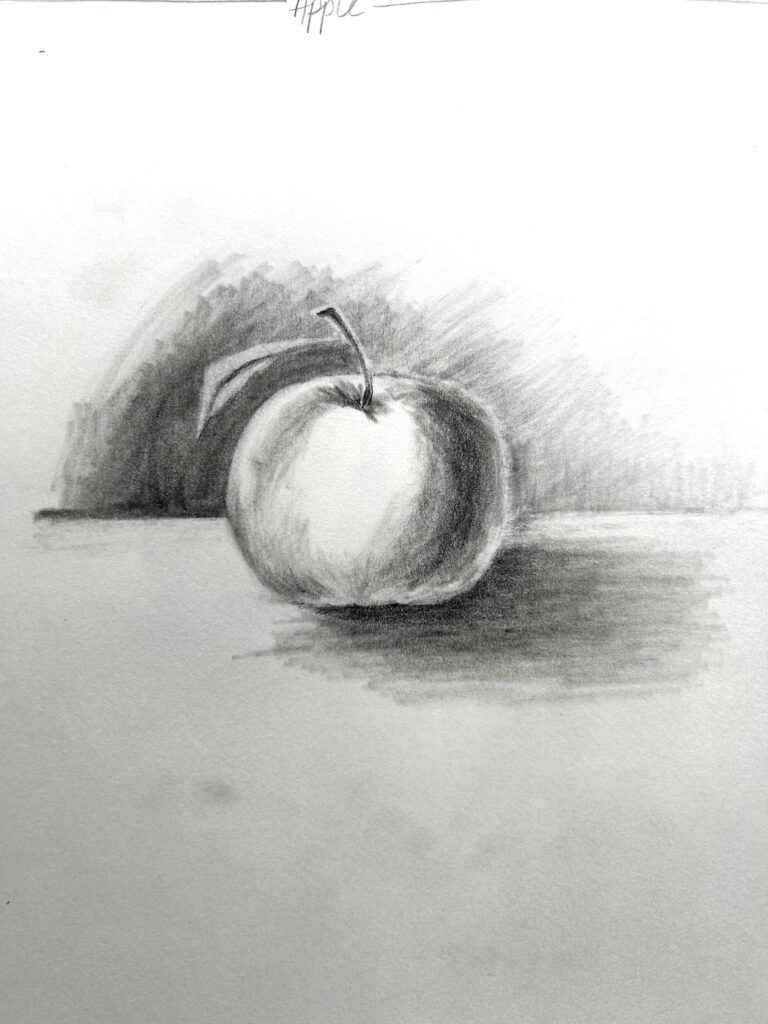
Apple Practice 
Apple Alternative Styles
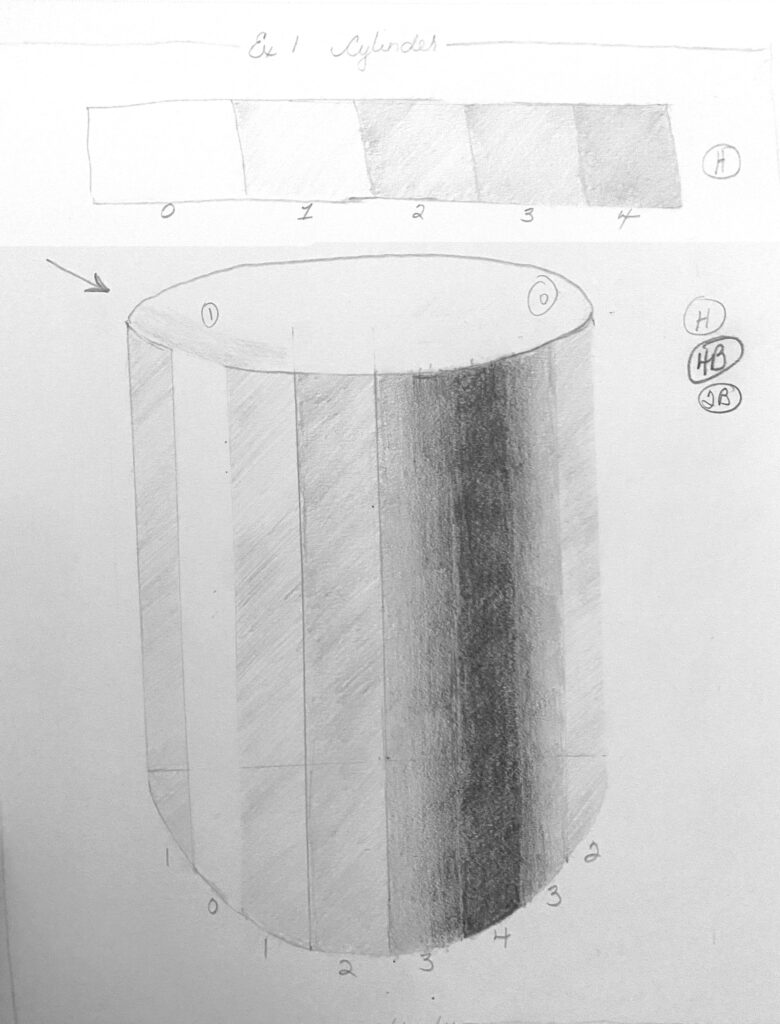
The practical work starts with The Part 1. Cylinder – a form that helps us understand the logic of light moving across curved surfaces.
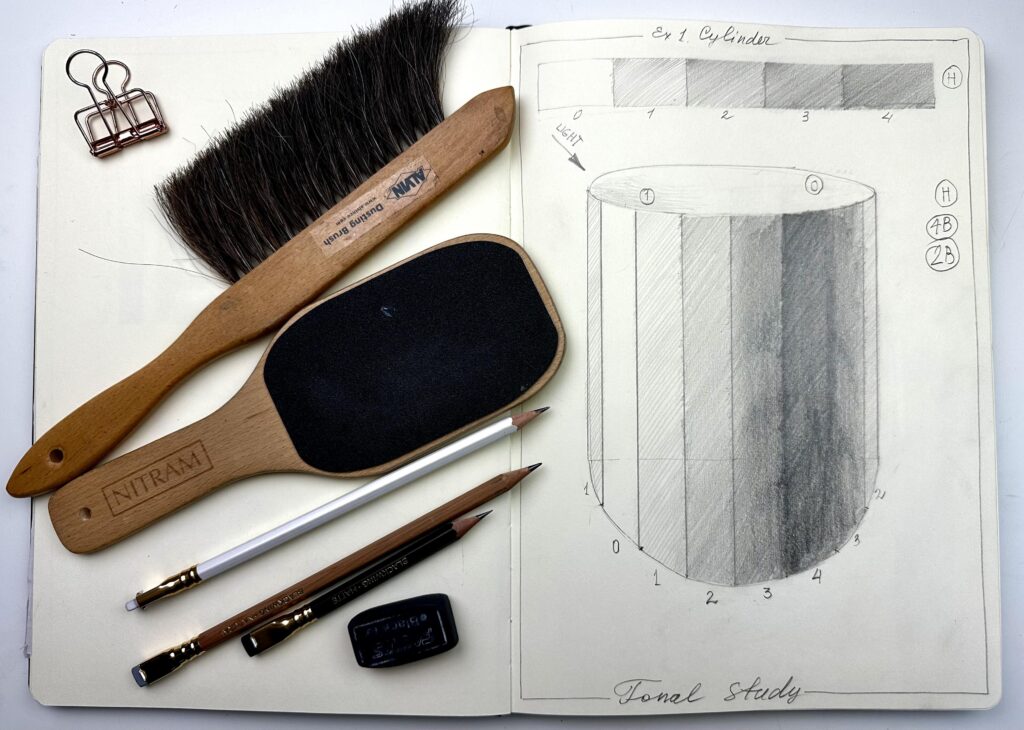
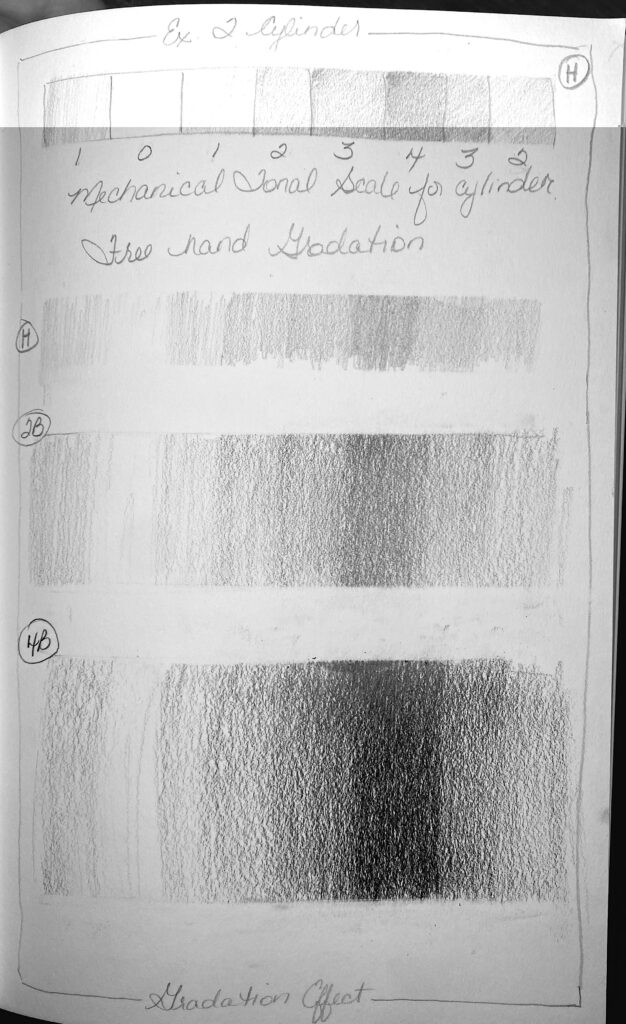
Exercise 1. Tonal Study, where you will create a tonal scale to understand transitions from light to dark using various pencil grades (H, 2B, 4B).
Exercise 2. Gradation Effect, where you will practice smooth tonal transitions both mechanically and freehand to develop precision and hand control.
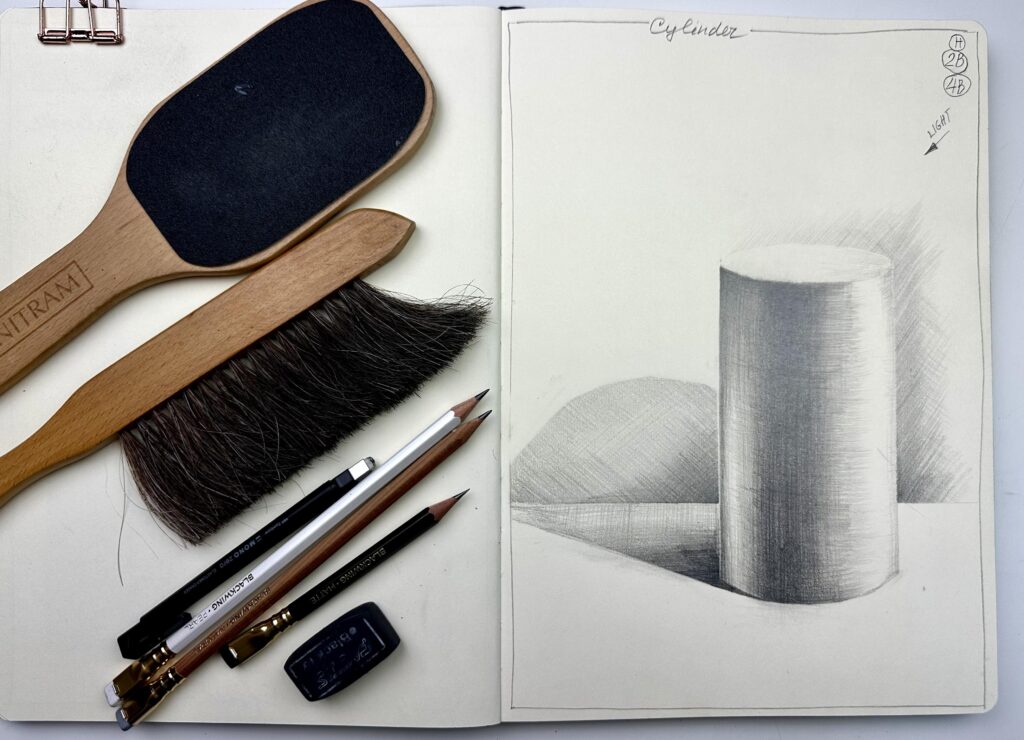
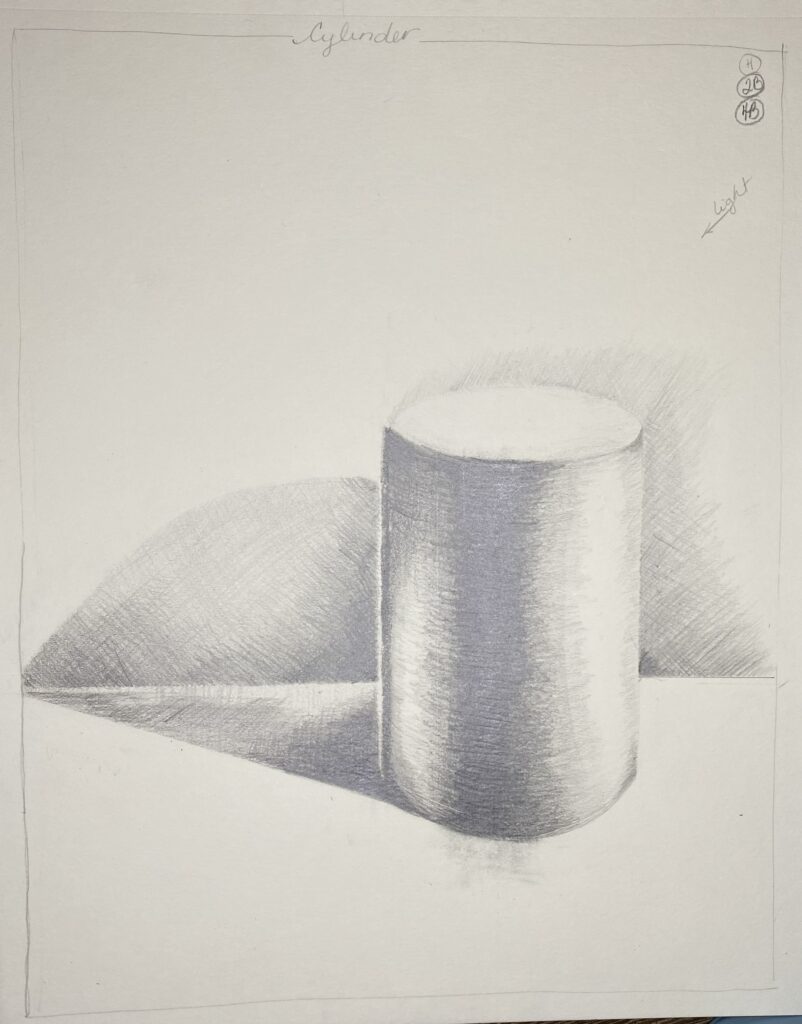
Exercise 3. Cylinder Practice, where you will learn how to apply tonal perspective rules to depict the full volume of the cylinder, including accurate cast shadow and reflected light.
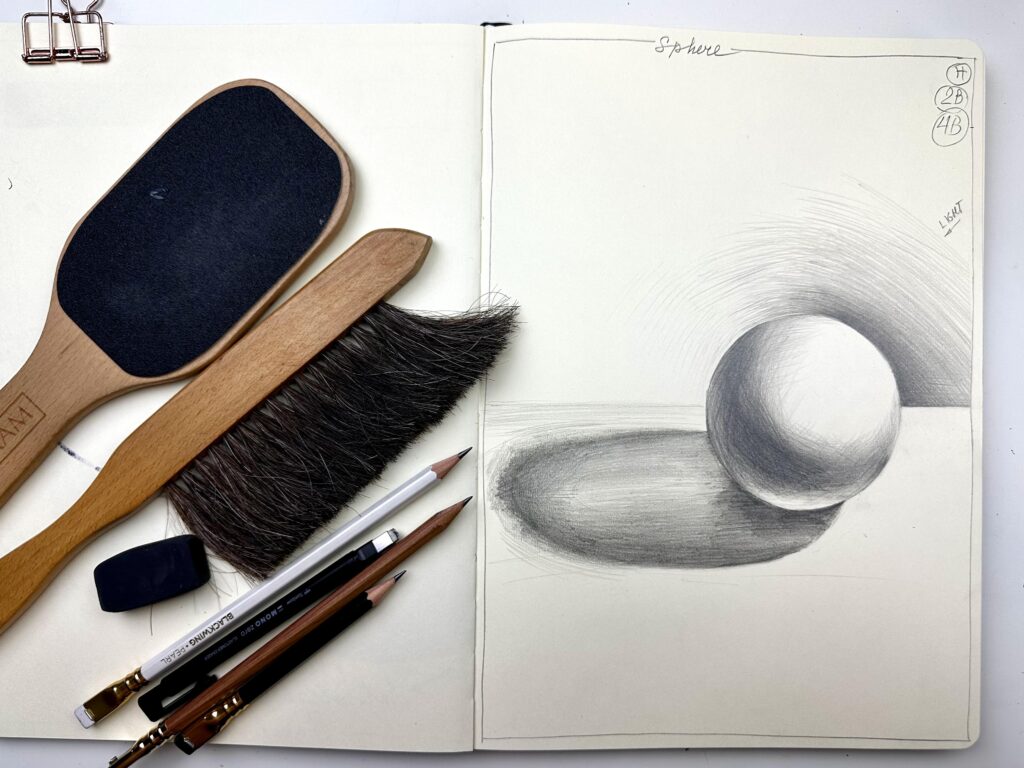
Part 2. Sphere. The sphere introduces the concept of radial light distribution.
Exercise 4. Sphere. Tonal Study, where you will build a tonal scale and identify all key tonal zones.
Exercise 5. Sphere Practice, where you will construct a realistic sphere using layered pencil tones to represent the gradual shift from light to shadow, creating the illusion of roundness and volume.
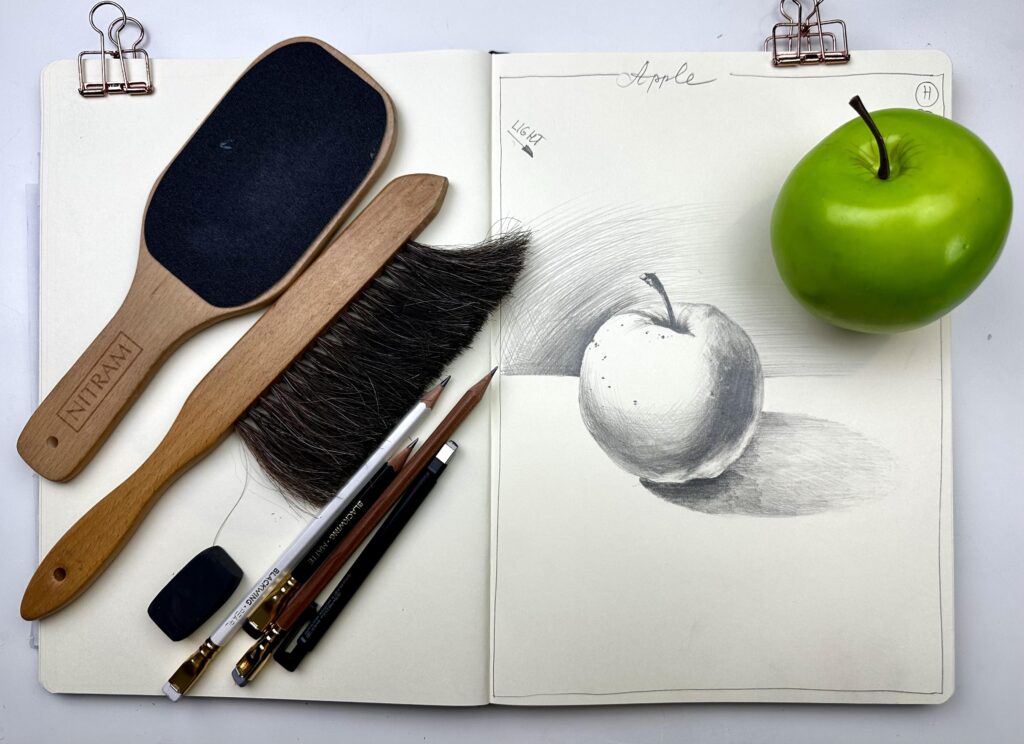
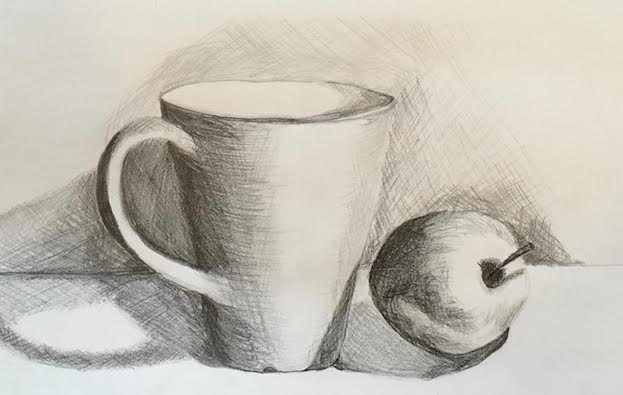
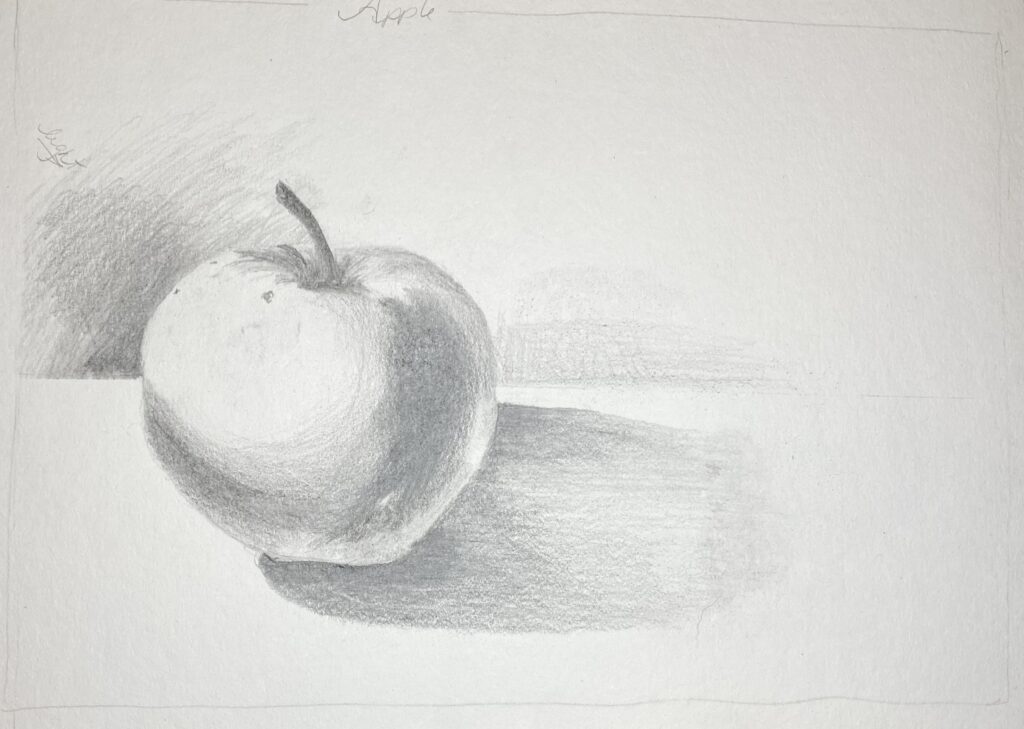
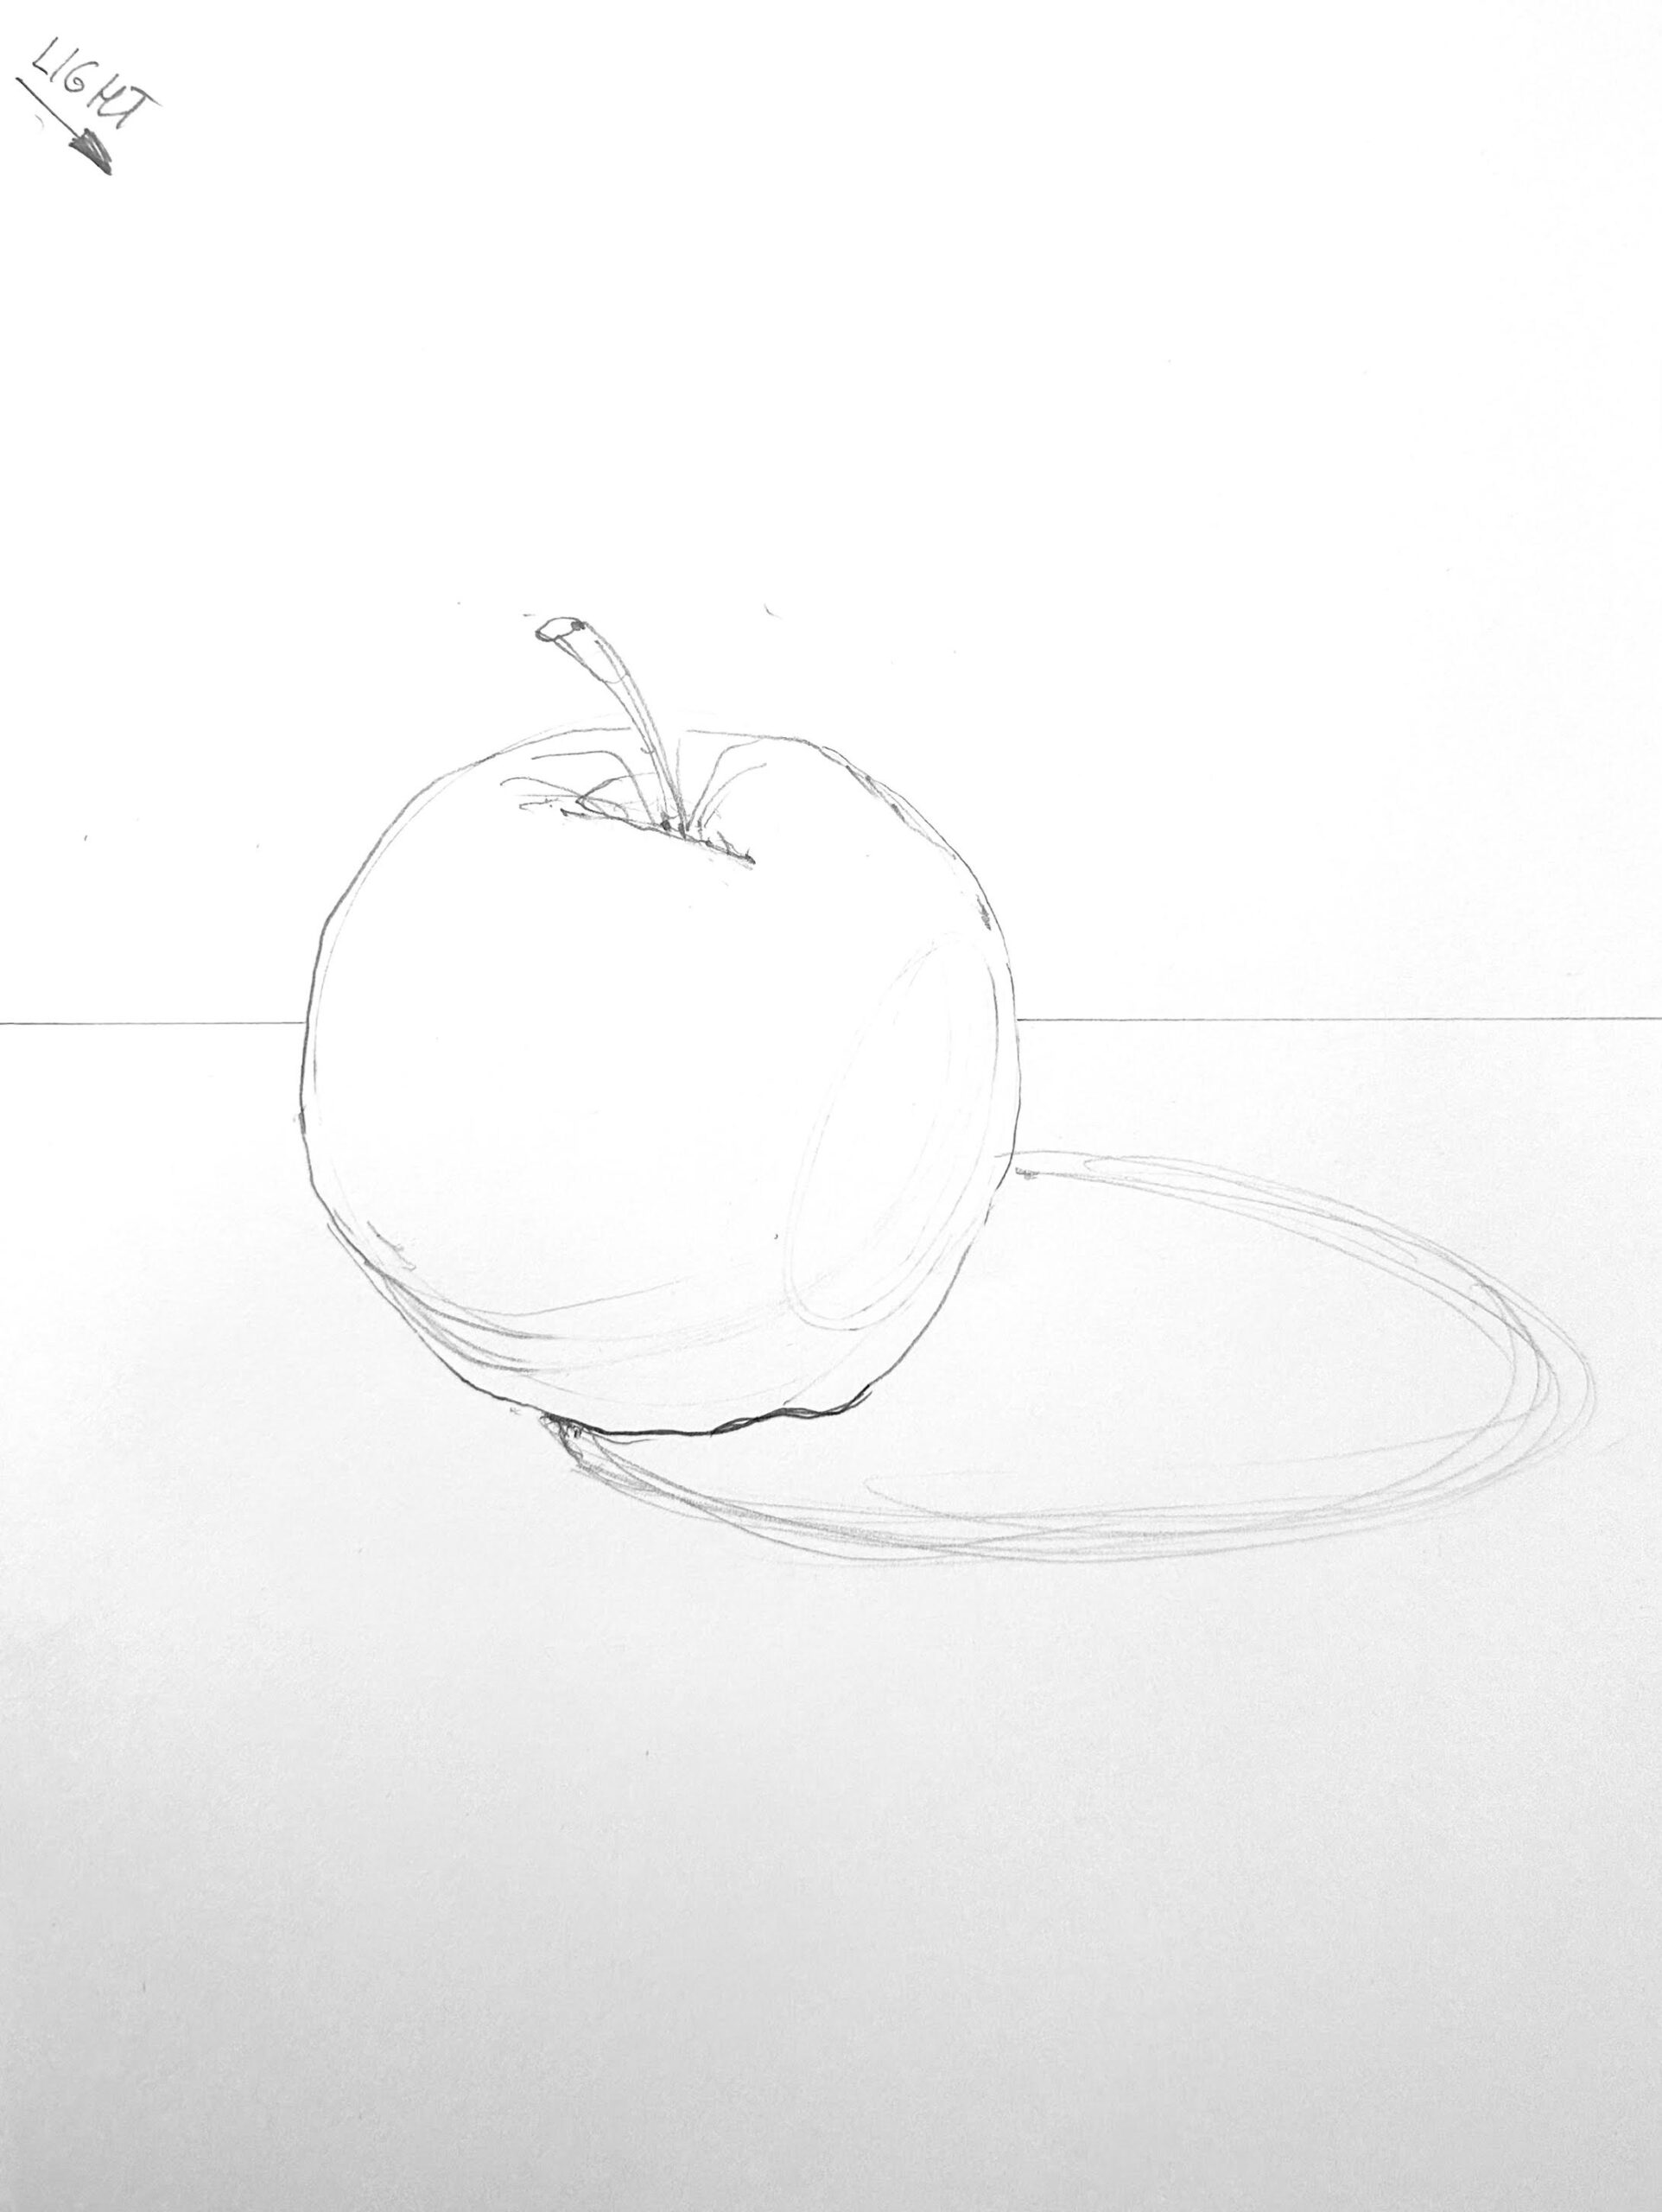
Part 3. Apple. In the final part of the lesson, we apply the knowledge gained from geometric forms to a natural object – an apple.
Exercise 6. Apple Study, where you will use the tonal principles of the sphere to build the volume of the apple with realistic light and shadow.
Exercises 7 & 8. Apple. Alternative Styles, where you will experiment with two expressive sketching styles to explore different approaches to graphite texture and tone application.
By the end of this lesson, you will gain a deeper understanding of tonal logic and the relationship between geometric form, light, and shadow, the skills that form the backbone of analytical drawing.
Cylinder Tonal Study Cylinder Gradation Cylinder Practice Sphere Tonal Study Sphere Practice Apple Practice Apple Alternative Styles
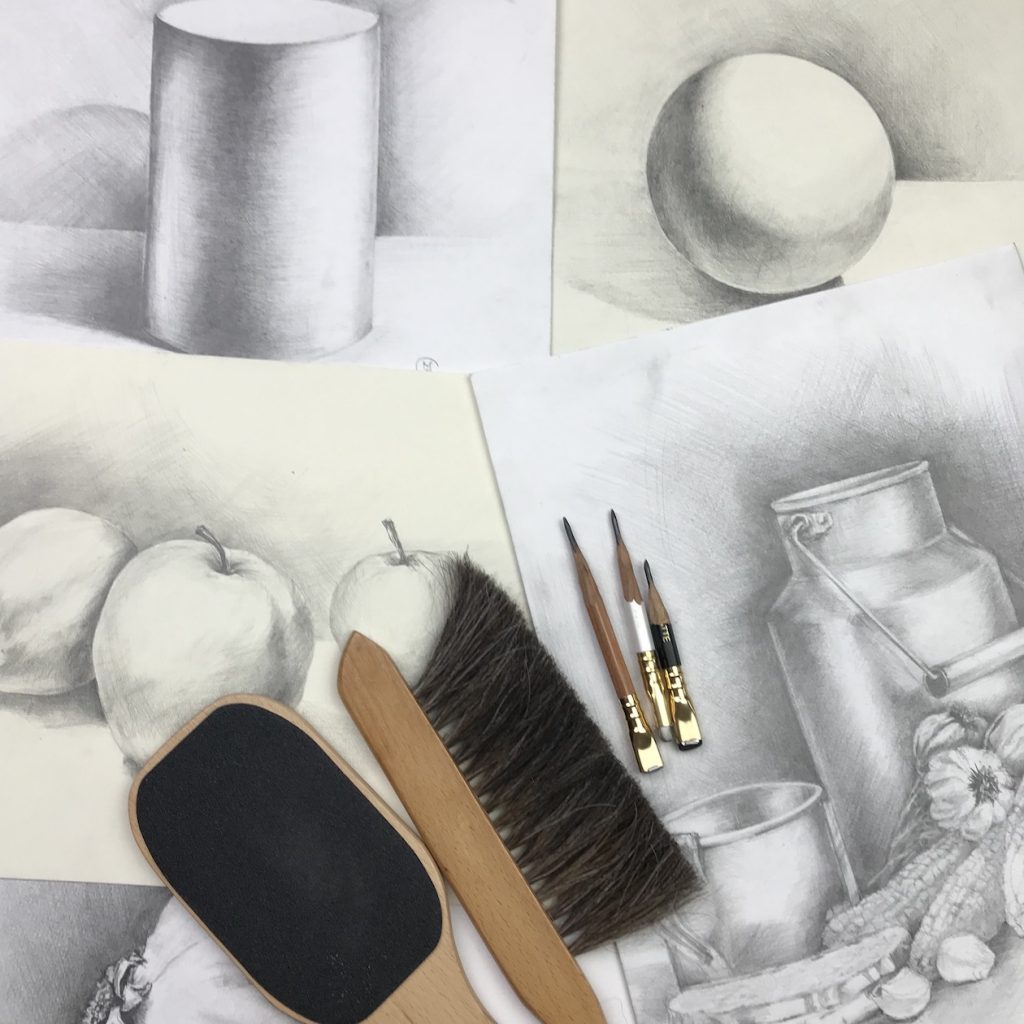
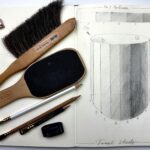
Materials you need for practical exercises:
- Any type of drawing paper (even printer paper will work just fine)
- Any brand of pencils 2H, H, 2B and 4B
- eraser (black and kneaded)
- pencil sharpener
- dust brush
- smudging stick (optional)
- a lot of time and patience


Materials used for the video demonstrations:
- Sketchbook TALENS Art Creation, 8.3 x 11.6 inches (21 x 29.7 cm)
- Pencils BLACKWING, extra-firm (H to 2H), balanced (2B), soft (4B)
- Pencil DERWENT, 2H
- eraser FACTIS Black 16
- kneaded eraser FABER-CASTELL
- eraser TOMBOW Mono, rectangular and round shape
- Sharpening block NITRAM
- dust brush
- parchment paper
- paper clips
- smudging stick
To print:

OVAS APD L2 Cylinder Classwork Reference 
OVAS APD L2 Cylinder 
OVAS APD L2 Sphere Reference 
OVAS APD L2 Sphere 
OVAS APD L2 Apple Reference 1 
OVAS APD L2 Apple Reference 2 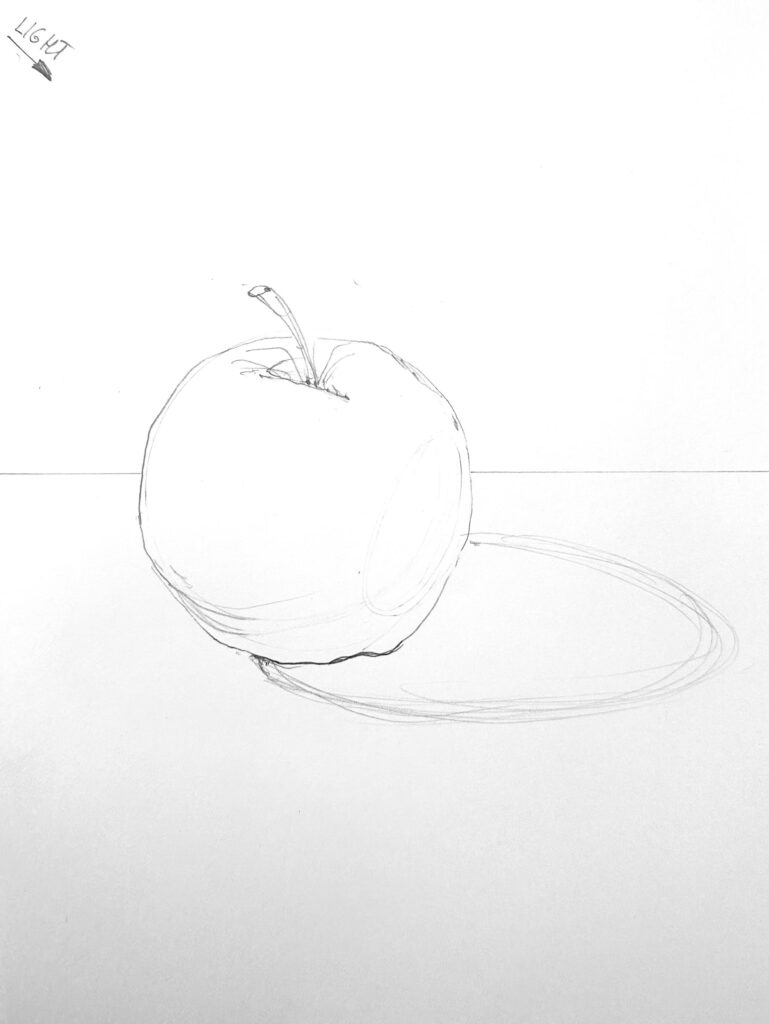
OVAS APD L2 Apple Template 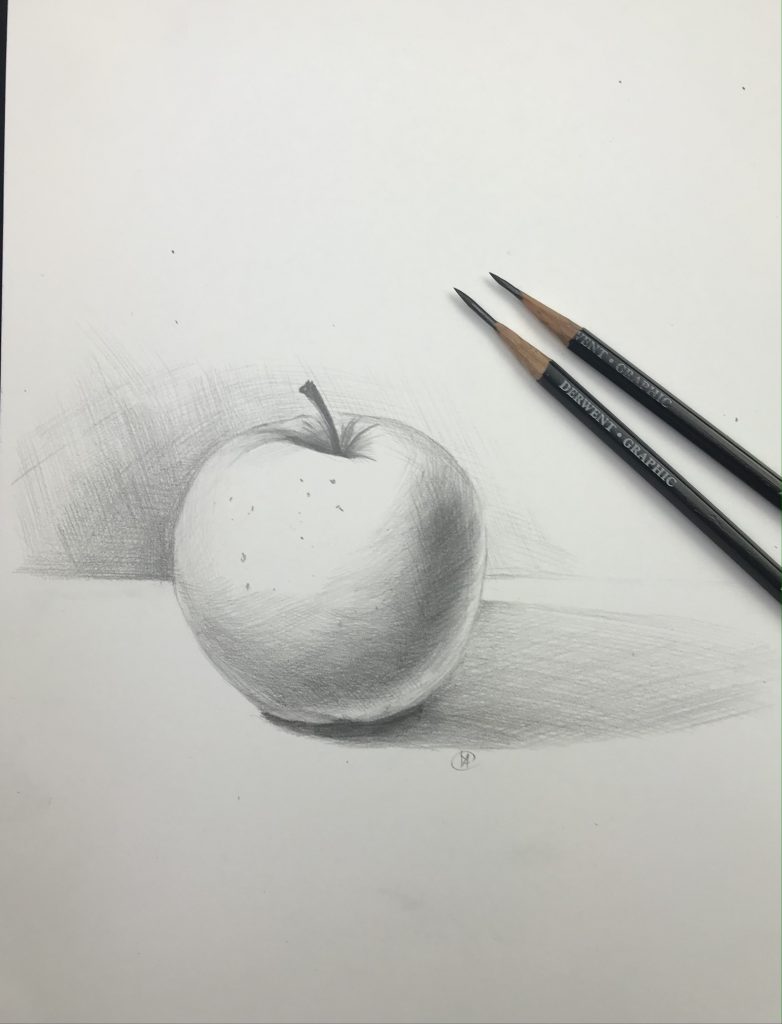
OVAS APD L2 Apple
These PDF files were created when I first began offering this course online via ZOOM, before I developed the Art Studio website. You can download these earlier versions of Lesson 2 and keep it for your personal practice.
Exercise 1. Cylinder. Tonal Study
Estimated time to complete the exercise(s): about 30-40 minutes

This full-length video is the same footage as the one before, but it has not been sped up, so you can observe the intricate details of the hatching as it happens.
Curious about the full details? Watch this unedited version to see the hatching process in real time.

To print for homework references:

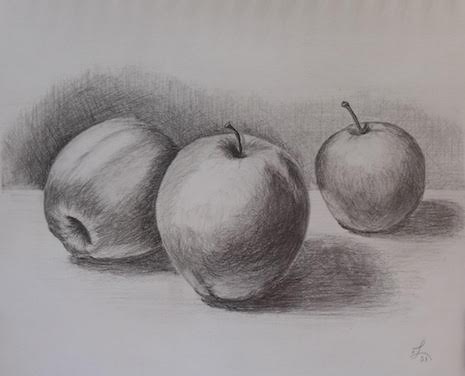
OVAS APD L2 Three Apples Reference Colour 
OVAS APD L2 Three Apples Reference BW 
OVAS APD L2 Three Apples Pencil 
OVAS APD L2 Pomegranate Reference Colour 
OVAS APD L2 Pomegranate Reference BW 
OVAS APD L2 Pomegranate Pencil 
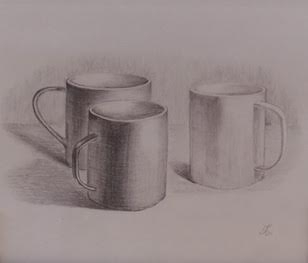
OVAS APD L2 Three Cups Reference BW 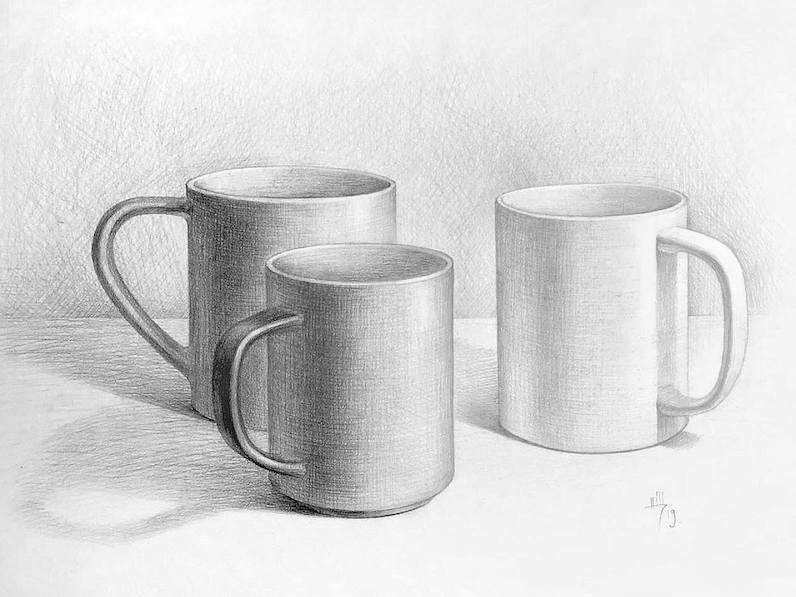
OVAS APD L2 Three Cups Pencil 
OVAS APD L2 Cup Apple Reference 
OVAS APD L2 Two Cups Apple Reference
Use these buttons to navigate the lesson content
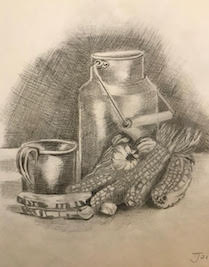
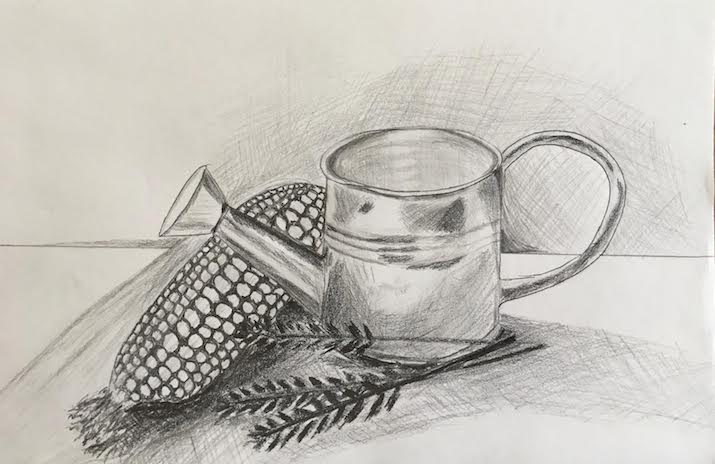
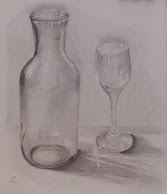
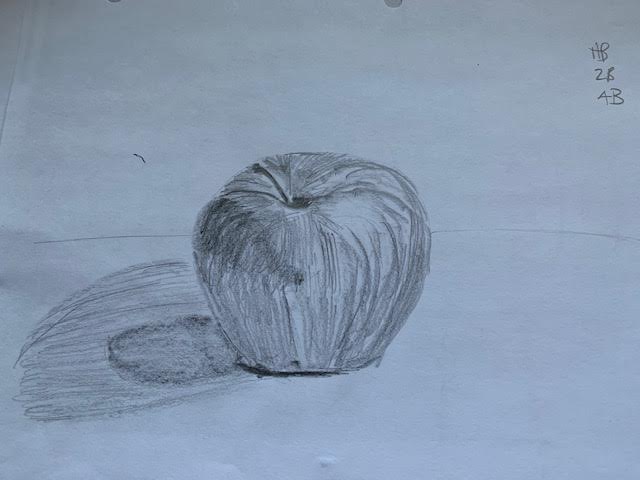
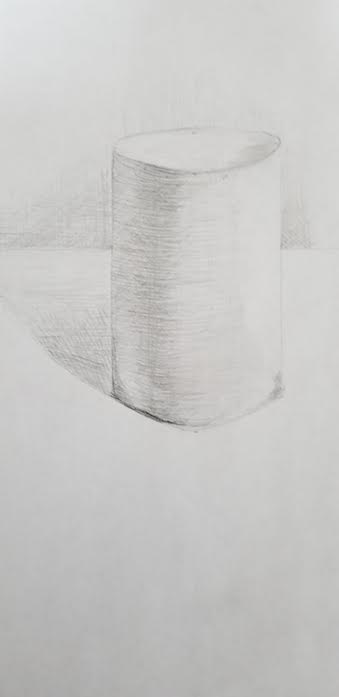
Student’s work
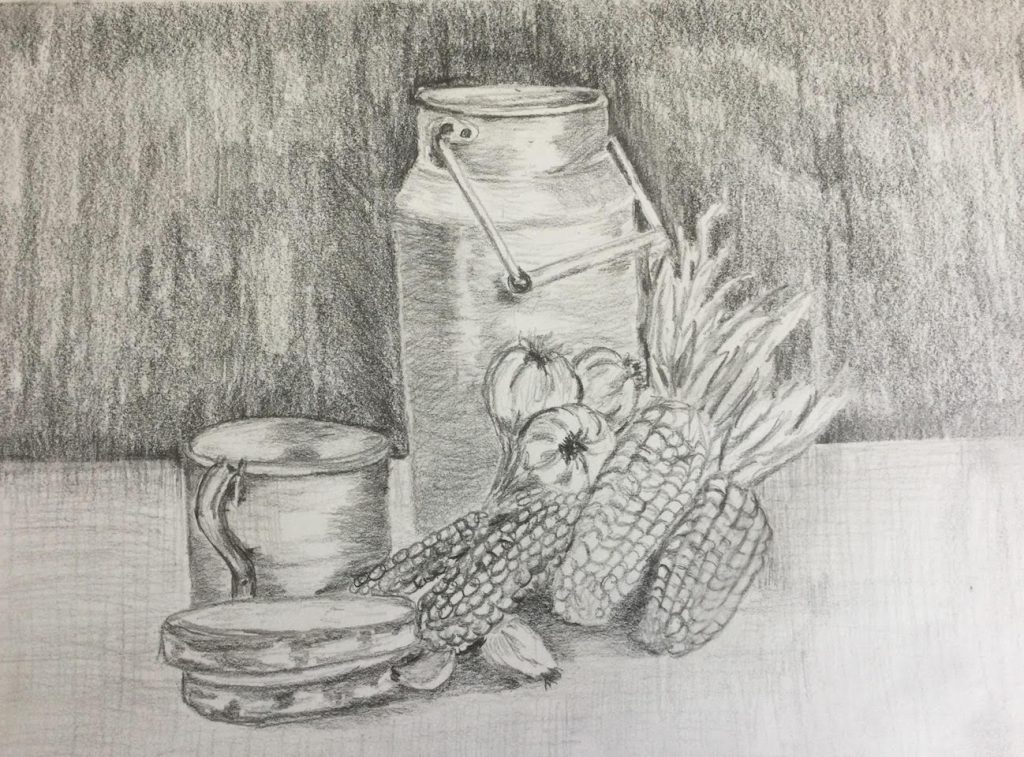


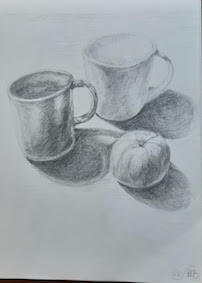


Isabel 2026 


isabel 2026 


Use these buttons to navigate the lesson content
Additionally for this class you will need (optional):
- any round subject (ball, apple, orange)
- Printer paper - a few sheets;
- Tape and scissors;
- Table lamp.