
Lesson 4
Understanding Depth, Air, and Multilayered Space in Pencil Drawing
In Lesson 4, we explore one of the most transformative concepts in analytical drawing: how to see and interpret the depth of shadow. This lesson teaches you how to train your eyes to recognize subtle tonal transitions, how air behaves between layered forms, and how to translate that into convincing 3D illusions on paper.


We begin with a visual theory demonstration, showing how layered shapes cast shadows, overlap, and create pockets of atmospheric depth. You will also learn how to build your own simple model of layered “holes,” allowing you to study real shadows and understand how different planes interact.
The practical part of this lesson includes a series of carefully structured exercises designed to help you master the illusion of multilayered depth, intertwined objects, and organic textures. Piece by piece, you will learn how to separate forms, create believable air between them, and express complex shadows with clarity and confidence.
By the end of this lesson, you will understand how to create drawings that feel dimensional, alive, and full of dynamic energy, no matter the subject.
IMPORTANT: Please click on “MATERIALS” for a list of subjects you need to have for the visual exercises.
Use these buttons to navigate the lesson content
Please use this navigation button to jump directly to the homework upload section at the bottom of the lesson page
THEORY AND VISUAL EXERCISES

Demonstration 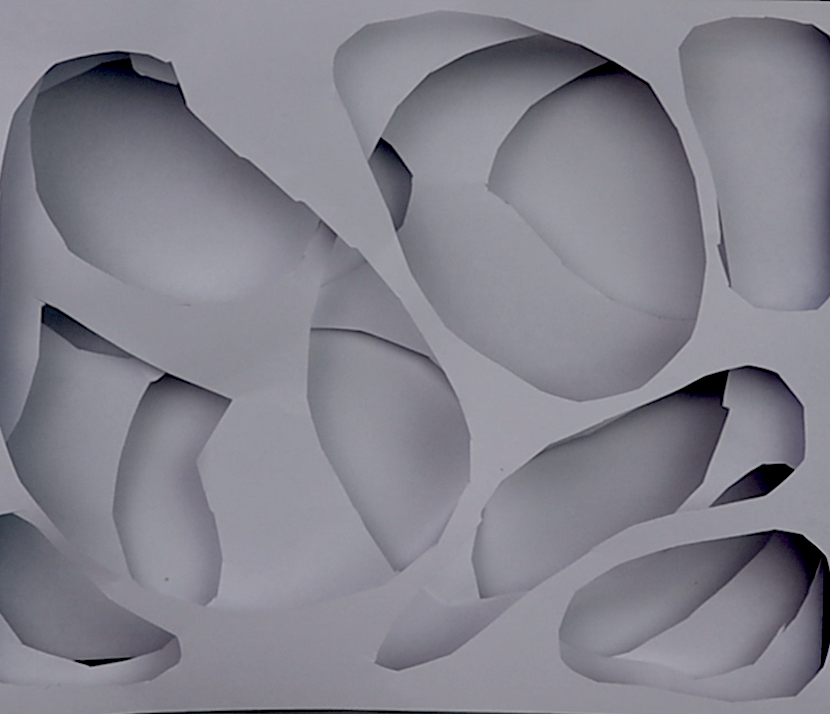
Model
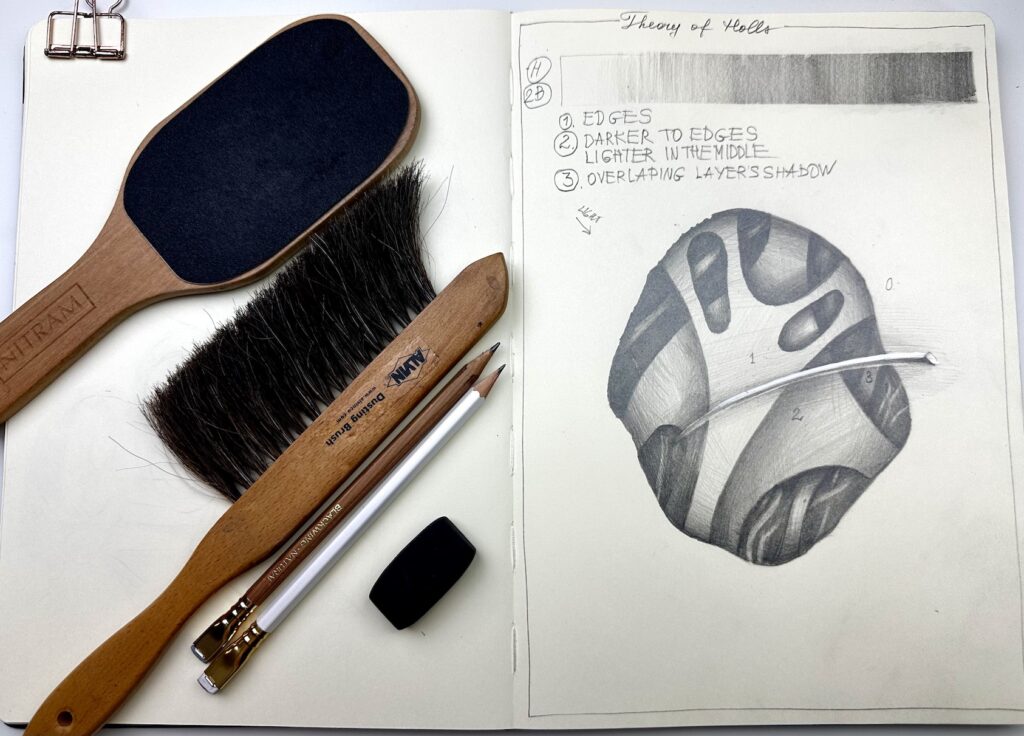
1. Theory of Holes – Visual Explanation
A guided explanation of how shadows behave inside layered shapes: where they deepen, where they soften, and how air between the layers affects the tonal transitions. You will learn to “see” depth before drawing it.
2. Theory of Holes – Building Your Own Model
You will construct a simple multilayer paper model to observe real shadows. This hands-on study helps you understand tonal variations, overlapping planes, and how light reveals structure.
Materials you need for this exercises:

- 6-8 medium size books, at least 1-2 cm thick
- Printer paper, a few sheets
- Scissors
- Tape
- Shoe box (optional)
- Table lamp
For now, let’s move forward and begin practicing how to air inside of any object and create beautiful and whimsical drawings!
PRACTICAL EXERCISES
Eraisers 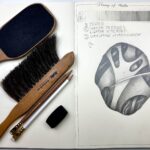
Hole 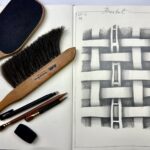
Busket 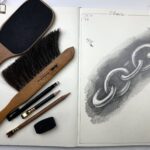
Chain 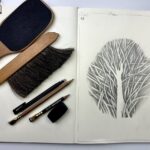
Tree 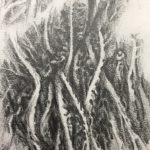
Seaweed 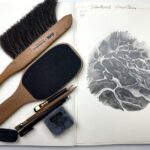
Limestone
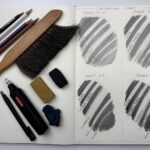
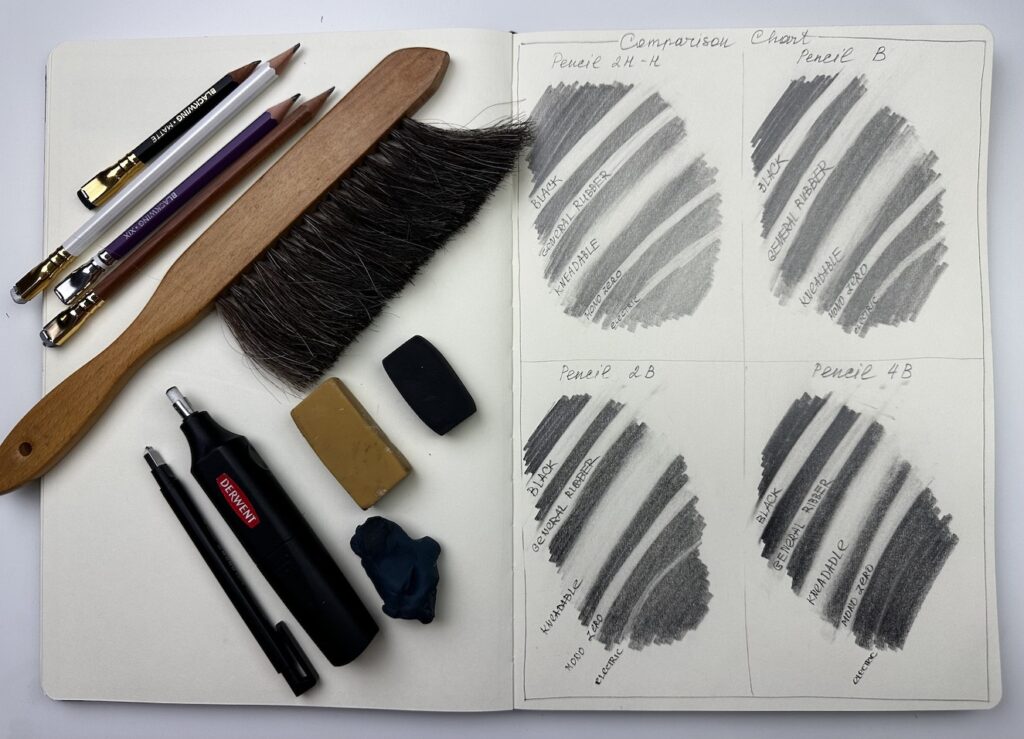
Exercise 1. Tool-testing exercise
A practical comparison of all your erasers to evaluate their performance with the pencils you use most often: H, B, 2B, and 4B. This exercise helps you understand which eraser works best for lifting graphite cleanly, creating highlights, and refining details across different softness levels of pencil.
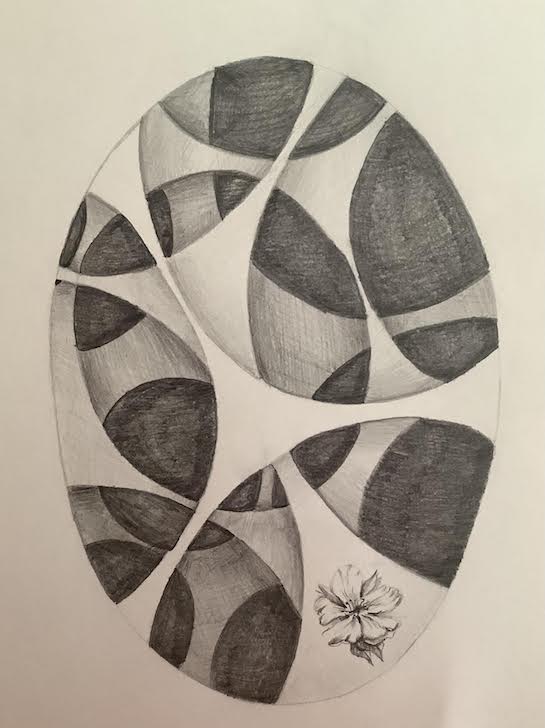
Exercise 2. The Hole
A foundational exercise where you learn to create the illusion of a layered opening. You will practice transitions from deep shadow to soft edge, building believable air and depth between each layer.
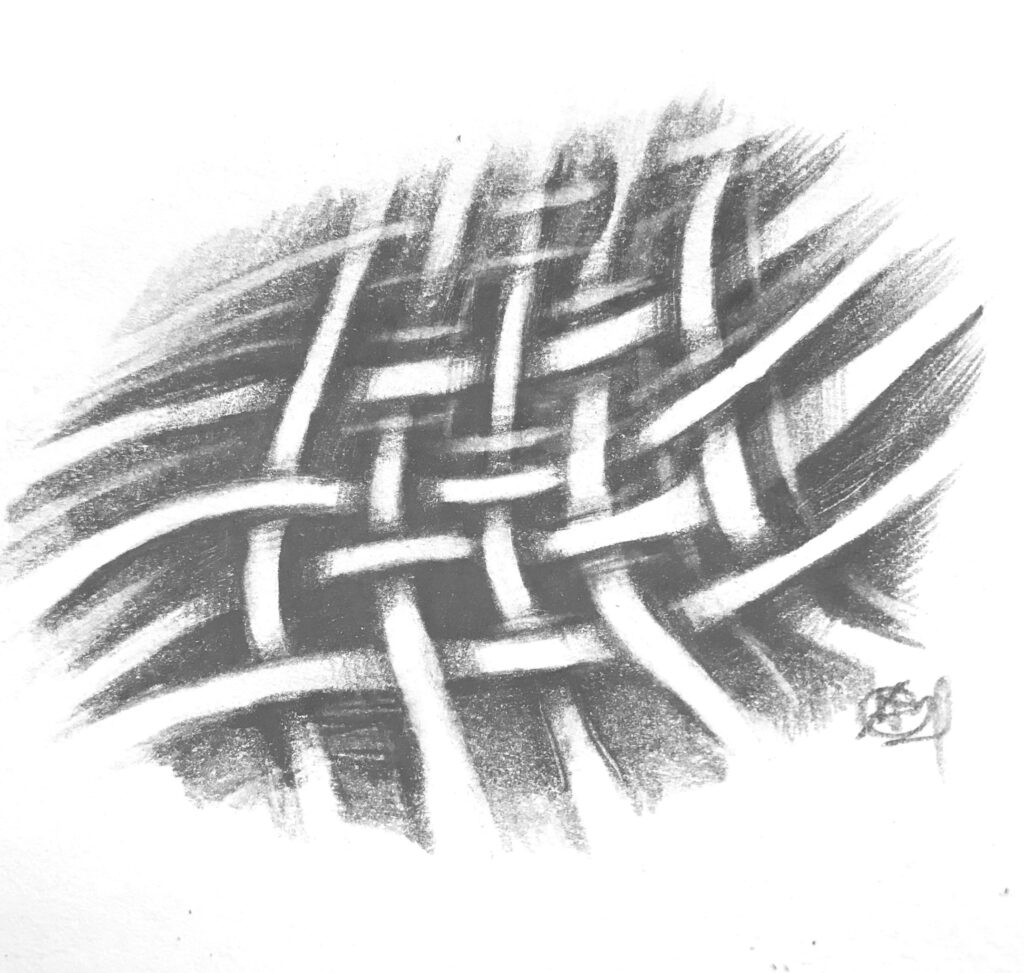
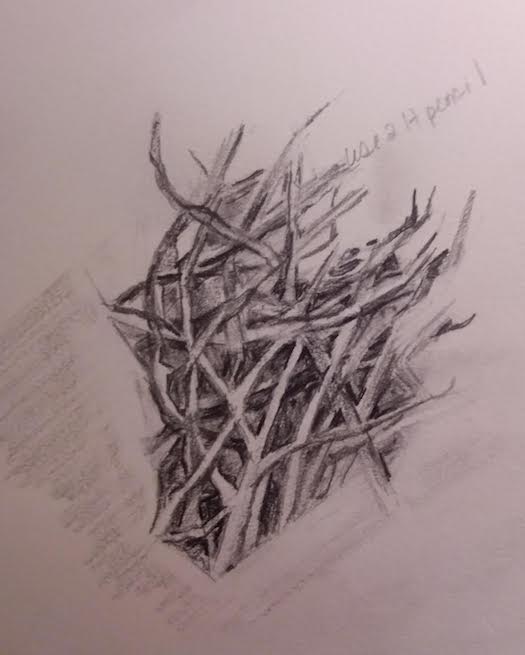
Exercise 3. The Bucket
A weaving-style exercise that teaches you how to draw intertwined strips and overlapping shadows. You will practice separating layers, strengthening contrast where needed, and keeping the form visually readable.
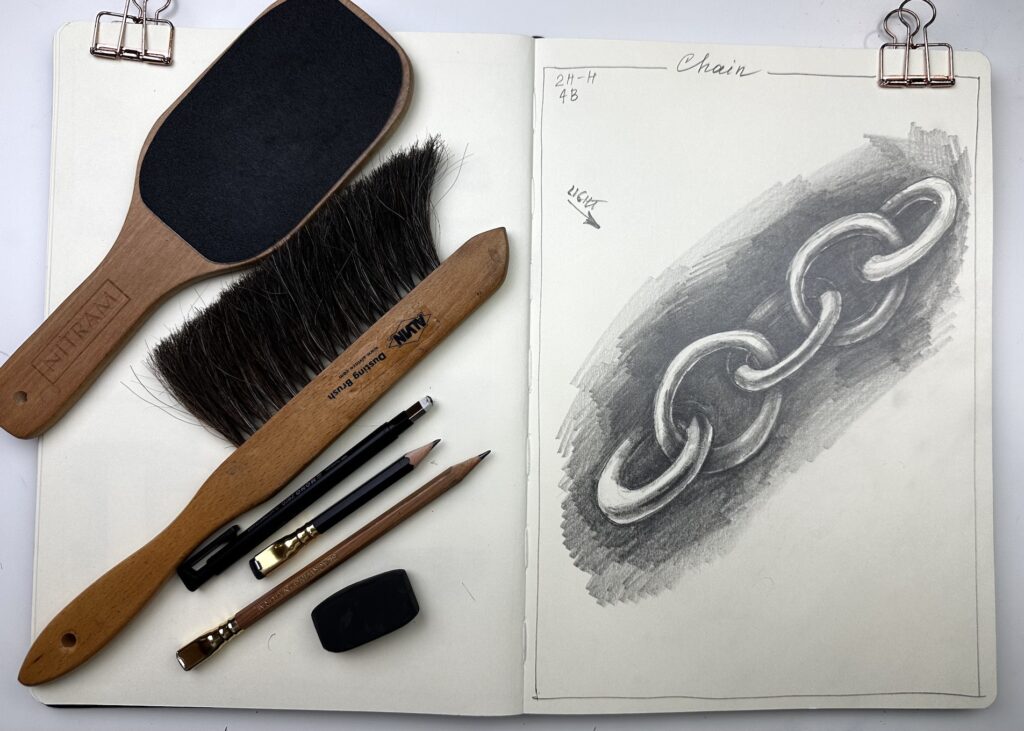
Exercise 4. The Chain
A study of interlocked metal rings. This exercise trains you to create 3D volume, cast shadow logic, and the air pockets between each ring—while keeping the motion and rhythm of the chain.
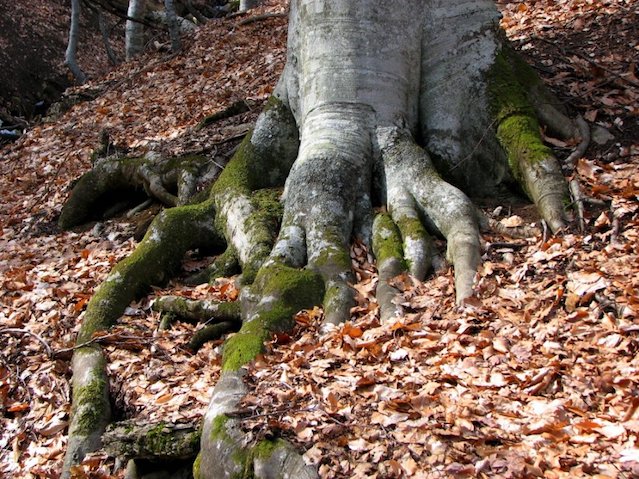
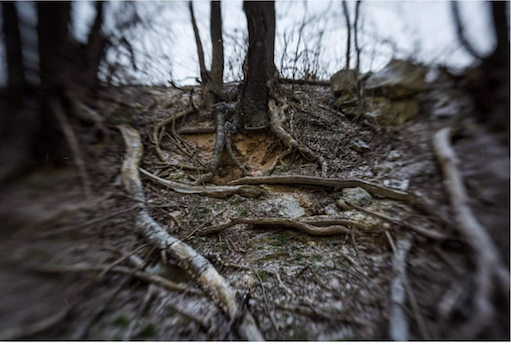
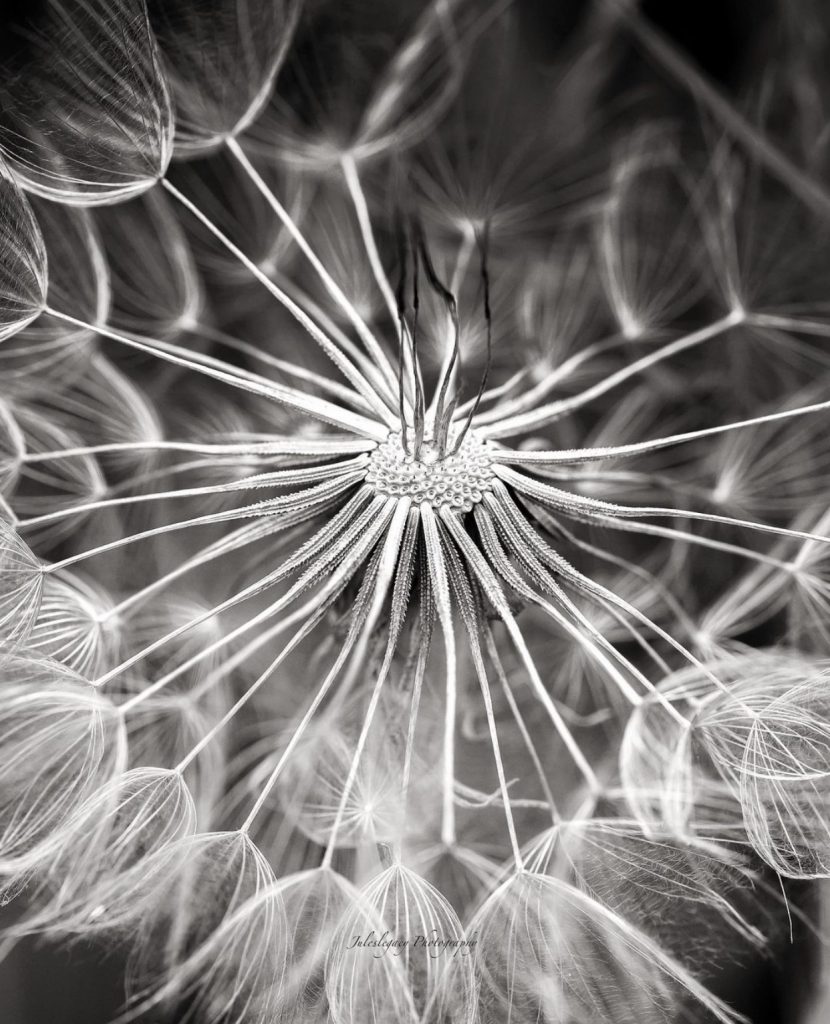
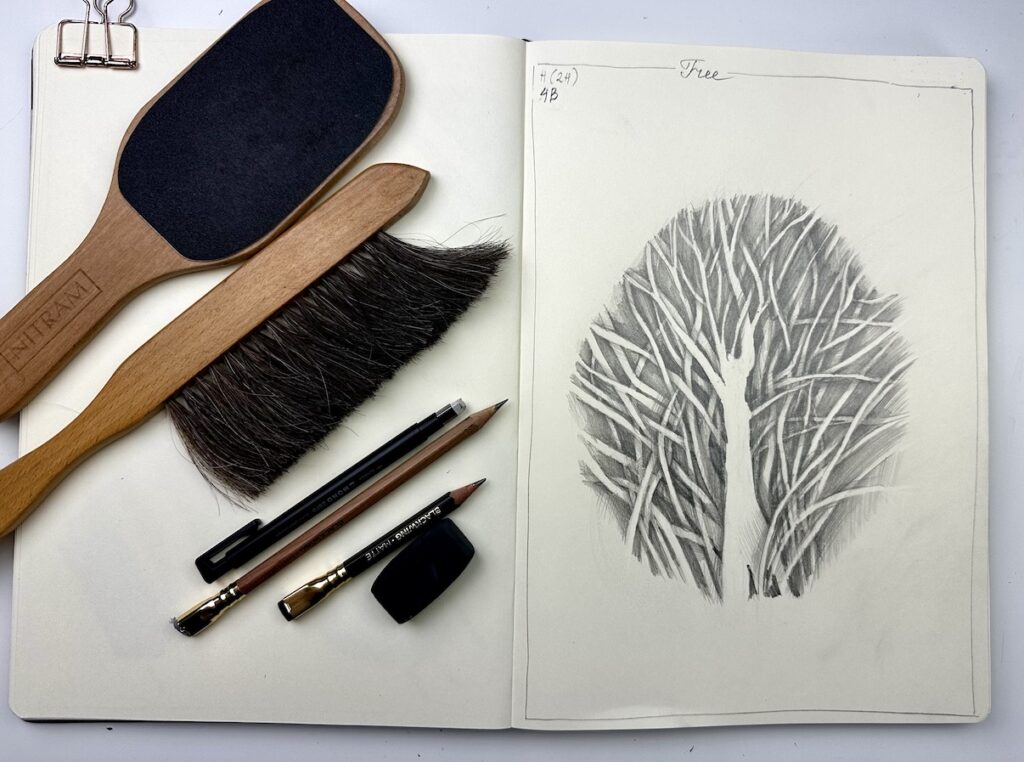
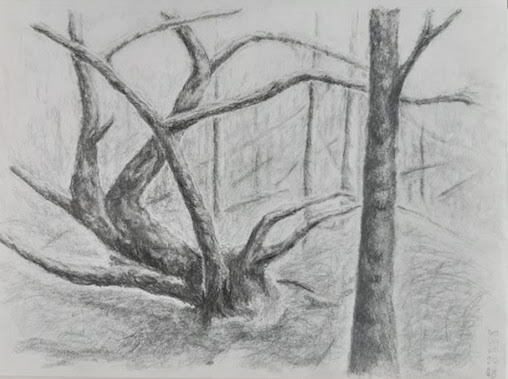
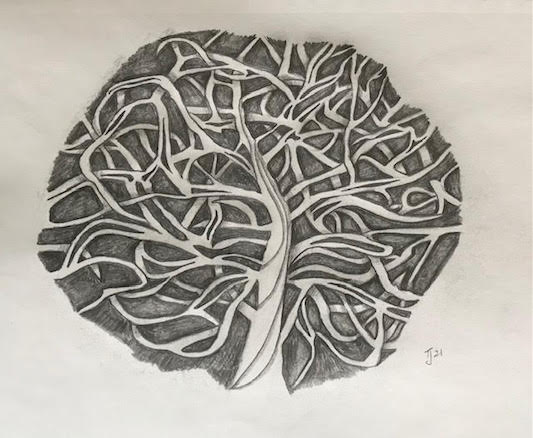
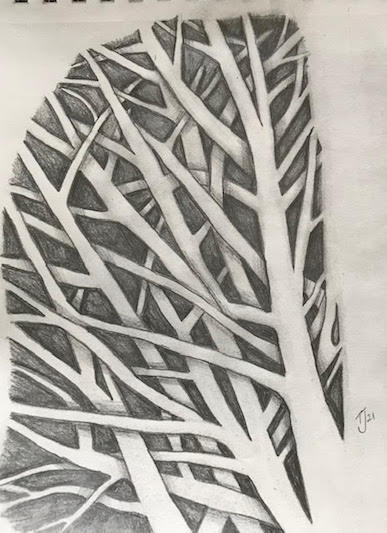
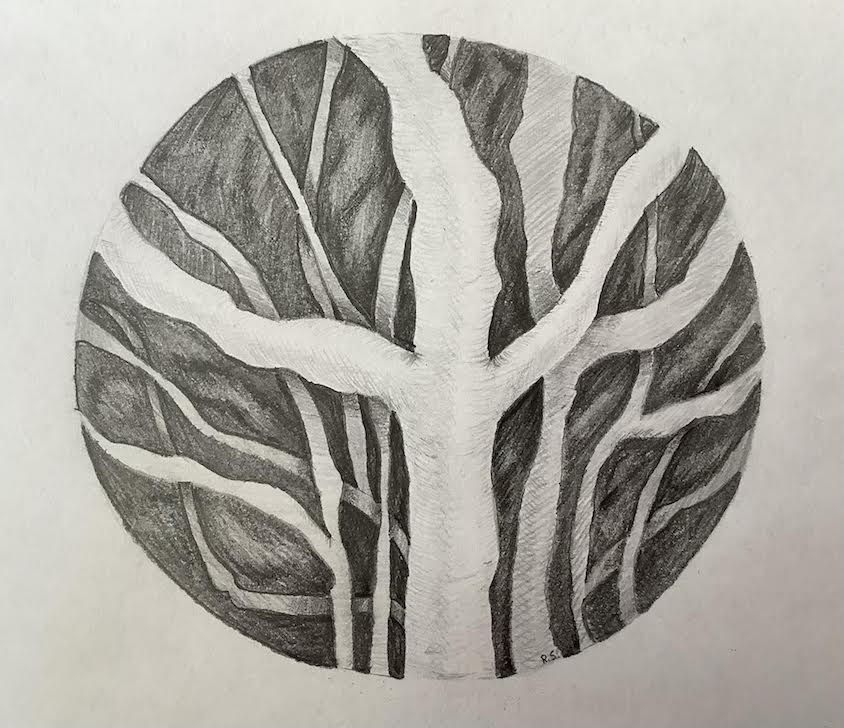
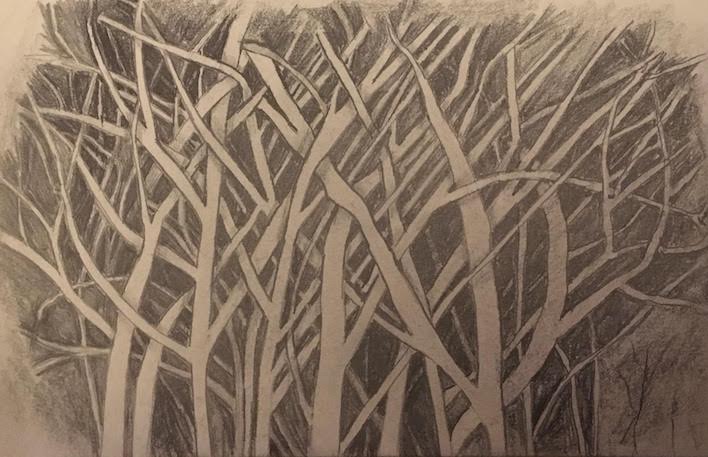
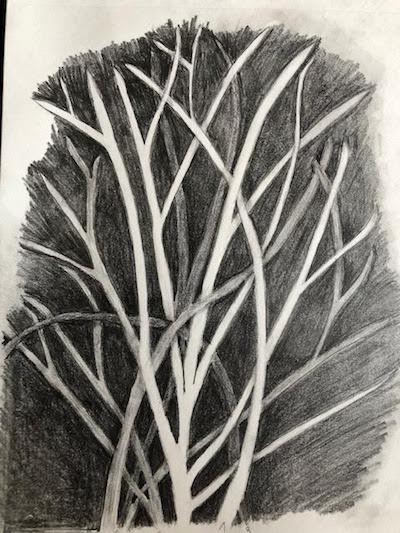
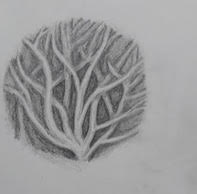
Exercise 5. The Tree
A mystical branching form that helps you learn how to separate dozens of intertwined branches using tonal hierarchy. You’ll master how to avoid visual “confusion” and create a layered, atmospheric composition.
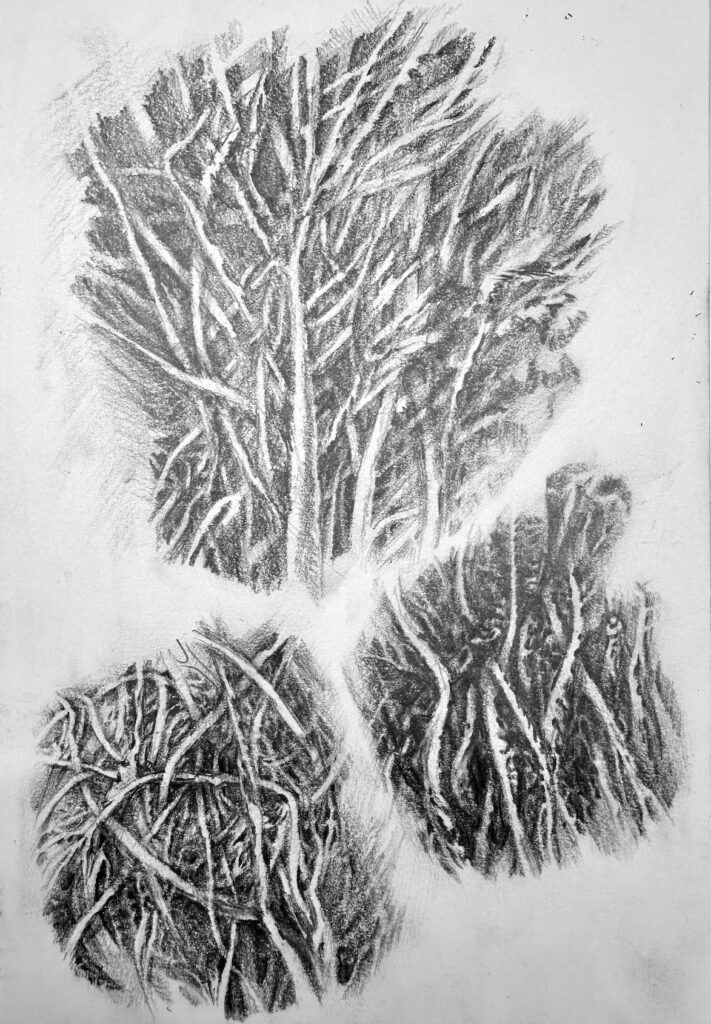
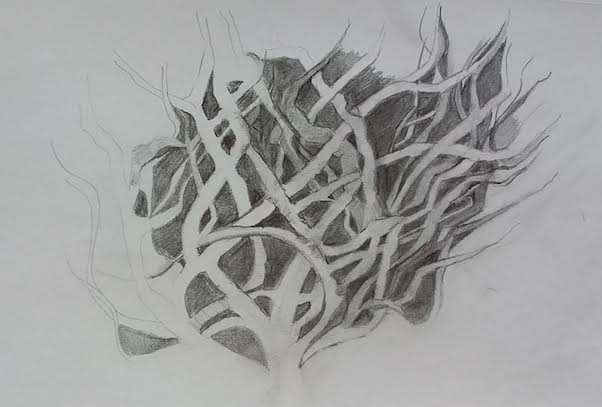
Exercise 6. Seaweed
A continuation of the Tree exercise. Here you’ll work with dynamic, flowing organic forms, practicing soft transitions, smooth layering, and the illusion of transparency and movement.
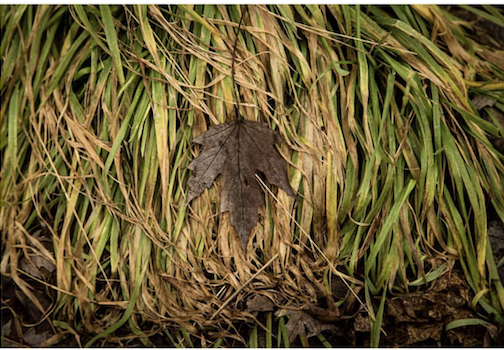
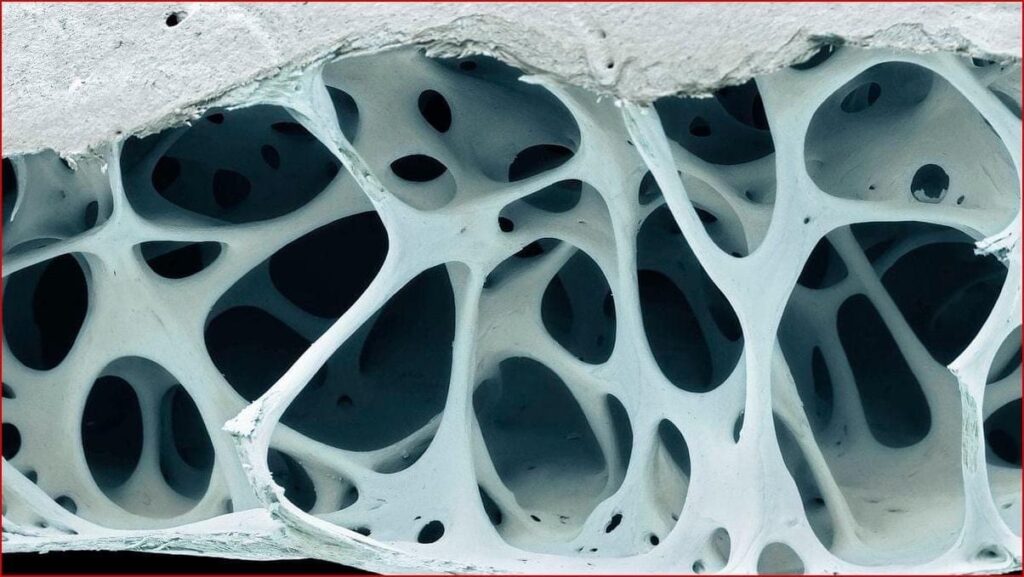
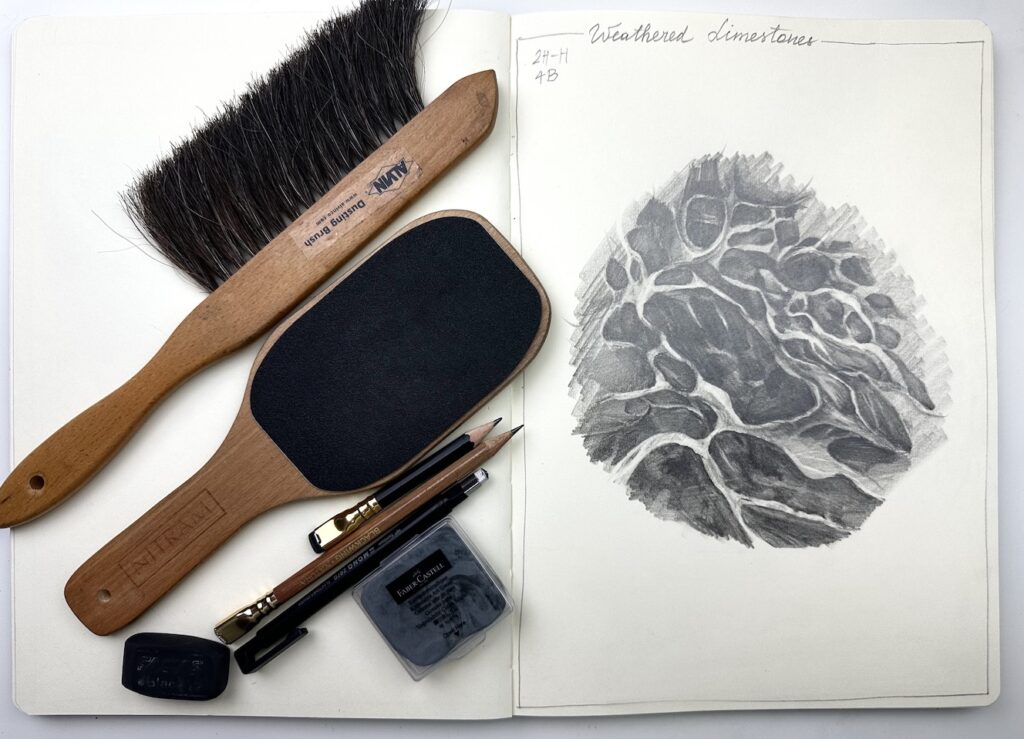
Exercise 7. Weathered Limestone
A final textural study of the weathered limestone surface. You will explore irregular shadows, deep organic cavities, and rough textures, learning to bring complex natural forms to life through tonal depth.
By the end of this lesson, you will gain a deeper understanding of tonal logic and the relationship between geometric form, light, and shadow – foundational skills that form the backbone of analytical drawing.
Eraisers Hole Busket Chain Tree 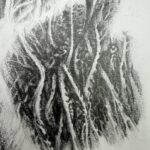
Seaweed Limestone
Materials you need for practical exercises:
- Any type of drawing paper (even printer paper will work just fine)
- Any brand of pencils 2H, H, 2B and 4B
- all your erasers (black, kneaded, detailed (TOMBOW MONO is preferable)
- pencil sharpener
- dust brush
- white gouache and detail brush (optional)
- even more time and patience


Materials used for the video demonstrations:
- Sketchbook TALENS Art Creation, 8.3 x 11.6 inches (21 x 29.7 cm)
- Pencils BLACKWING, extra-firm (H to 2H), firm (B), balanced (2B), soft (4B)
- electric eraser DERWENT
- eraser TOMBOW Mono, rectangular shape
- kneaded eraser FABER-CASTELL
- eraser GENERAL RUBBER
- eraser FACTIS Black 16
- Sharpening block NITRAM
- dust brush
- parchment paper
- paper clips
- Bleed Proof White, Dr PH Martins
- detail brush, 3 mm
To print:
Photo References:
Exercise Photo References:
OVAS APD L4 Reference Hole 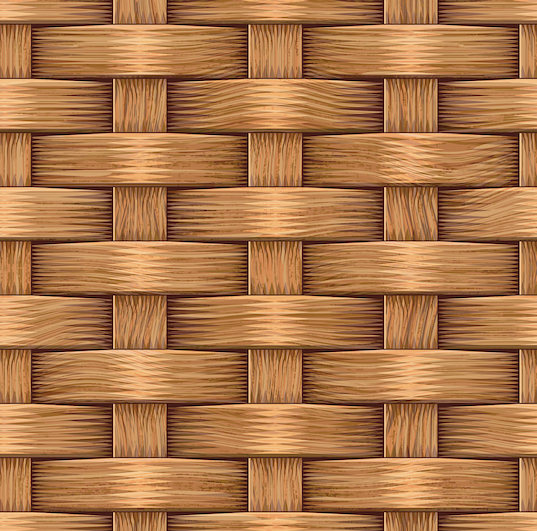
OVAS APD L4 Reference Busket 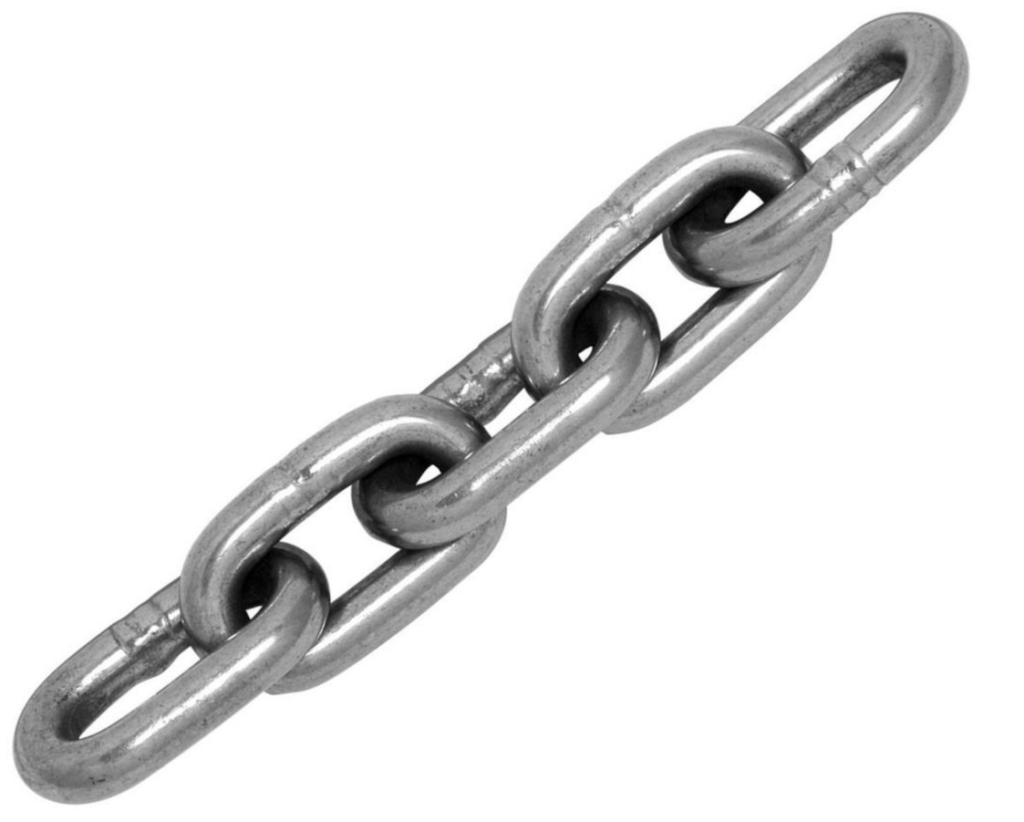
OVAS APD L4 Reference Chain 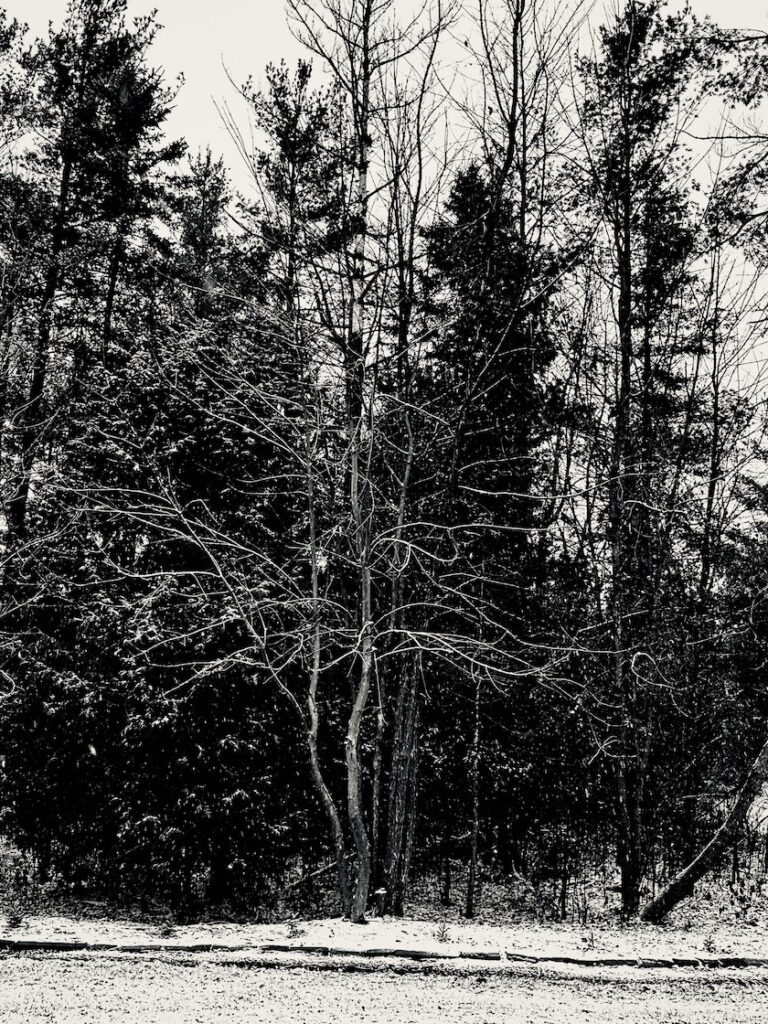
OVAS APD L4 Reference Tree Bw 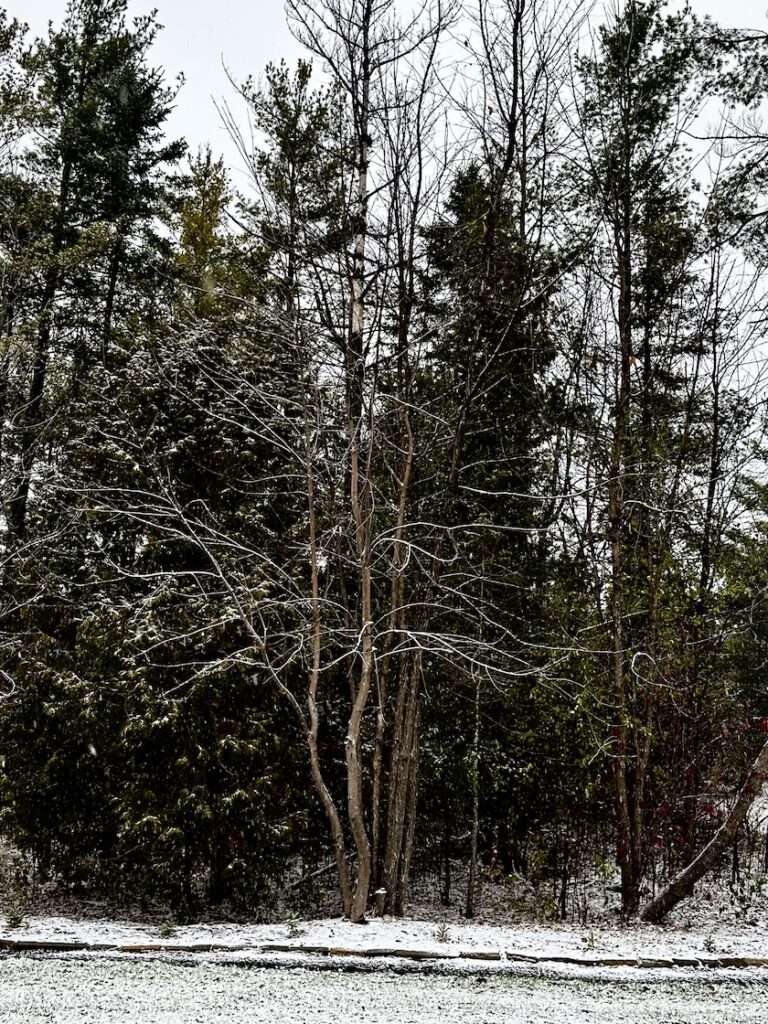
OVAS APD L4 Reference Tree Colour 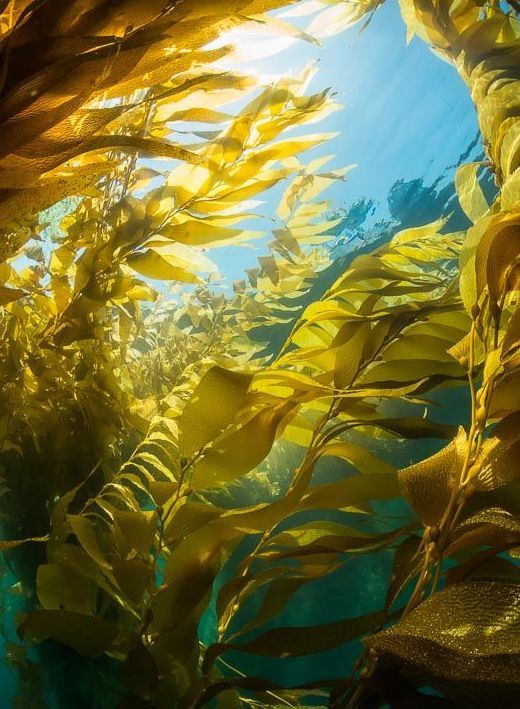
OVAS APD L4 Reference Seaweed 
OVAS APD L4 Reference Limestone
Additional Photo References:

OVAS APD L4 Reference 1 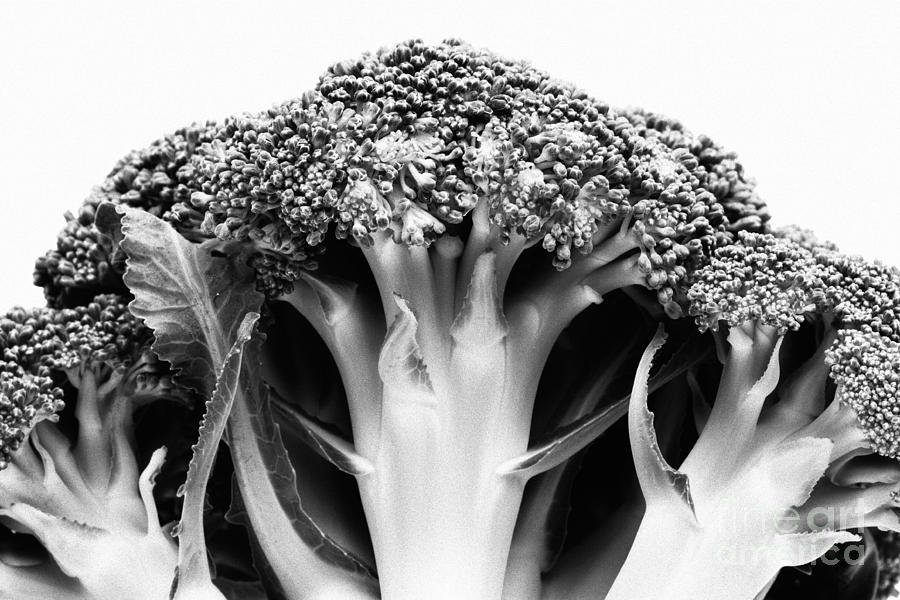
OVAS APD L4 Reference 2 
OVAS APD L4 Reference 3 
OVAS APD L4 Reference 4 
OVAS APD L4 Reference 5 
OVAS APD L4 Reference 6 
OVAS APD L4 Reference 7 
OVAS APD L4 Reference 8
Pencil works:
OVAS APD L4 Net 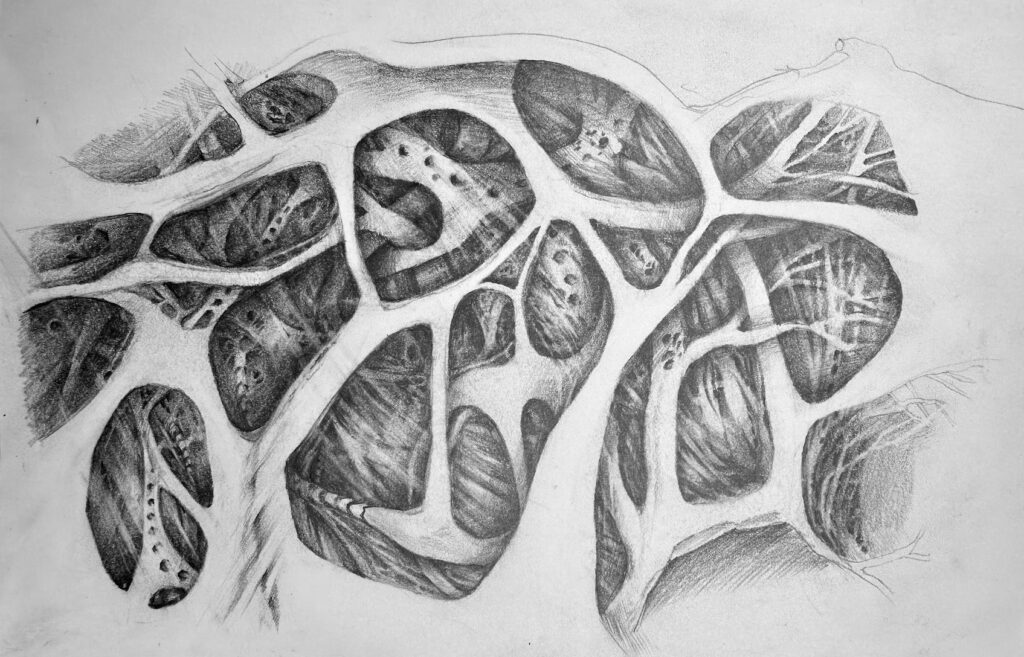
OVAS APD L4 Intertwine 
OVAS APD L4 Straw Heart 
OVAS APD L4 Pearls 
OVAS APD L4 Pearls 2 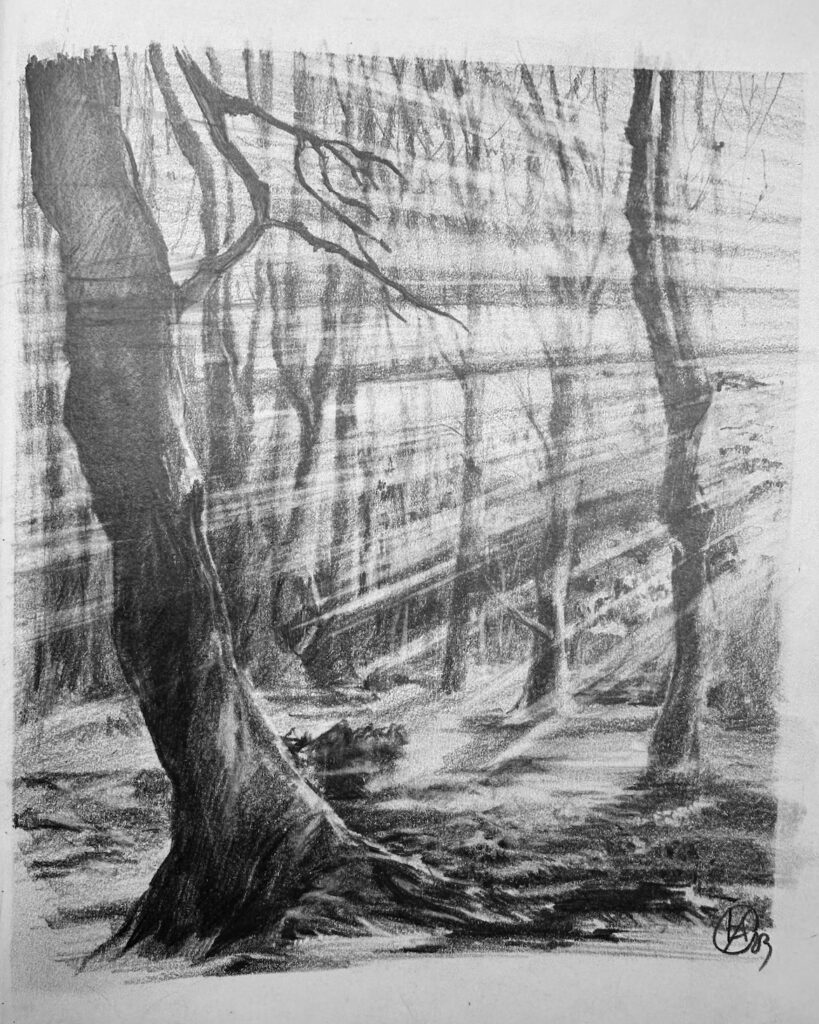
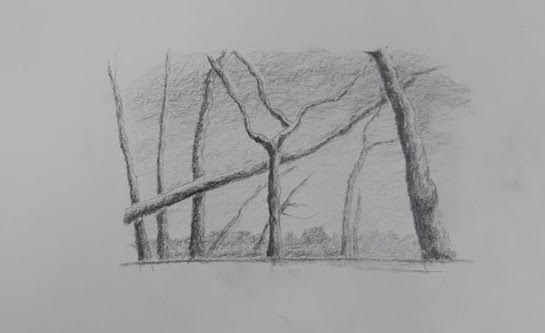
OVAS APD L4 Forest 1 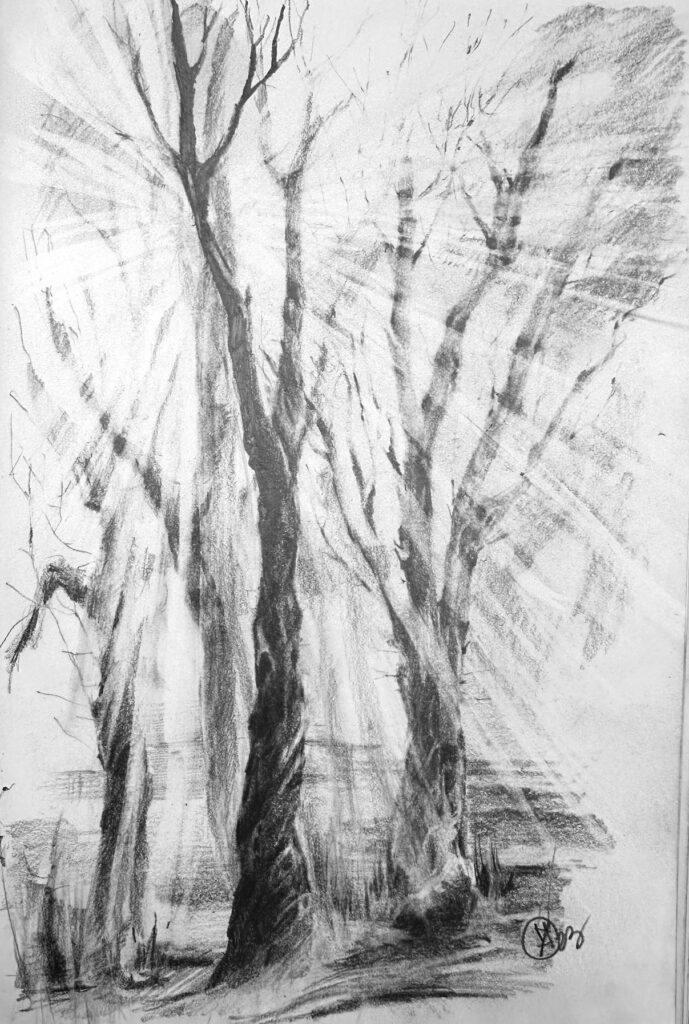
OVAS APD L4 Forest 2 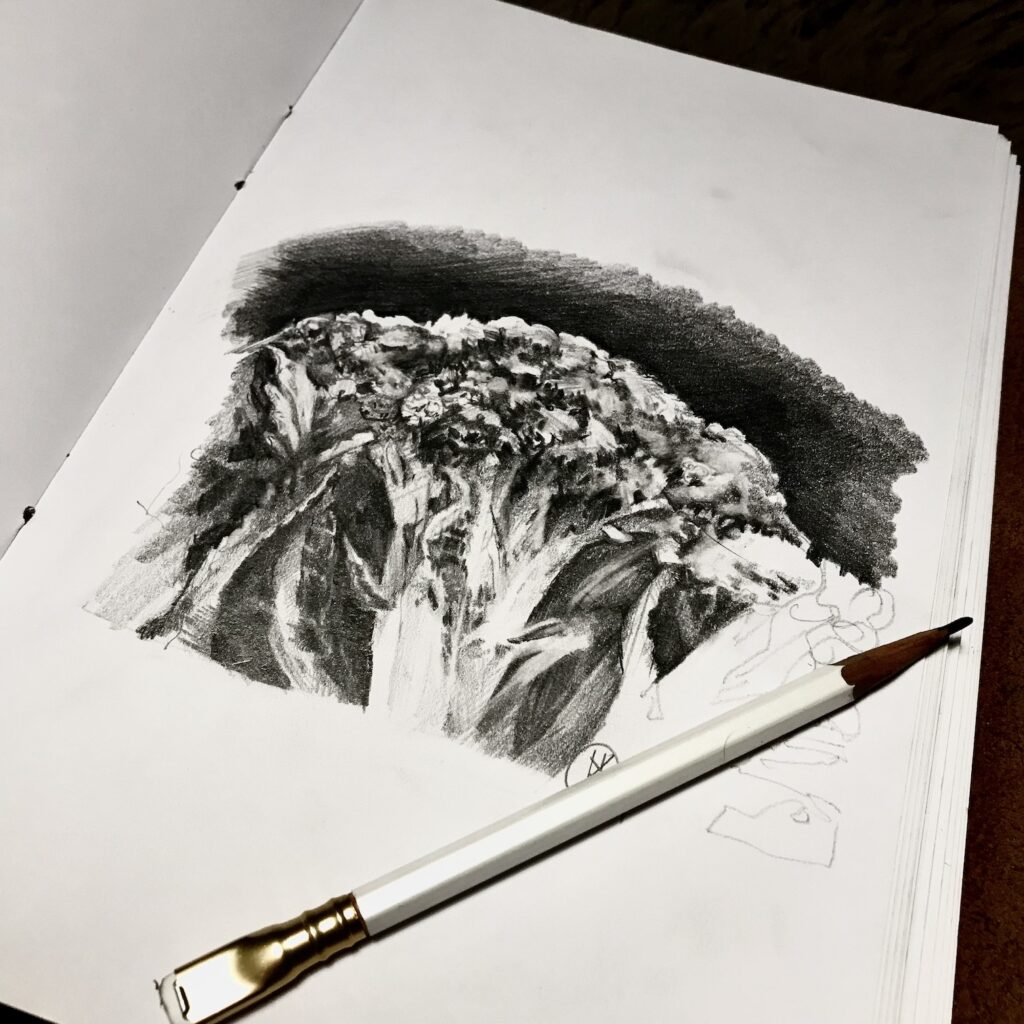
OVAS APD L4 Broccoli 
OVAS APD L4 Grape
Exercise 1. Tool-Testing Exercise
Estimated time to complete the exercise(s): about 30-40 minutes

OVAS APD L4 Reference Hole 1 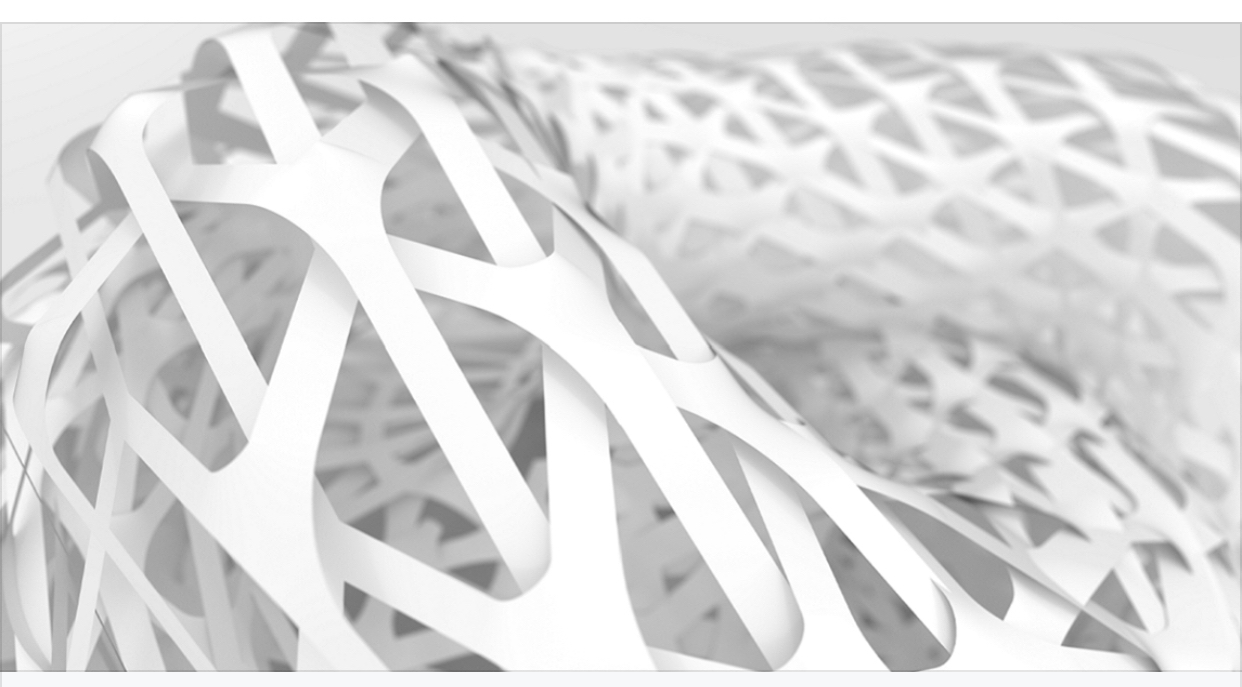
OVAS APD L4 Reference Hole 2 OVAS APD L4 Reference 3

OVAS APD L4 Reference Tree Colour OVAS APD L4 Reference Tree BW
OVAS APD L4 Seaweed and Tree 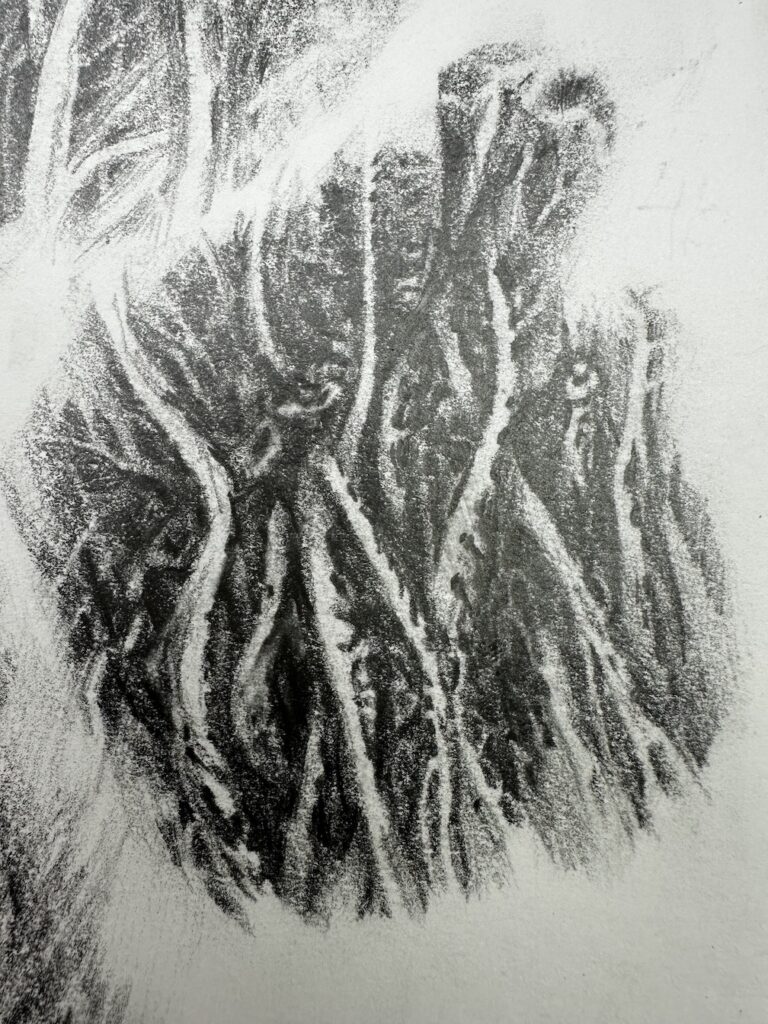
OVAS APD L4 Seaweed
OVAS APD L4 Reference Seaweed
OVAS APD L4 Limestone
OVAS APD L4 Reference Limestone
Use these buttons to navigate the lesson content
Student’s work


Use these buttons to navigate the lesson content
Additionally for this class you will need (optional):
- 6-8 medium size books, at least 1-2 cm thick
- Printer paper, a few sheets
- Scissors
- Tape
- Shoe box (optional)
- Table lamp