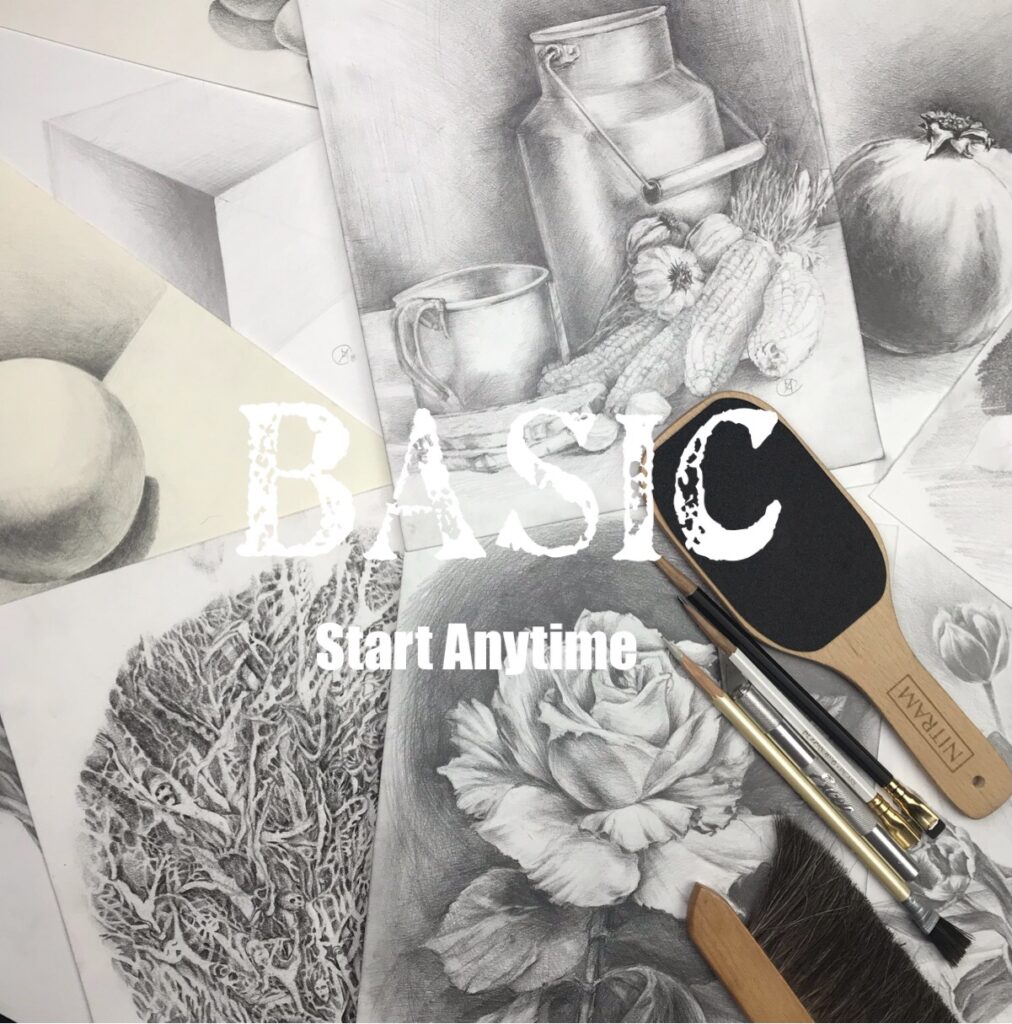
This Analytic Pencil drawing course is a fundamental program for the absolute beginner level.
For those who feel that something is missing in their knowledge base.
For those who want their drawings to have more air, atmosphere, correct tonal shades and a strong perspective.
If you want to draw and not just trace, then this course is for you!
BASIC package for online self study

6 video lessons
12+ pencil drawings
30+ practical exercises

Video access
Lifetime for self-studying
What this course gives you?
This course is the foundation for future drawing and painting work. This intense program covers themes from the material choice to the basics of light and shadow.
You will learn:
how to hold a pencil so that your drawing stays clean and un-smudged;
how to set up your work space;
how to create a strong and balanced still life composition and how to set up the light for the composition;
why the contrast of light and shadow is the most important aspect of your work;
how shadows form the shapes and values of subject; and much more
The Lessons list:
Lesson 1.
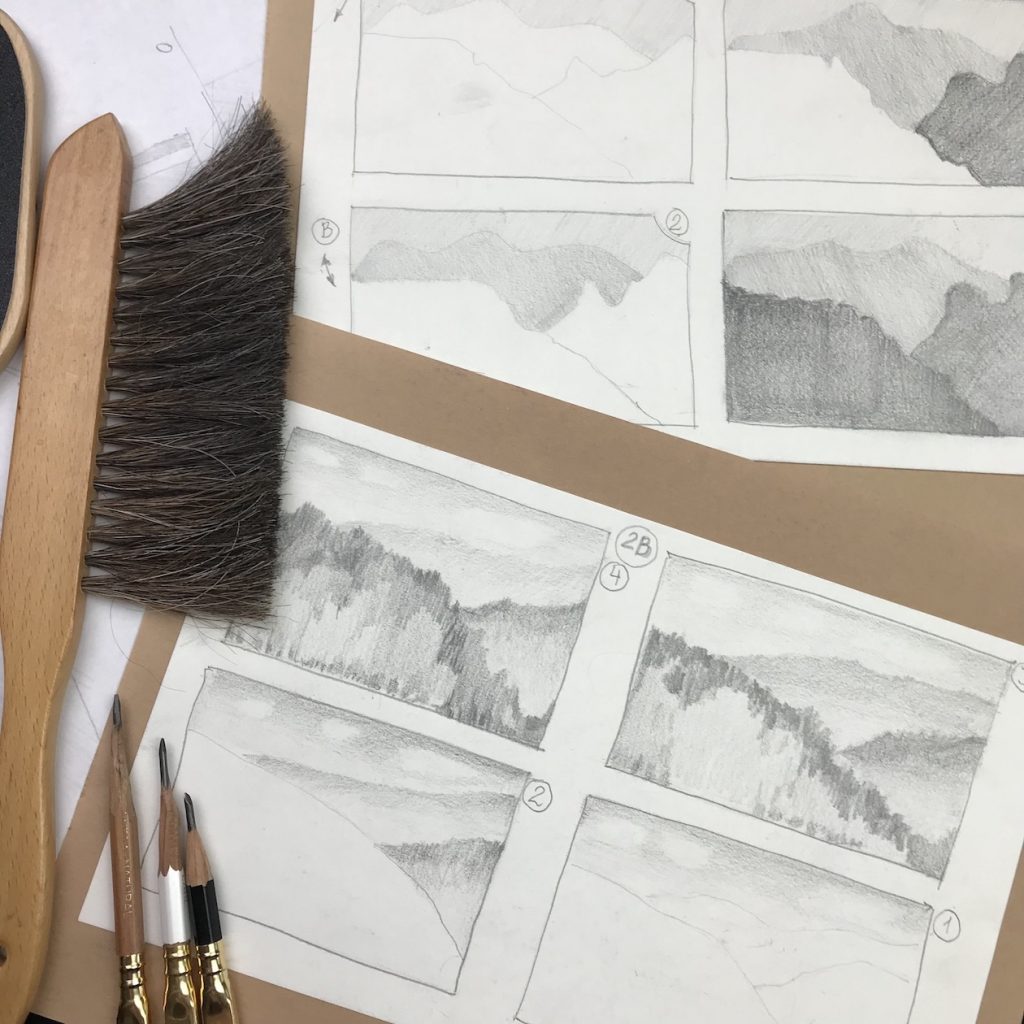
Line of horizon. Frontal and aerial perspective.
Line. Stroke. Tone.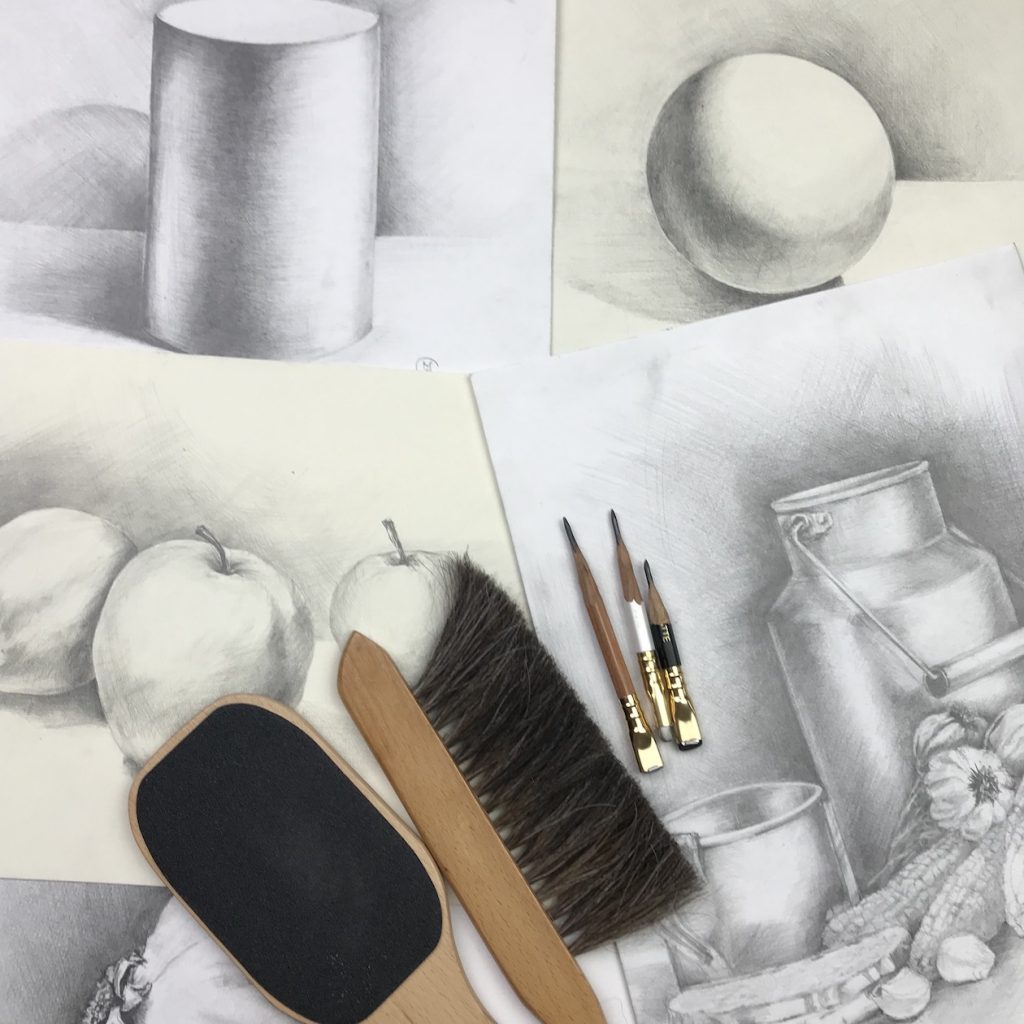
Lesson 2.
Simple geometrical forms.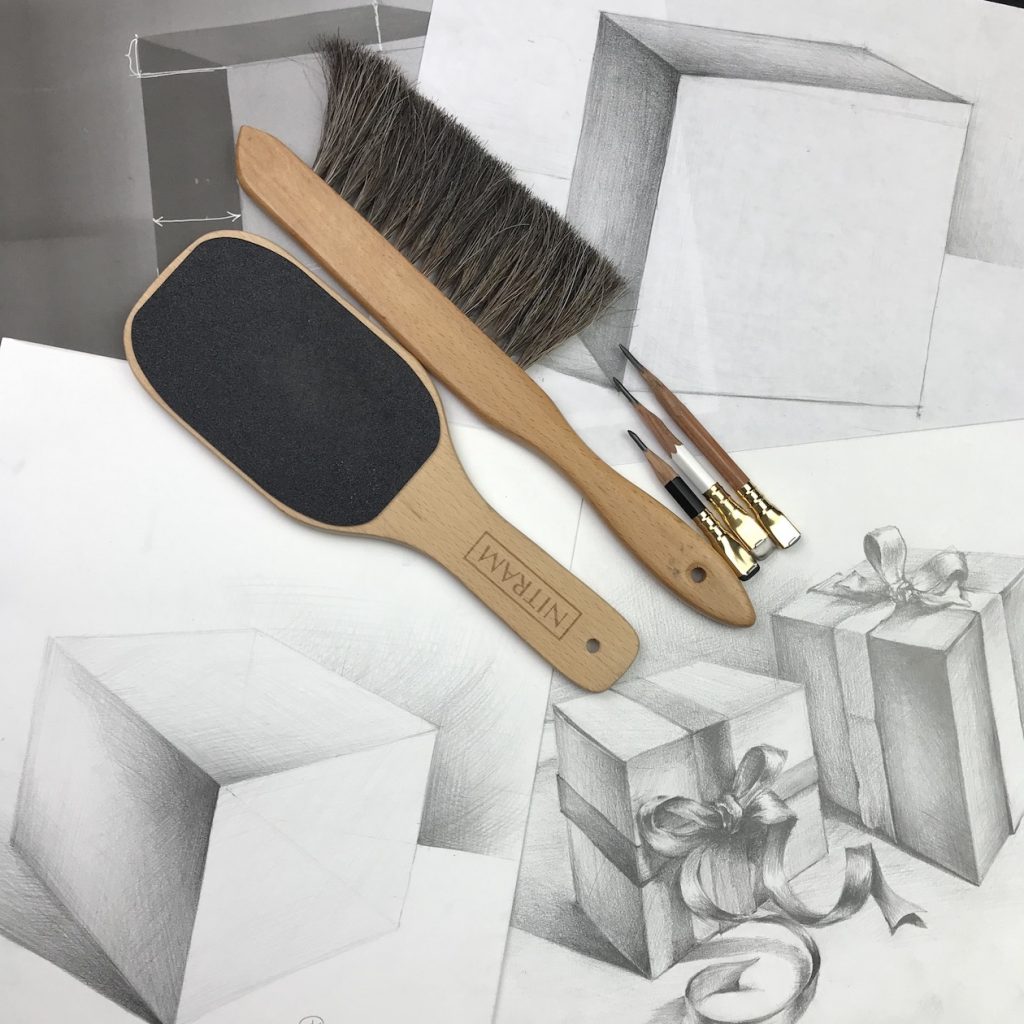
Lesson 3.
Still life.
Composition theory.
Lesson 4.
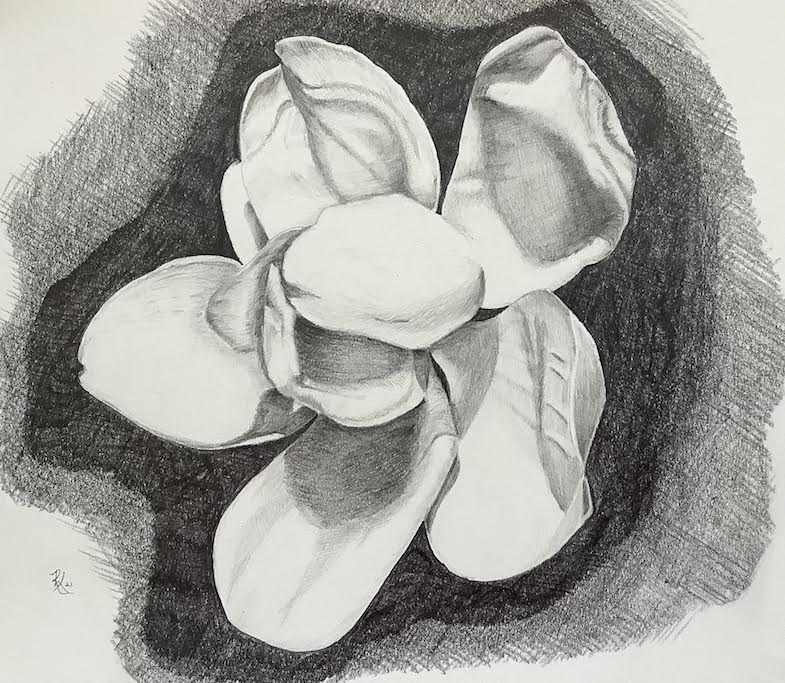
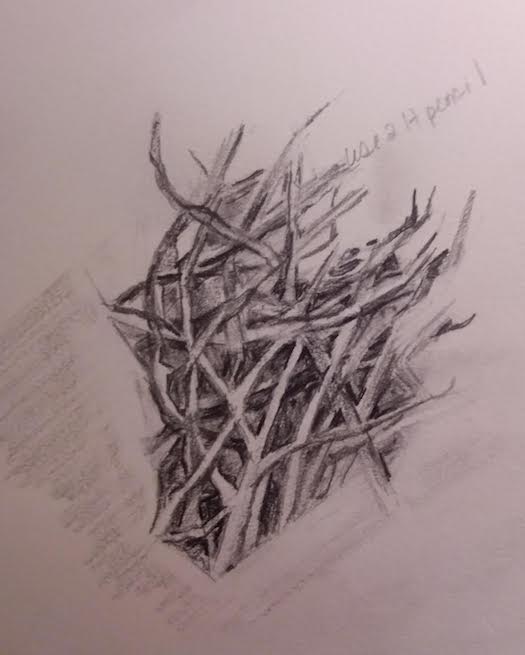
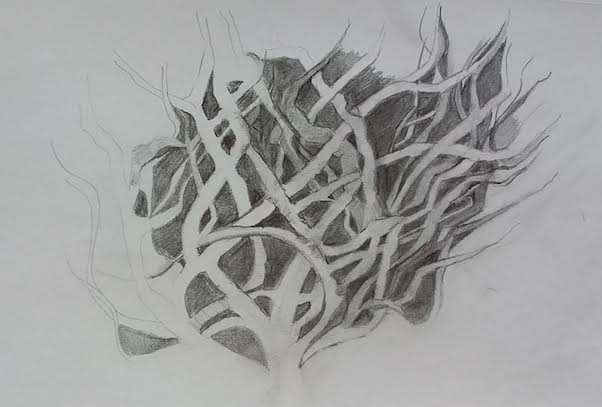
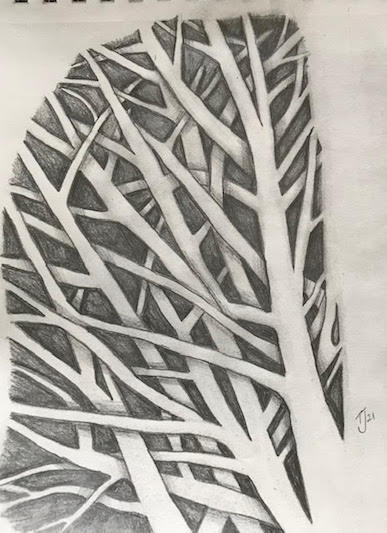
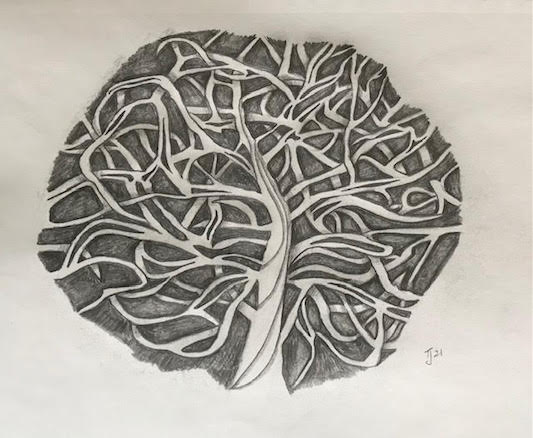
Theory of holes.
Shadows.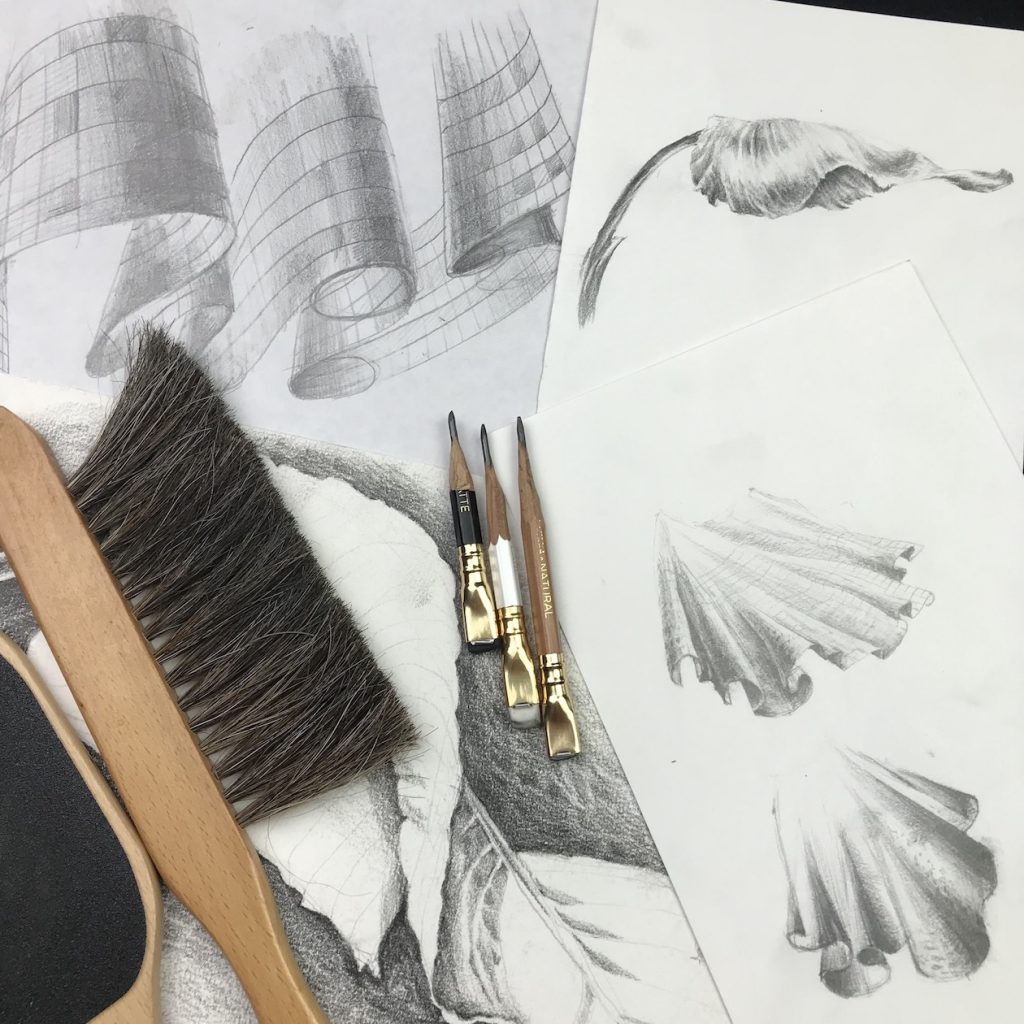
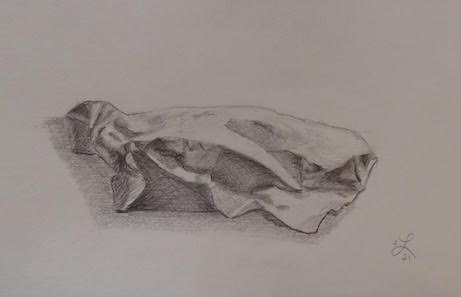
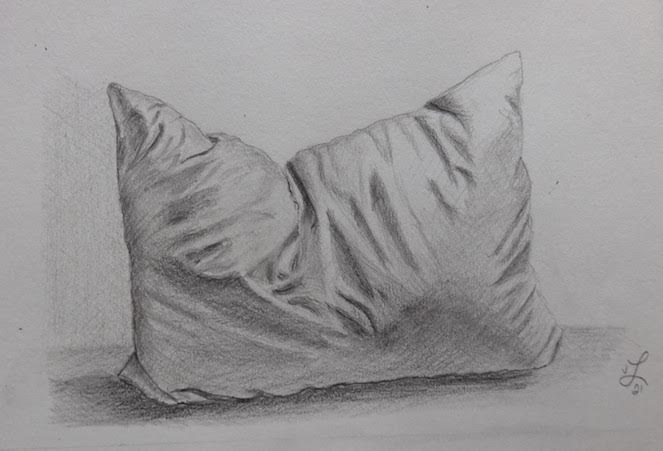
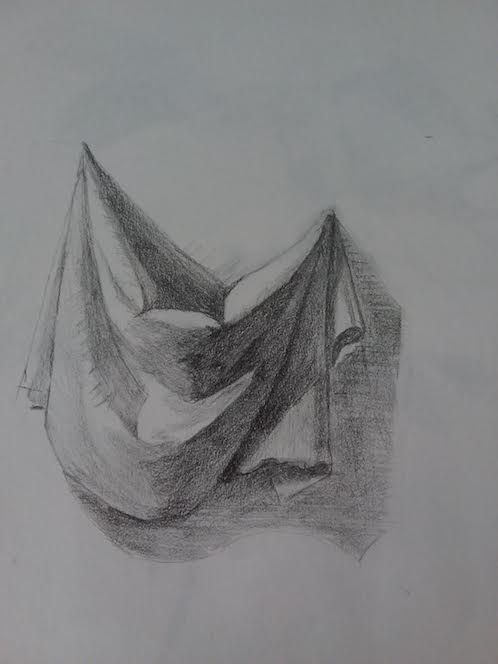
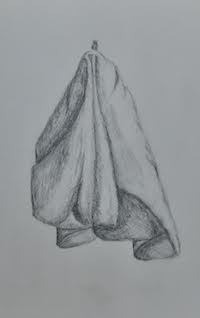
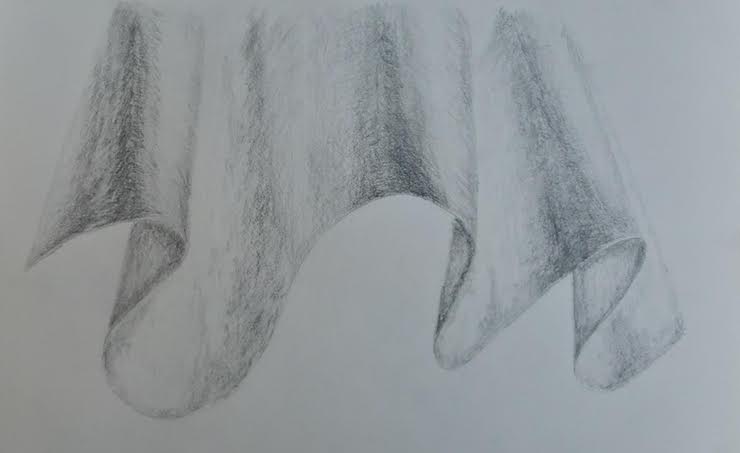
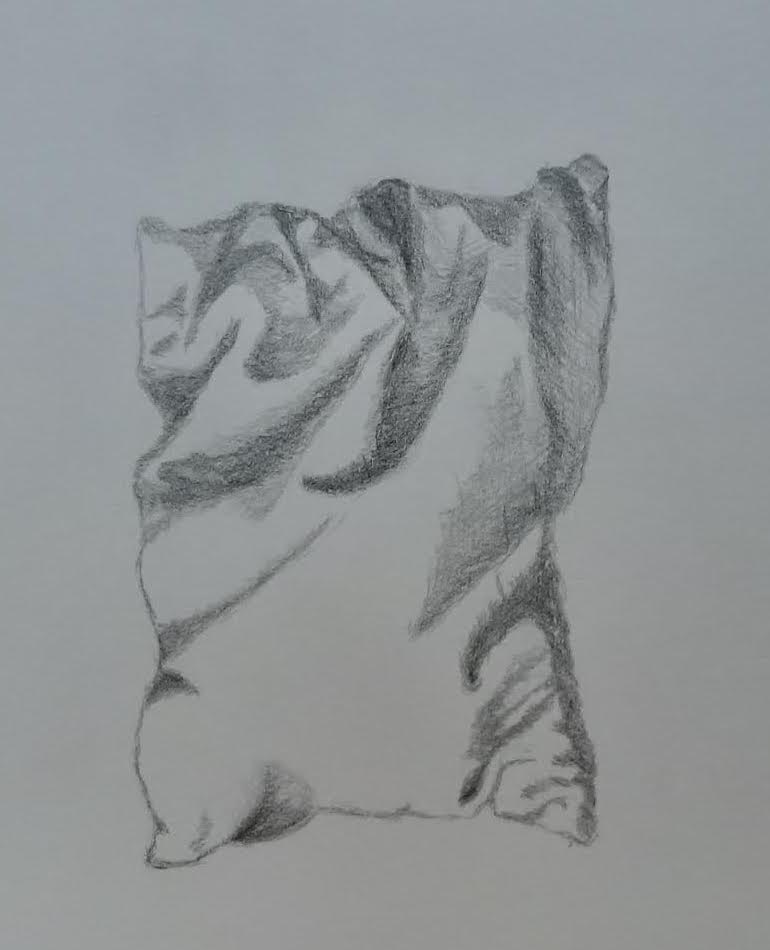
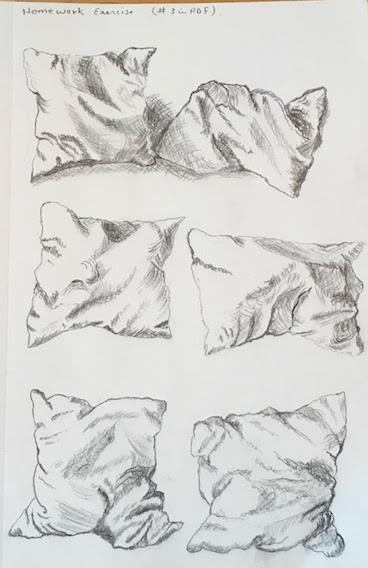
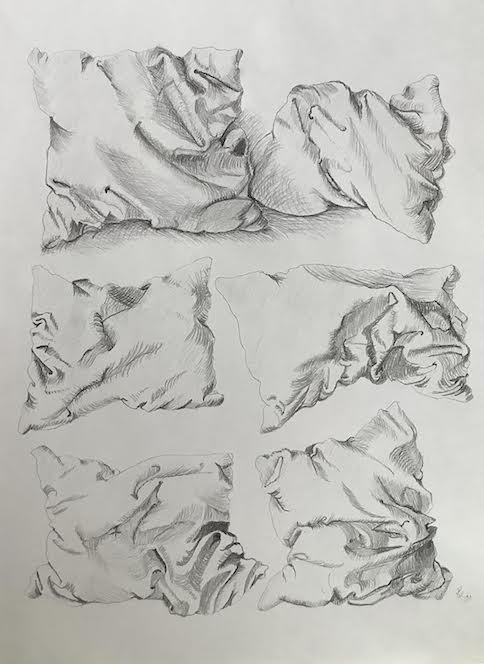
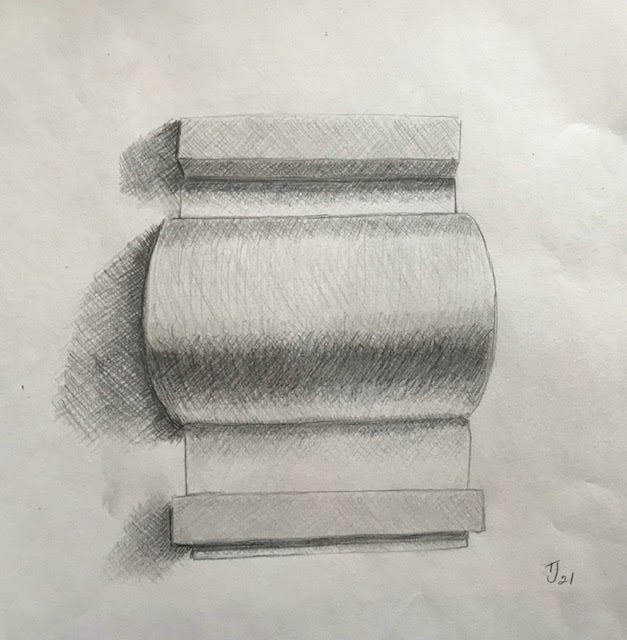
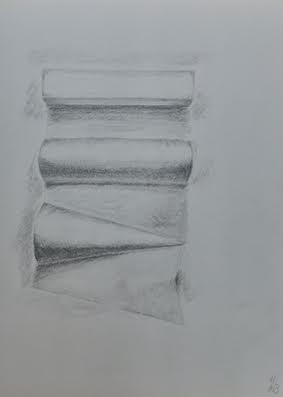
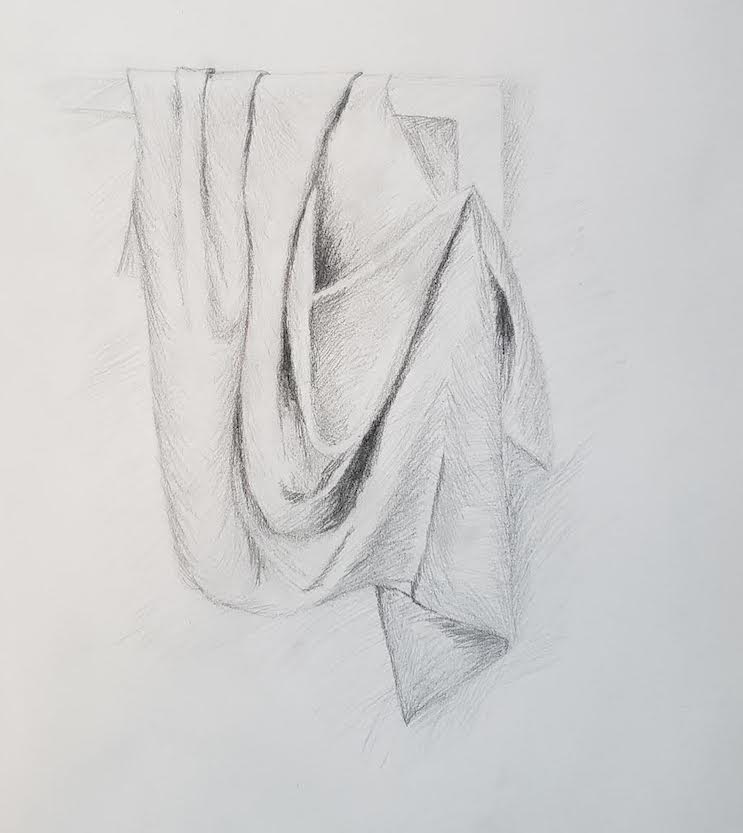
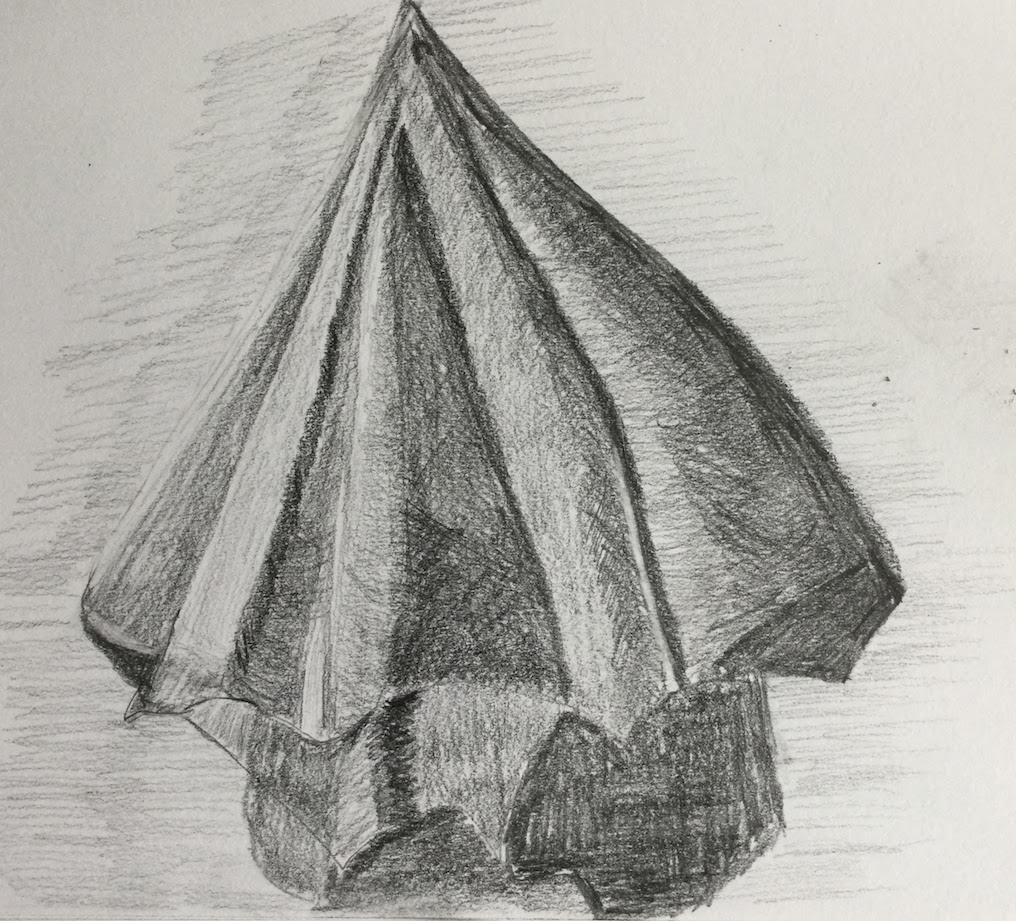
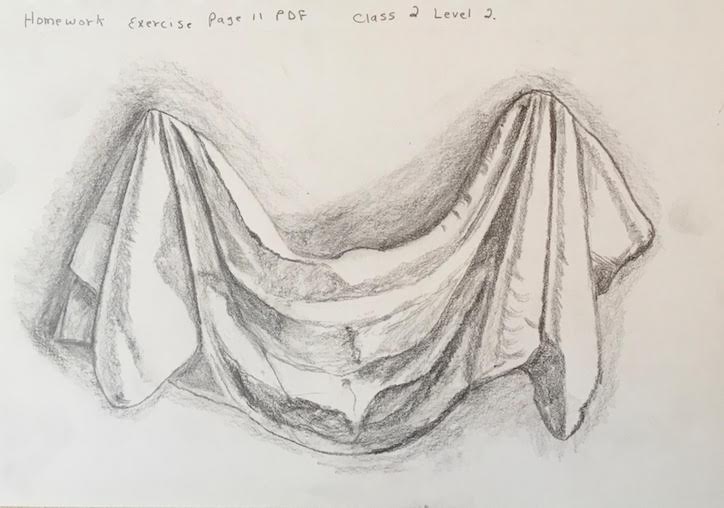
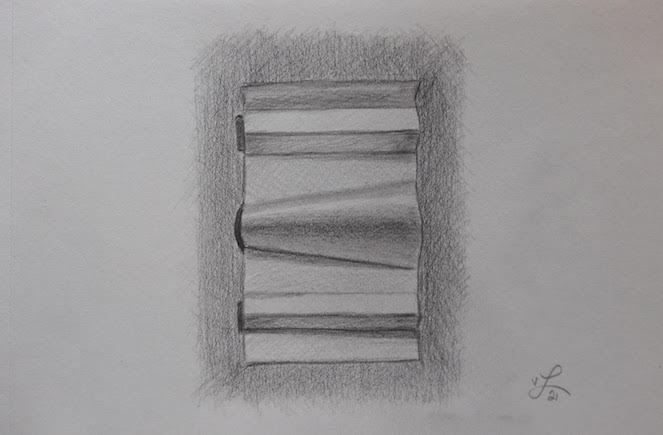
Lesson 5.
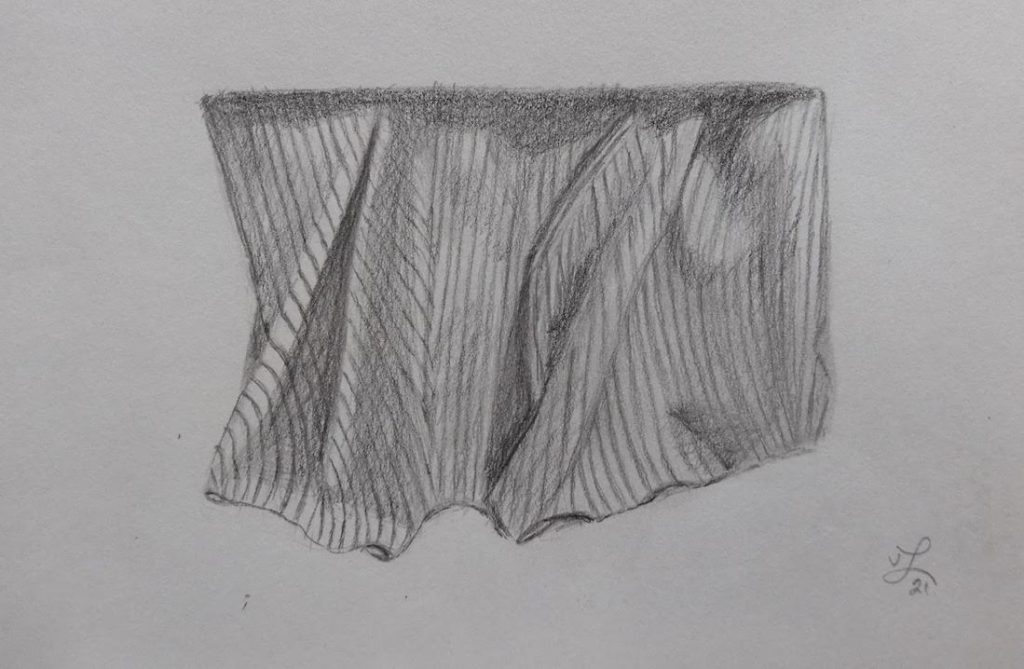
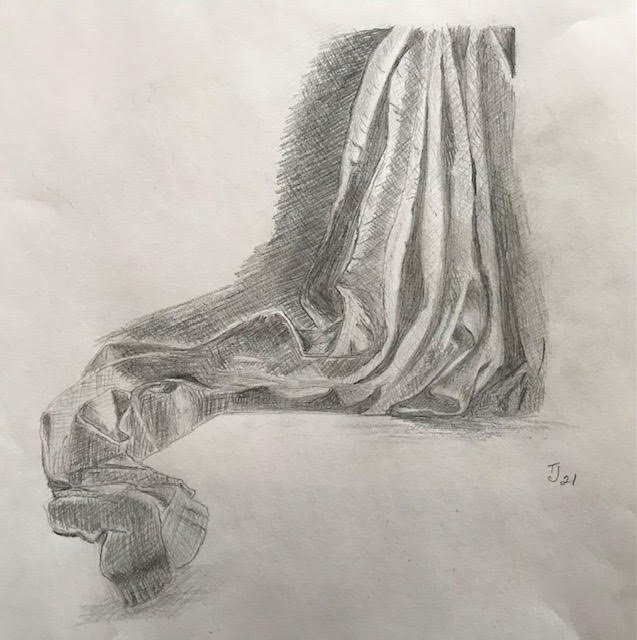
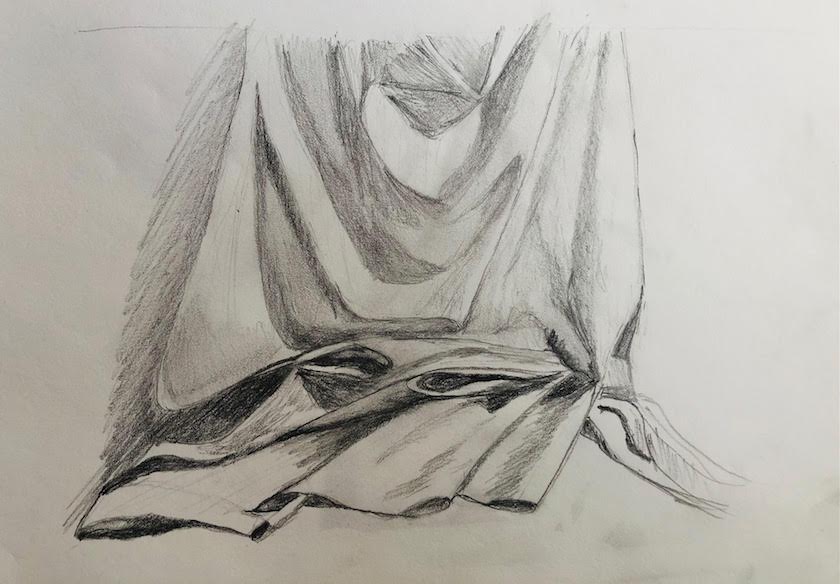
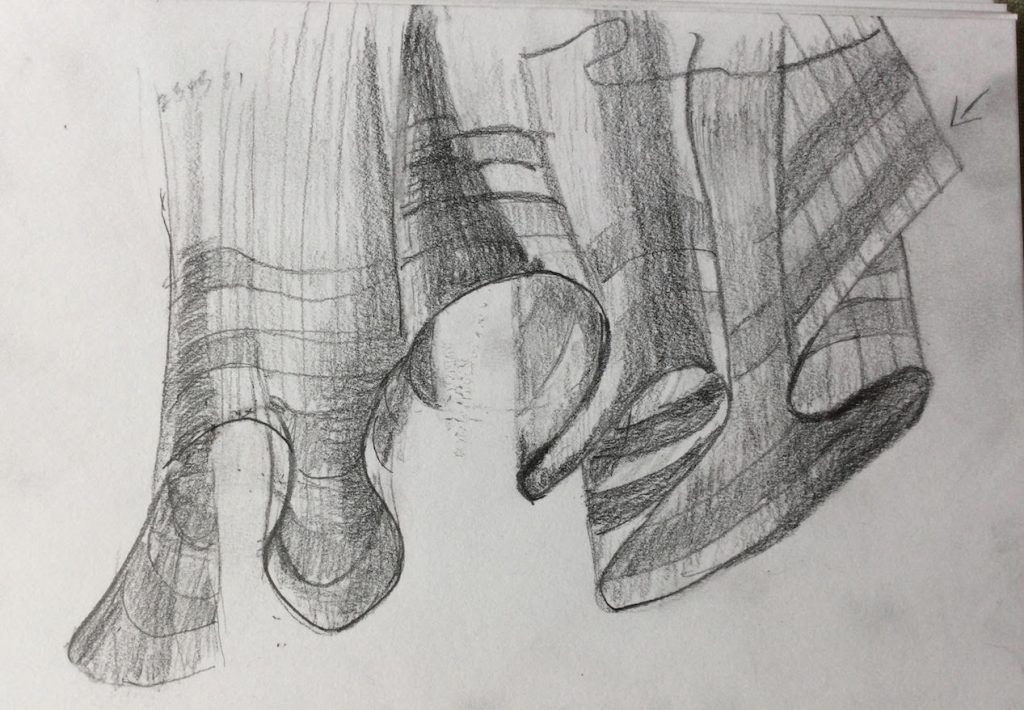
Drapery.
Folds forming.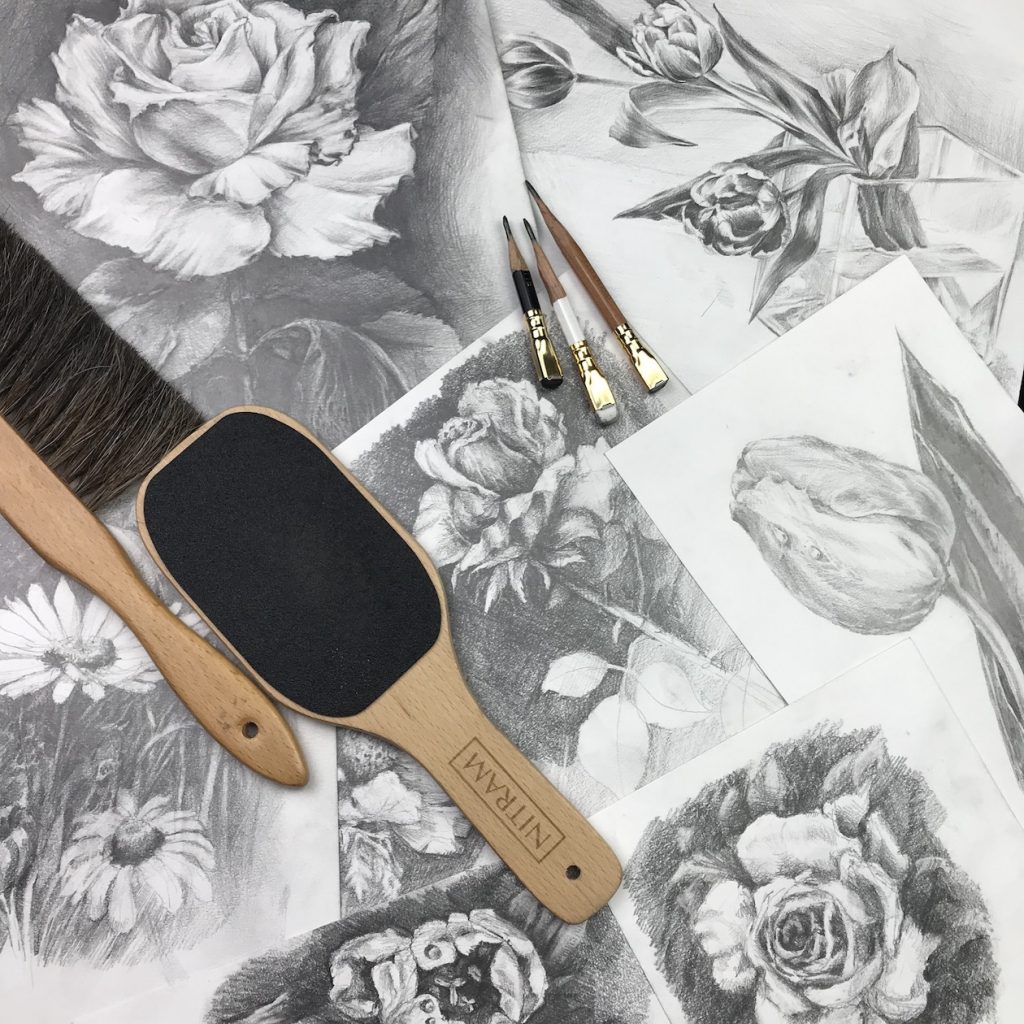
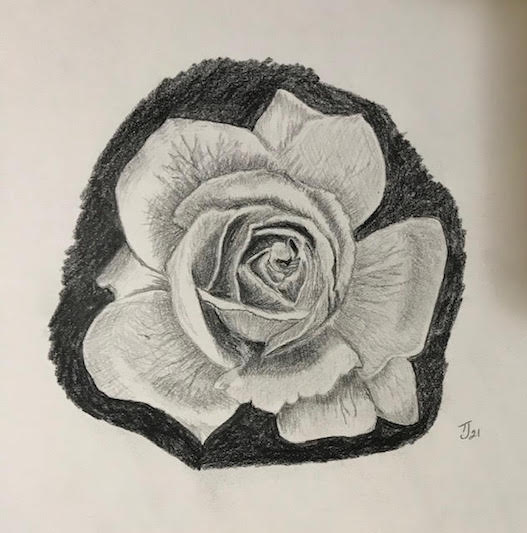
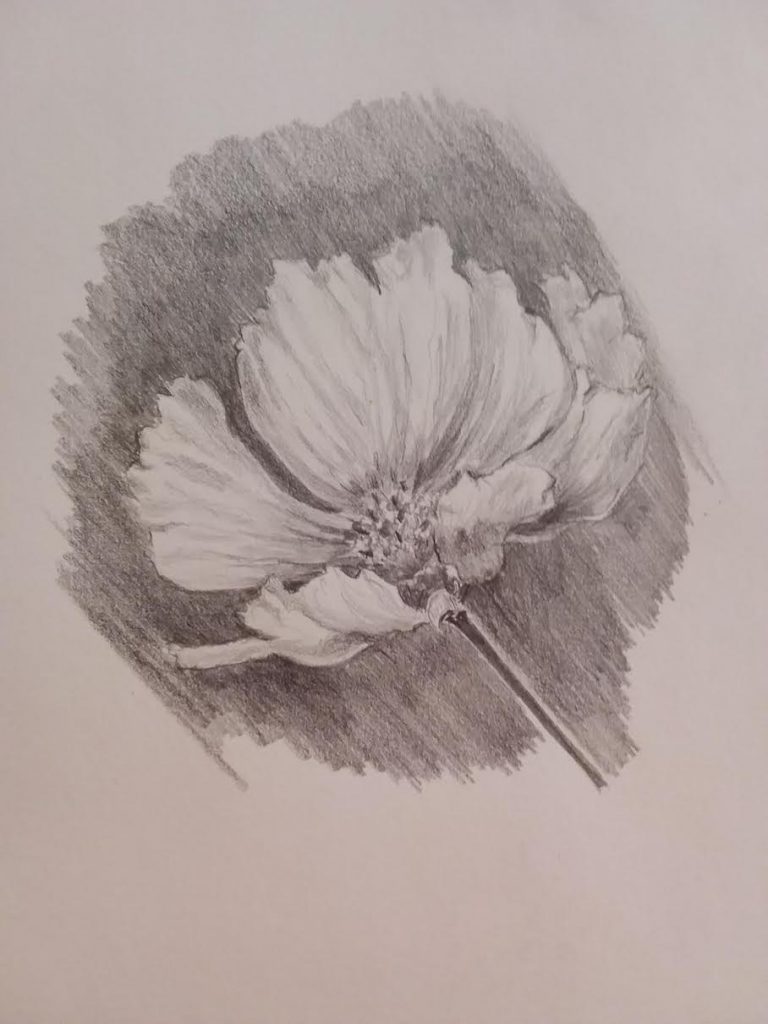
Lesson 6.
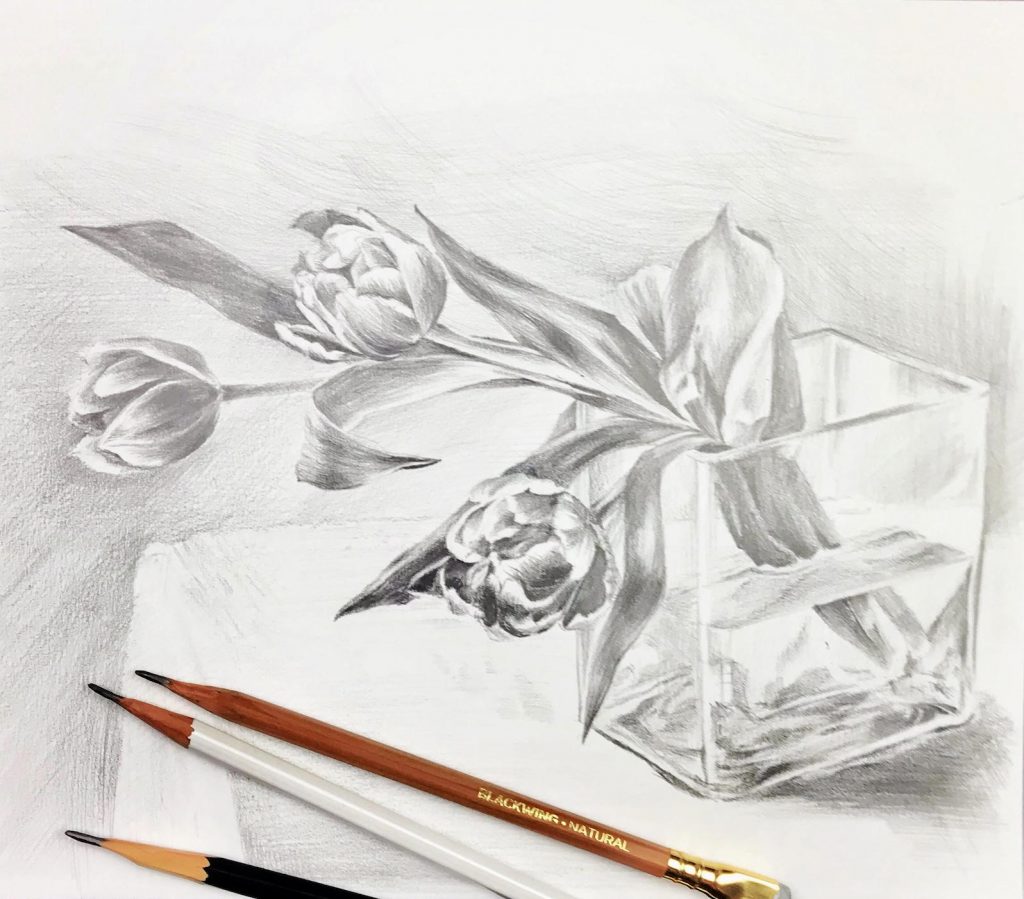
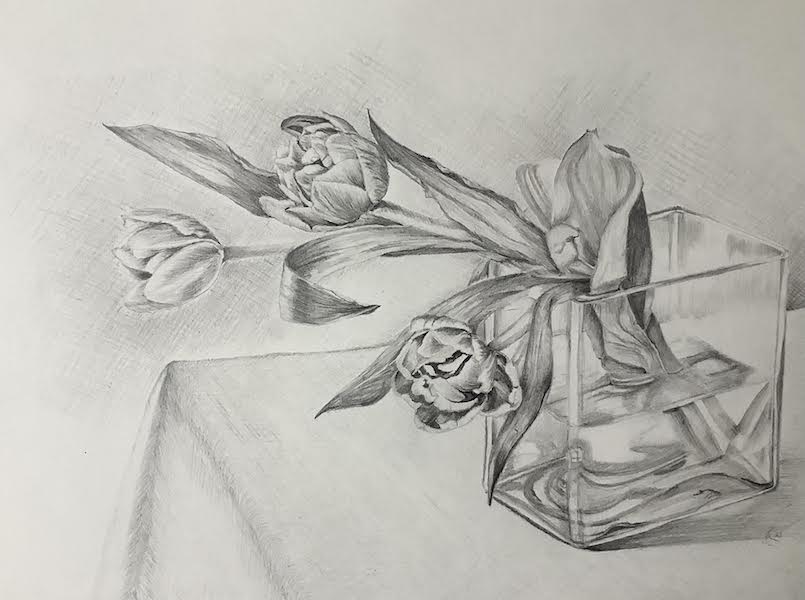
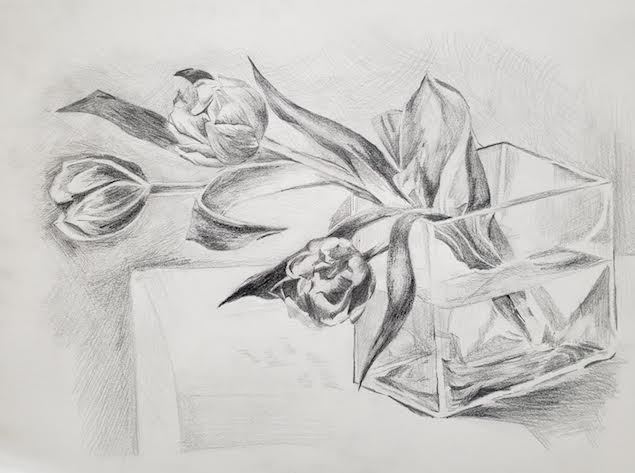
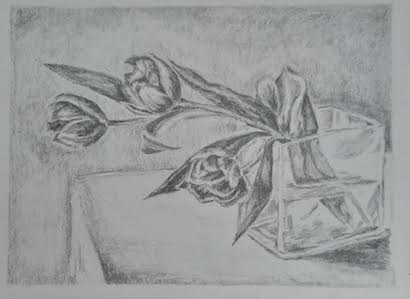
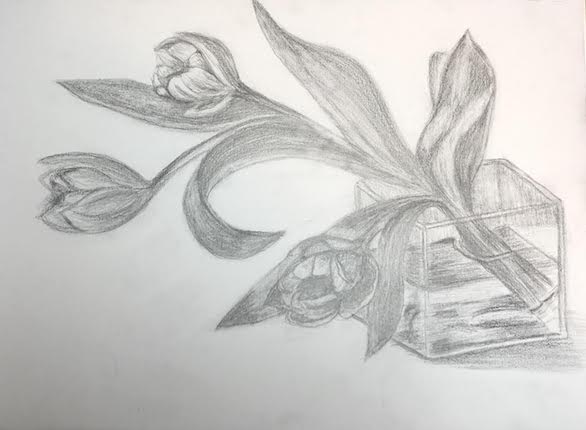
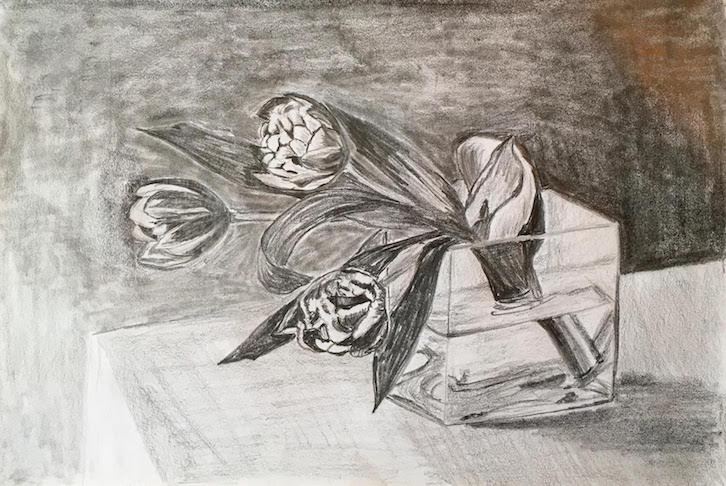
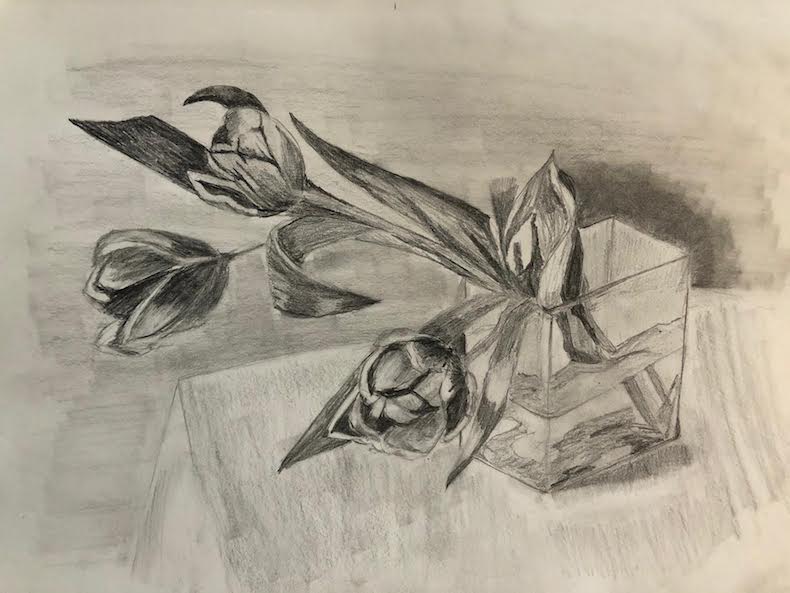
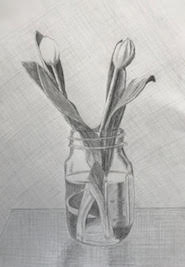
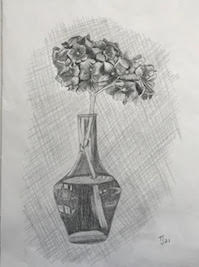
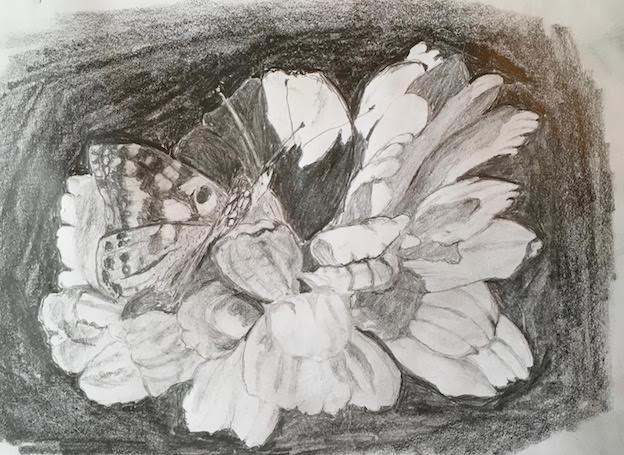
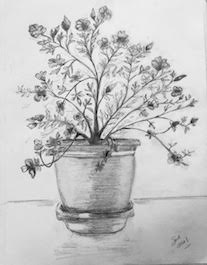
Flowers.
Bouquet. Composition.
Course Content
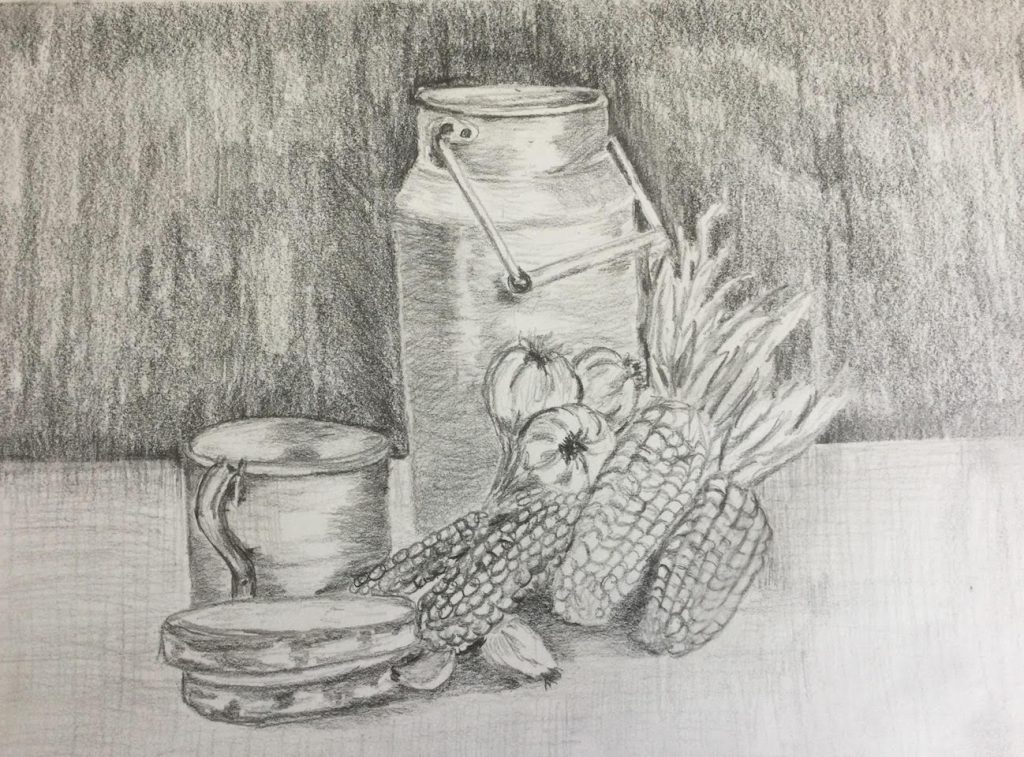
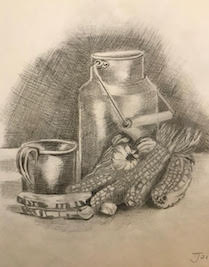
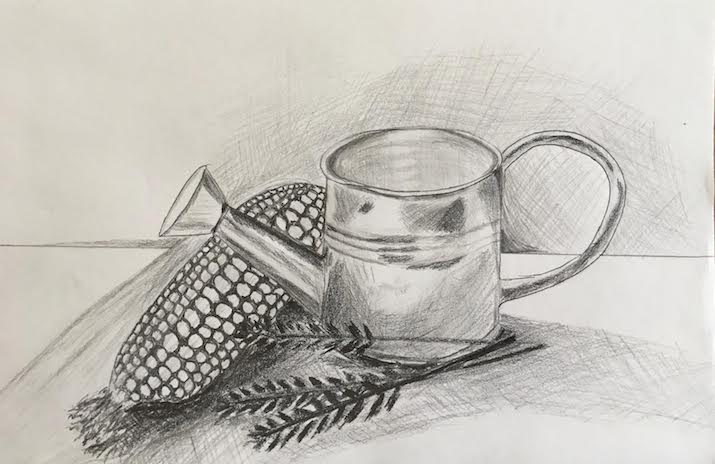
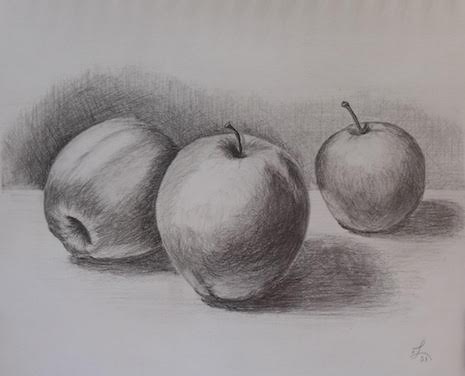
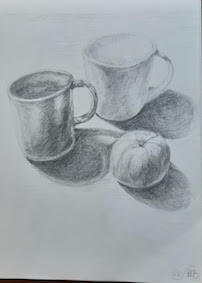
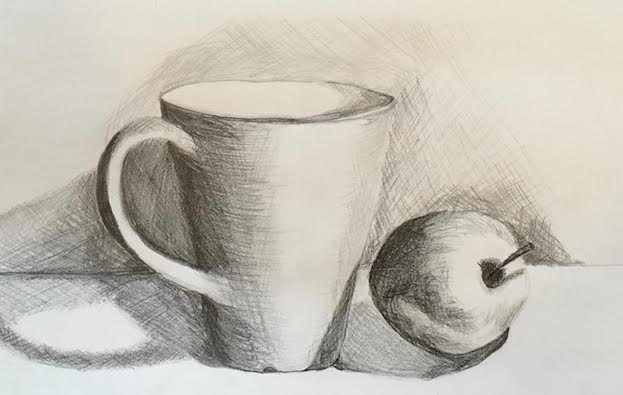
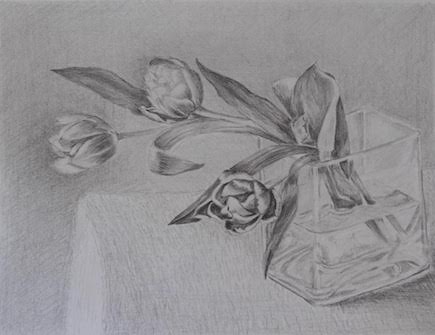
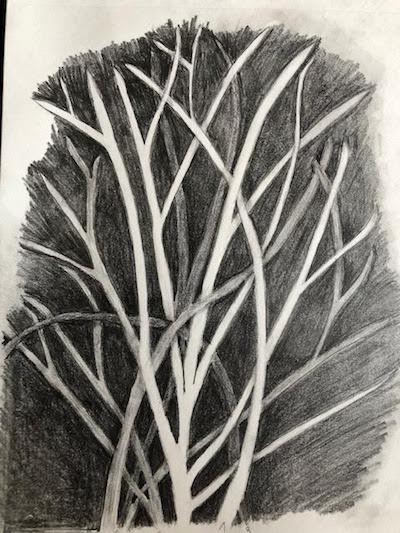
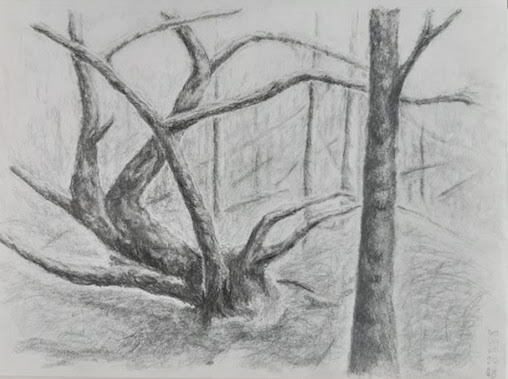
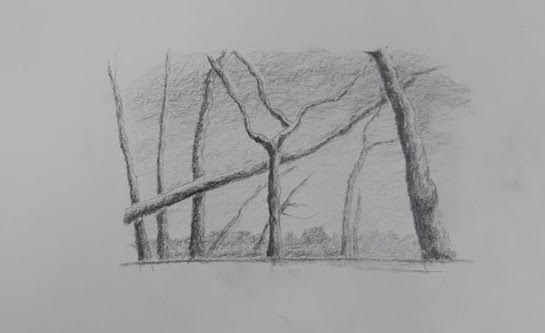
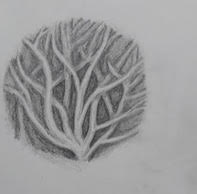
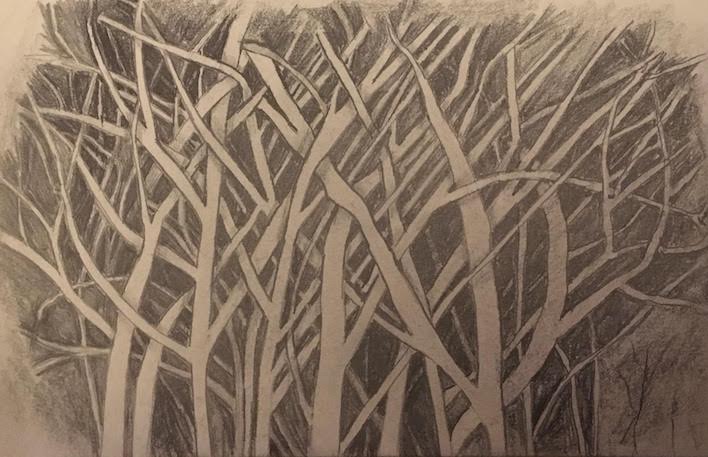
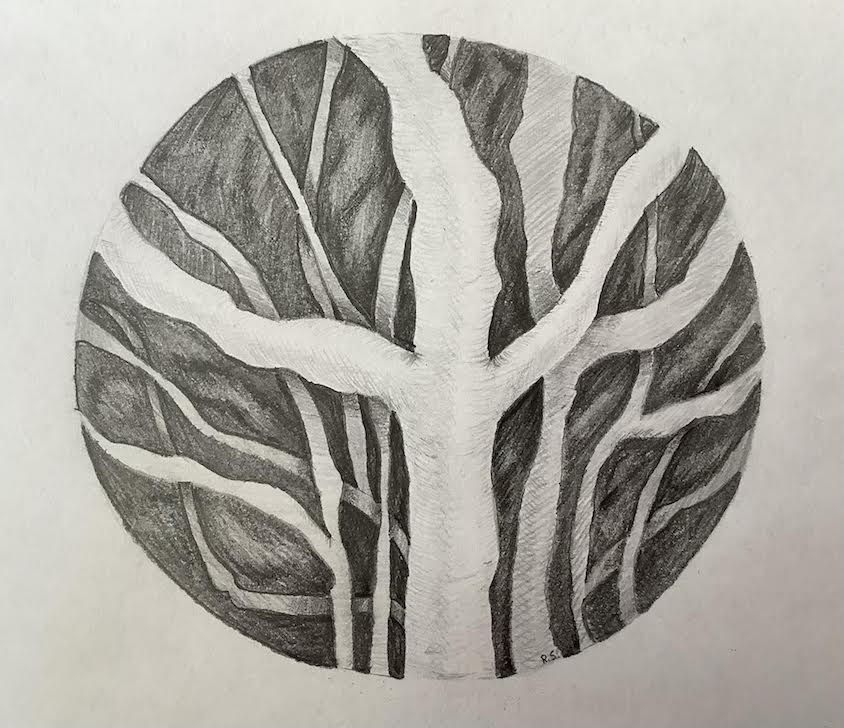
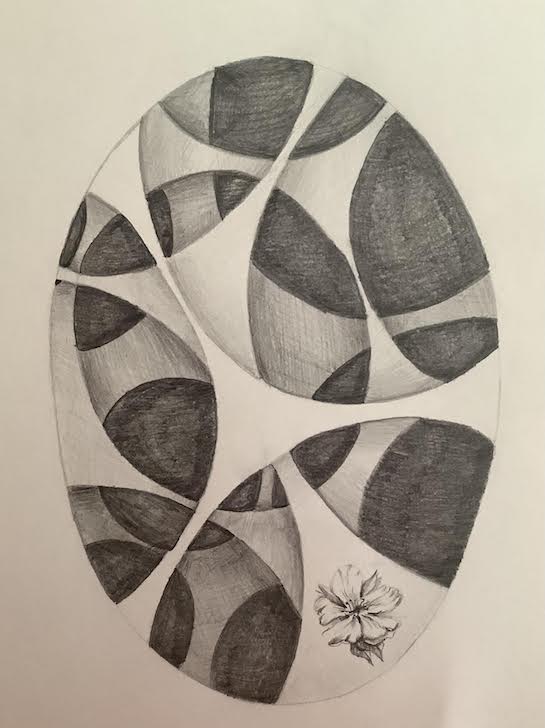
Student’s work:


Materials that I am going to use during the course;
This list is only for your information, there is no need to get exactly what I am using:
- Printer paper for photo references (optional);
- Drawing paper, at least 15-20 sheets Format A4 (printer paper) plus 1-2 sheets Format A3 (double printer paper). You might need more, depending on how many home work exercises you will be doing. You can use any type of paper for your class and home exercises, even printer paper would be acceptable to use. Although for the better result the drawing paper with weight 80 lb. (130g/m2) or more is recommended. My recommendation is Strathmore 400 series Drawing paper, 80 lb;
- Pencils; 2H, H, HB, 2B, 4B, 6B, 8B. You can use any type of pencils. My recommendation is Blackwing; Derwent, Staedtler Mars Lumograph;
- Artistic tape;
- Eraser. You can use any type of erasers. My recommendations are: black eraser, electric eraser and kneading eraser;
- Paper towel and Kleenex;
- Drawing board (the board which you will tape your paper to); You can use a clipboard or any smooth surface board big enough to place you paper on it;
- Ruler;
- Pencil sharpener or Craft knife;
- Dust brush (optional);
- Blending Stumps and Tortillons (optional);
- Q-tips (optional);
- Sharpening bloc (optional);
- Geometrical solid blocks (optional)
The list of subjects you need to have for the visual exercises (optional):
Lesson 1.
- A small box (light weight, preferable square);
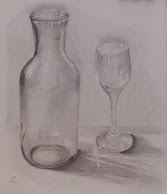
- Transparent glass with water or some other liquid or/and small transparent plastic (glass) bottle with liquid;
- Marker.
Lesson 2.
- any round subject (ball, apple, orange)
- Printer paper - a few sheets;
- Tape and scissors;
- Table lamp.
Lesson 3.
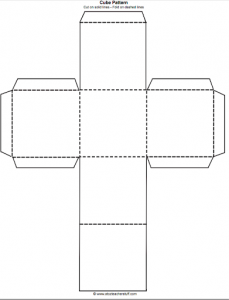
- Cube model. Any cube shape box. Or make it using the pattern (file attached). Print the pattern, cut it and glue it together. (optional)
- Table lamp.
Lesson 4.
- 6-8 medium size books, at least 2 cm thick;
- Printer paper, a few sheets;
- Scissors;
- Tape;
- Shoe box (optional)
- Table lamp.
Lesson 5.
- Soft fabric, solid colour
- Soft fabric, striped pattern, with equal lines;
- Printer paper, a few sheets;
- Scissors;
- Tape;
- Glue or double side tape;
- Card stoke, 1 pc;
- Shoe box (optional)
- Table lamp.