In this lesson you will learn the followings:
- Anatomy of markers
- Brands name of markers
- How to work with markers
- How to choose your palette and how to enhance it with watercolour pencils
- What liners is good to use with markers
- Accent with white colour
- What paper is the best for markers
You will do a few practical exercises:
- Simple colour gradation with blender
- Multi colours gradation with coloured pencils and a white pencil
- Exercise: Umbrella
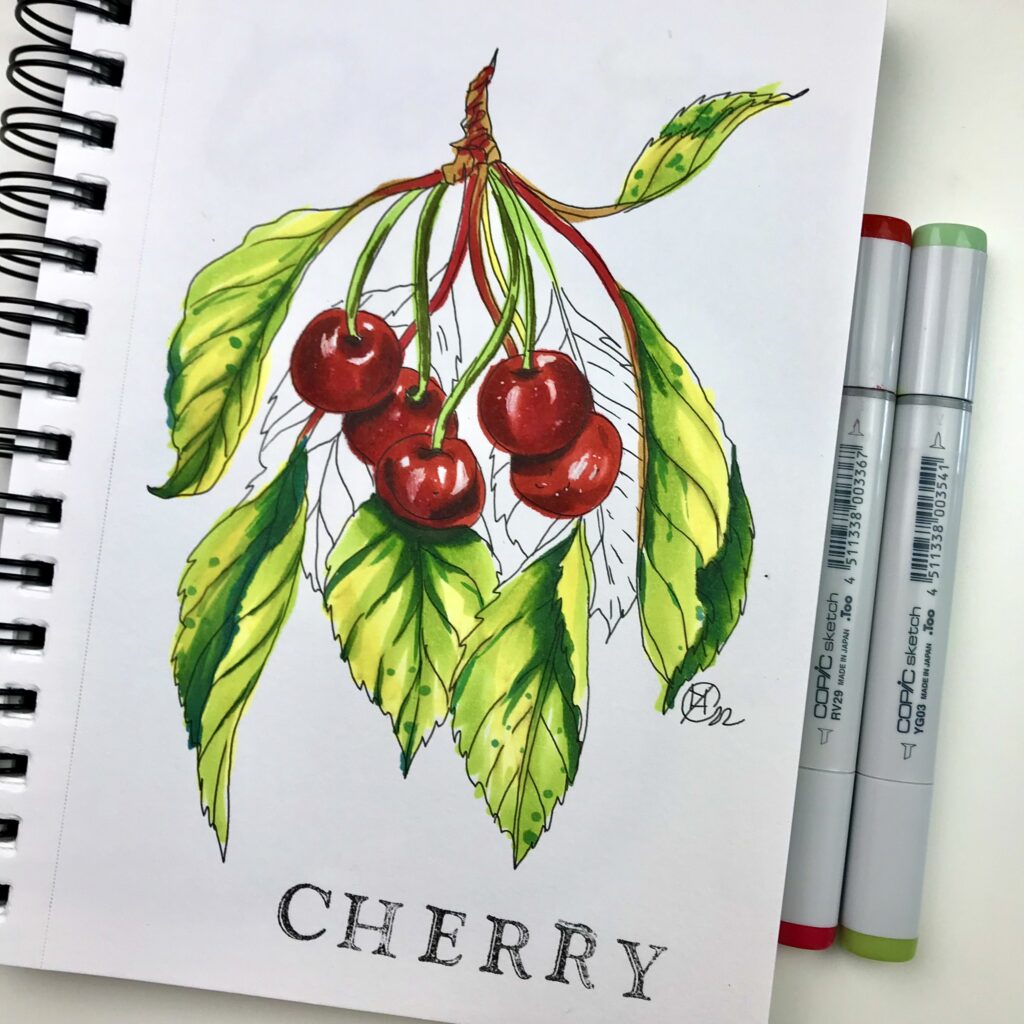
- Exercise: Cherry 1
Homework:
- exercise: Cherry 2
What to do before
For classwork:
- Please print and transfer the reference image to your paper: templates “Umbrellas” and “Cherry 1”;
- Please make ready 2-3 sheets of paper for practicing exercises.
For homework :
- Please print and transfer the reference image to your paper: template “Cherry 2”.
How to transfer the image:
1. Print it in black/white.
2. Hang the printed image on a big sunny window or use a light table
3. Tape or alight the paper over the printed image
4. Trace the image using a marker 0.5 mm (or MUJI pen 0.38mm)
Video tutorial
Please watch the videos first, and then practice your paintings. Do it as many times as you want.
When done, choose the best result. Take a good photo of your work.
Make sure you take a photo during day hours with diffused light to avoid shadows.
Please ensure your images are cropped to show only the painting.
Do not include mats, frames or backgrounds of any kind.
Upload your result in the window below under COURSE CONTENT.
The file can not be deleted by you once it uploaded.
Thank you!
Duration 1m 05 sec
Student work:
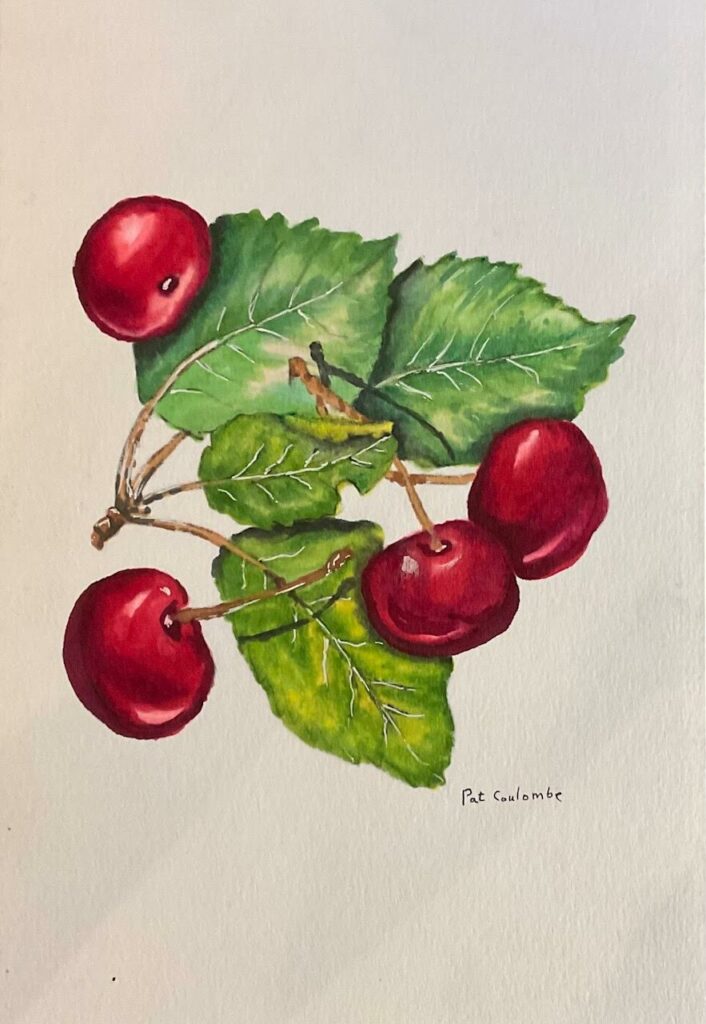
Pat, Ottawa, Canada 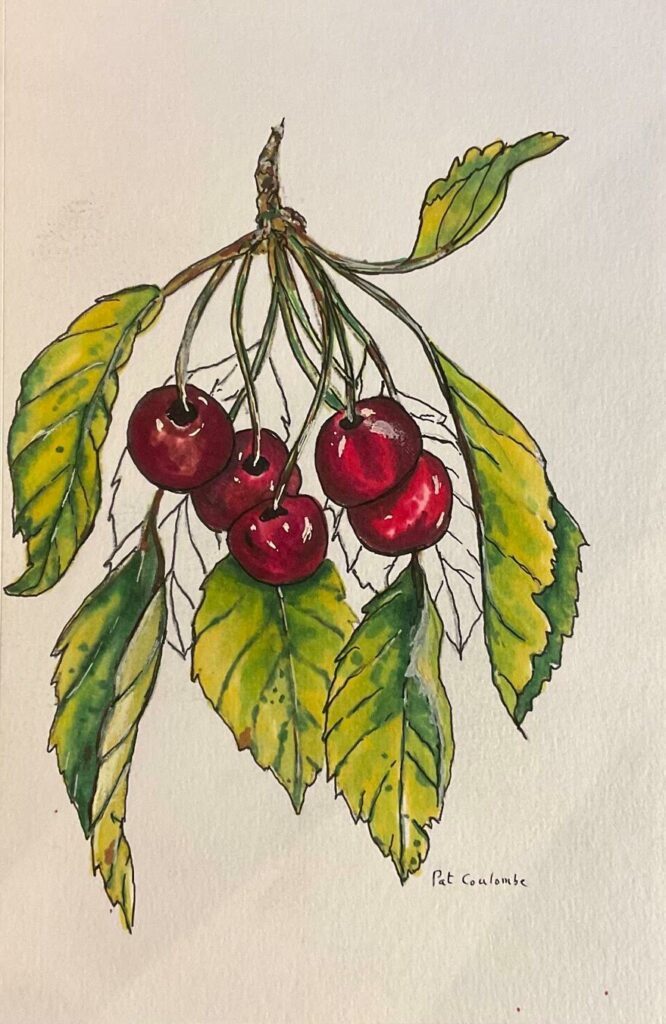
Pat, Ottawa, Canada 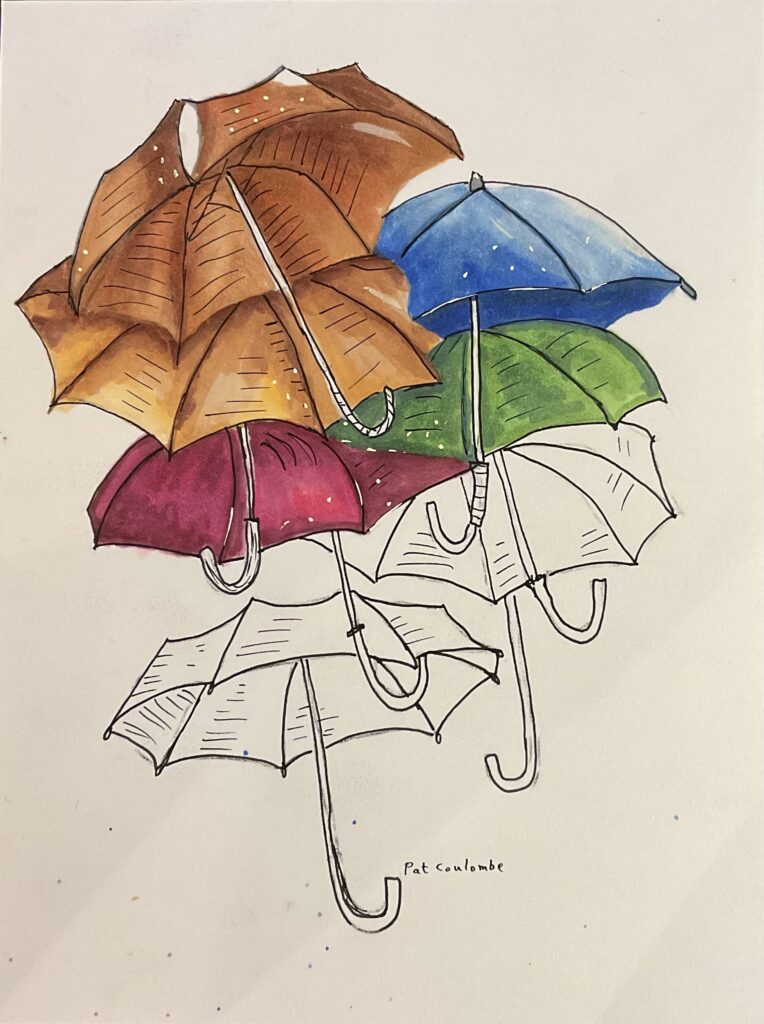
Pat, Ottawa 
Sarah, Ottawa, Canada 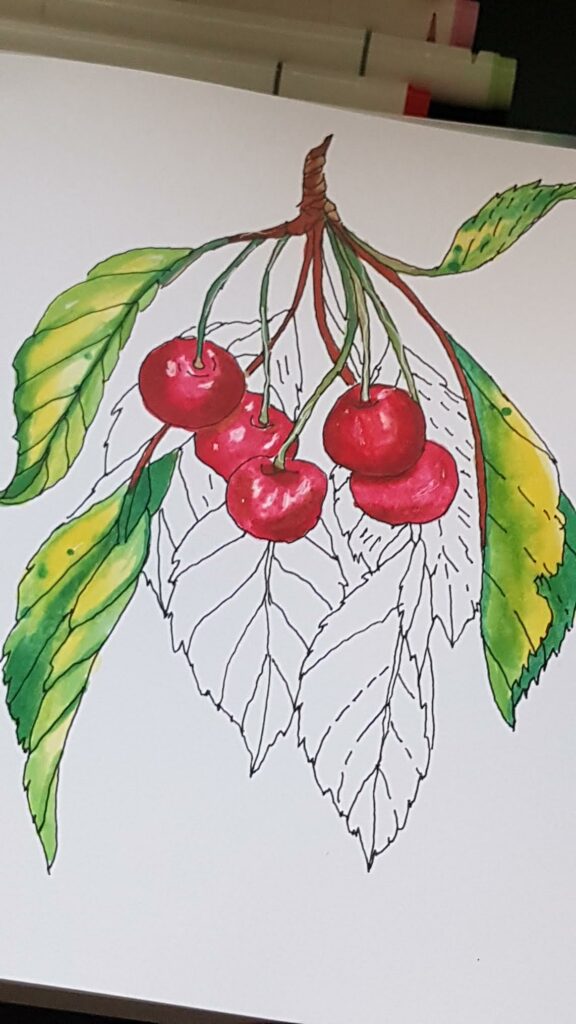
Sarah, Ottawa, Canada
