
This workshop is free of charge, although you can show your support by donating any amount to the Arnprior & District Humane Society.
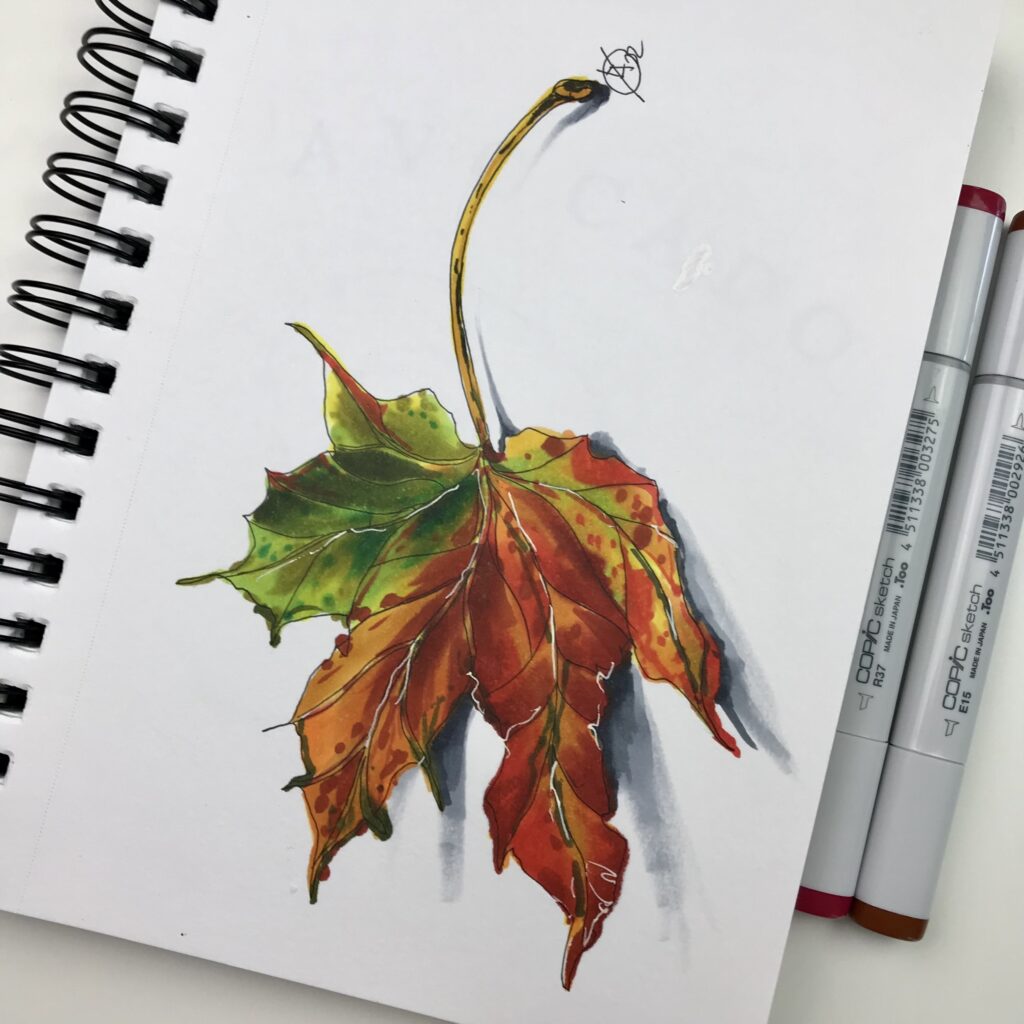
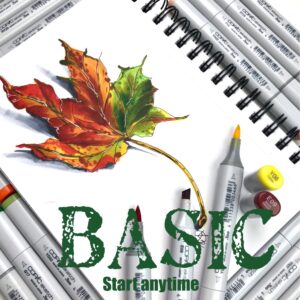
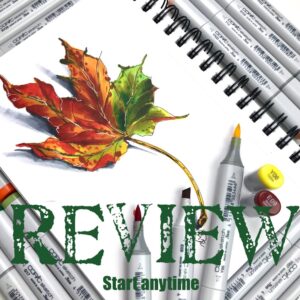
Maple Leaf

This FREE video tutorial will help you to create a beautiful maple leaf using alcohol markers. This is one of nine video tutorials that you can take with course MARKERS.
BASIC FREE package for self studying with 3 days video access

Start anytime

72 hours video access
Once you have enrolled you will have access to the workshop content at the bottom of the page.
Click to watch a video how to get access to the workshop content
No previous experience required.
For all ages and for all skills levels.
Course Content
If you are looking to learn how to use alcohol markers and have fun, then you might read more about the course MARKERS.
The course MARKERS is about interesting and fascinating media – alcohol markers. You will learn to create vibrant and beautiful illustrations using them and you can start to create at the first lesson!
Why alcohol markers?
Markers provide bright, cheerful, juicy ink flow. They blend almost like paint, yet much easier to use. You don’t need a glass with water, any solvents or special media to make it flow better or dry faster. You don’t need anything else, but your markers.
What is in the course?
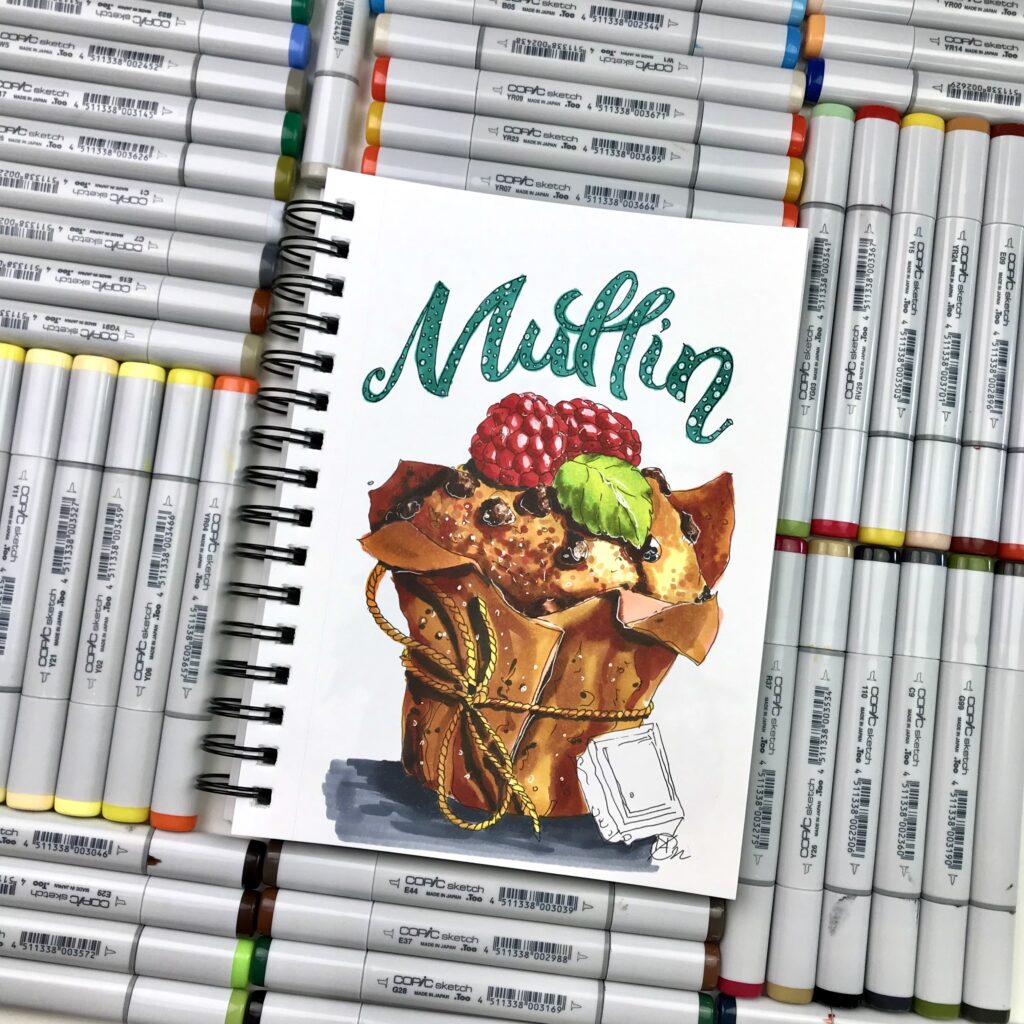
In this course you will learn to create beautiful and cheerful illustrative style drawings that you can use for posters or post cards.
You will become familiar with the different types of markers, their specifications and characteristics.
You will learn five techniques how to seamlessly blend colours.
You will introduced to secrets about how to create special effects.
You will learn how to make a value illusion of the subjects, how to make your illustrations look realistic.
The online study process will be simple, stress free and understandable for every student.
There will be many exercises that will help you to become confident in the illustrative style.
The lesson’s list:
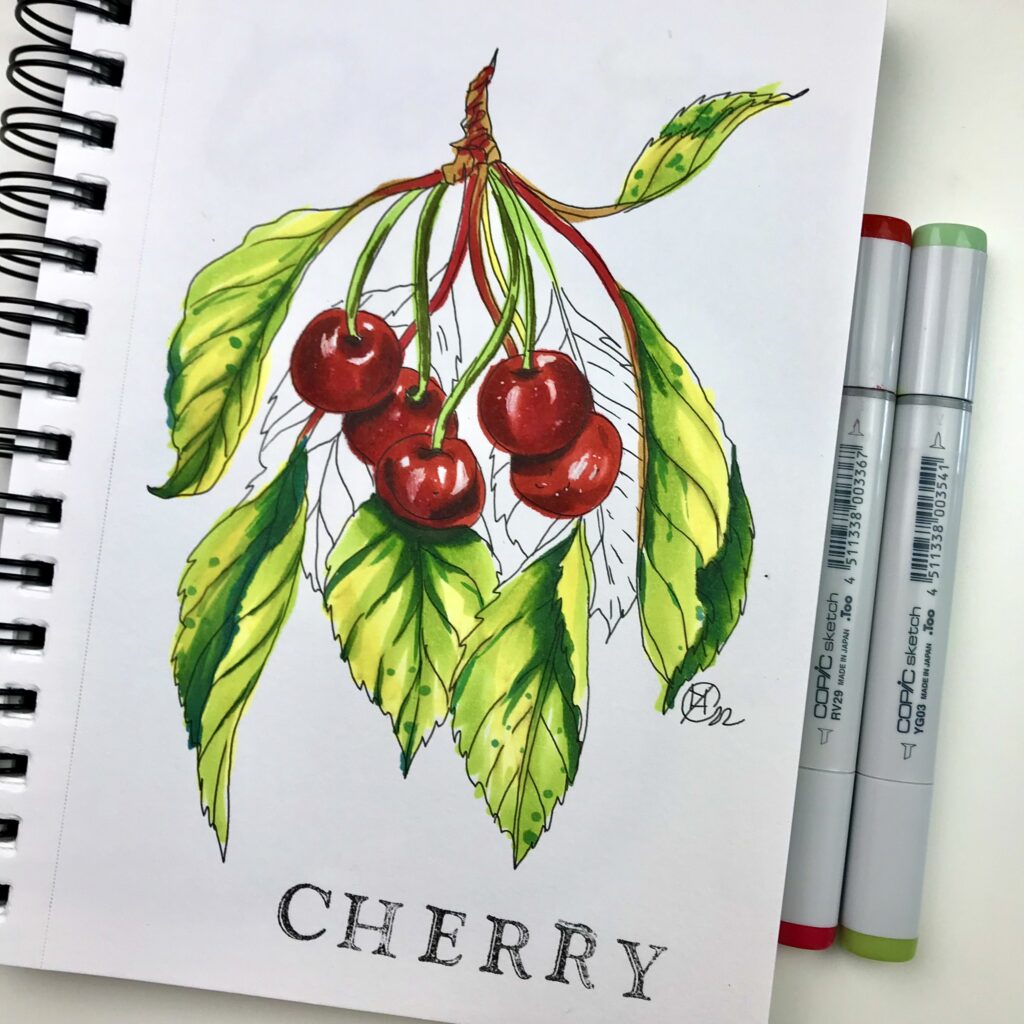
Lesson 1
Basic Blending techniques. Cherry.
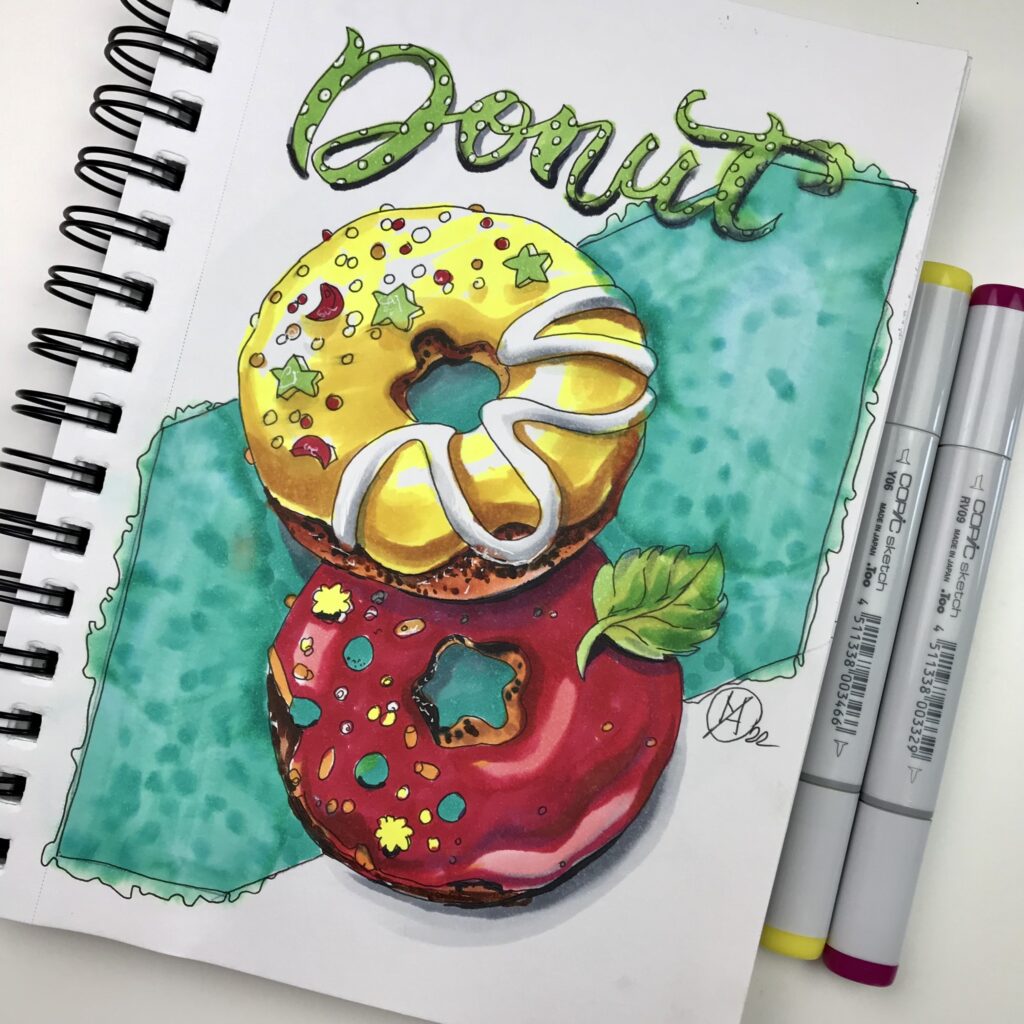
Lesson 2
Value and shapes. Food sketch.
Lesson 3
Beautiful colour transition. Leaf.
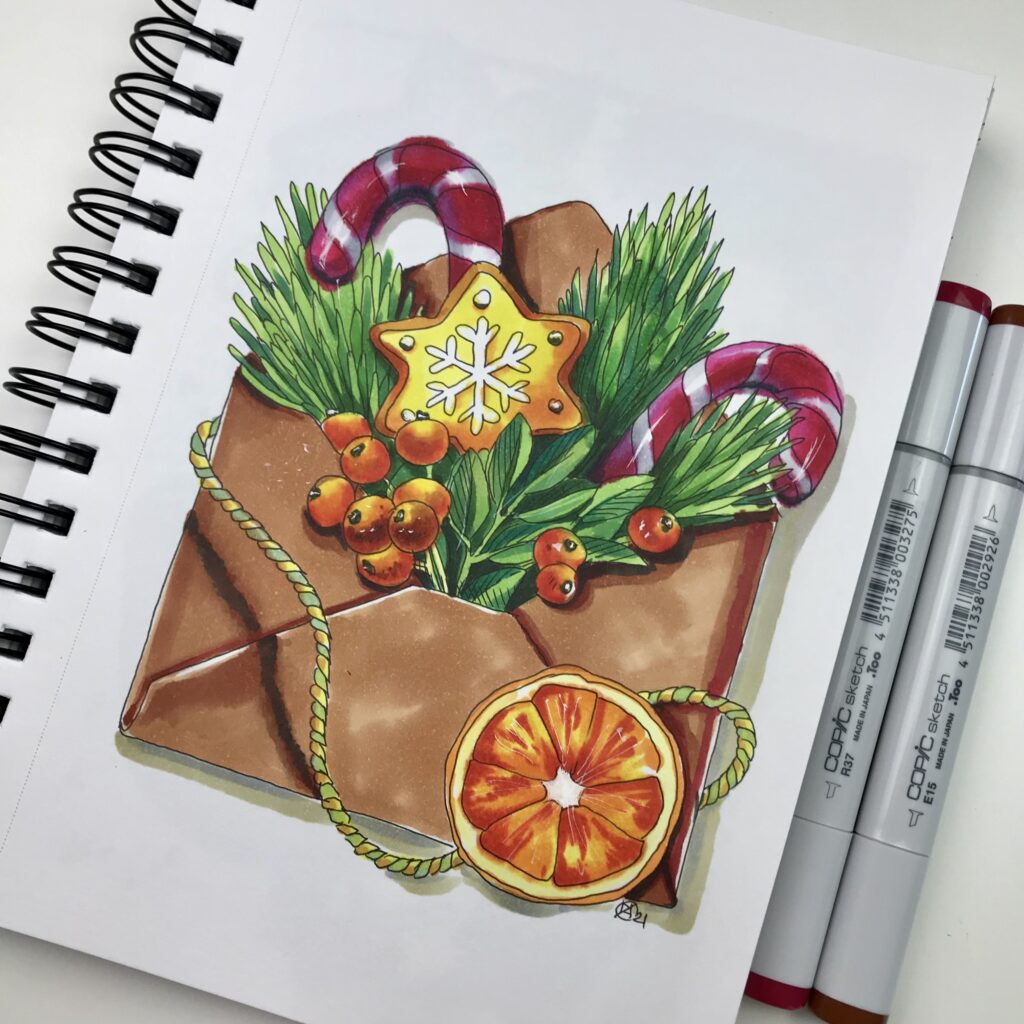
Lesson 4
Composition. Theme postcards.
Choose the package that fits your life style the best
Buy now and pay it in 4 interest-free instalments over 6 weeks
Flexible payment plan
Student’s works
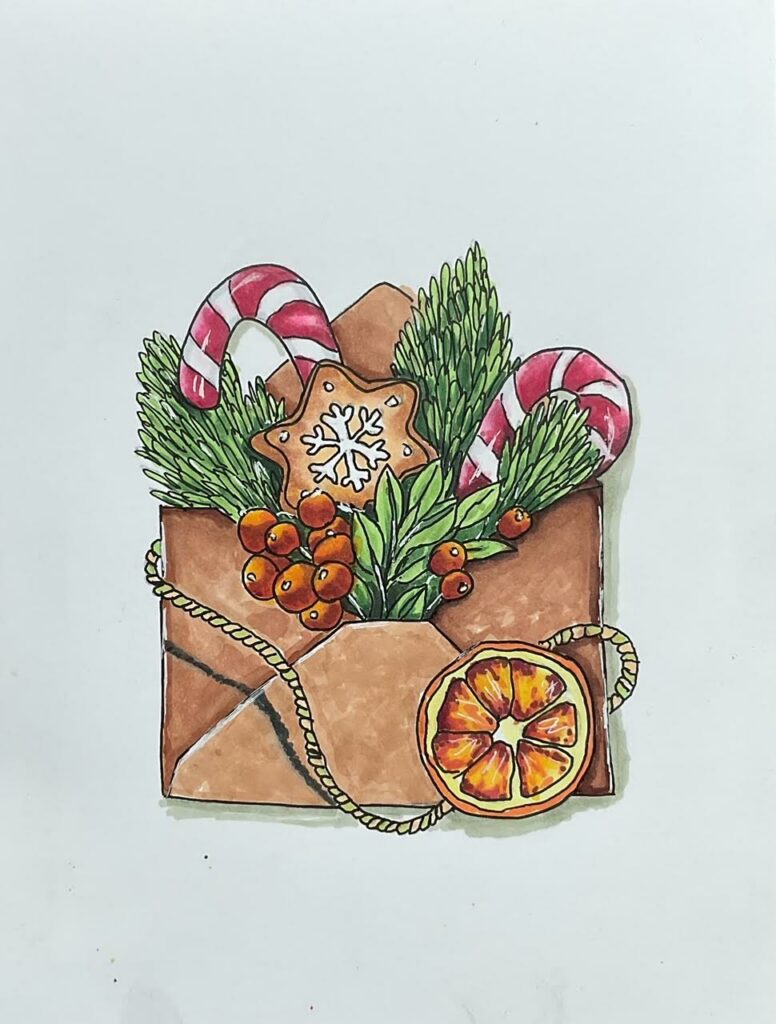
Pat, Ottawa, Canada 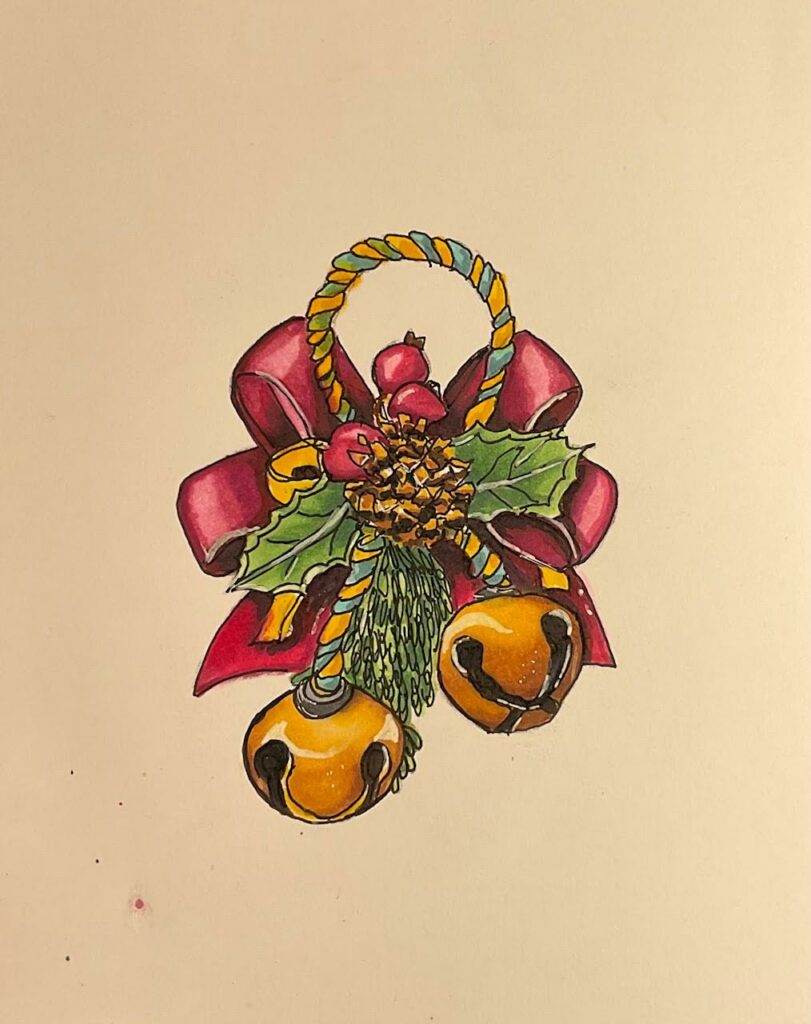
Pat, Ottawa, Canada 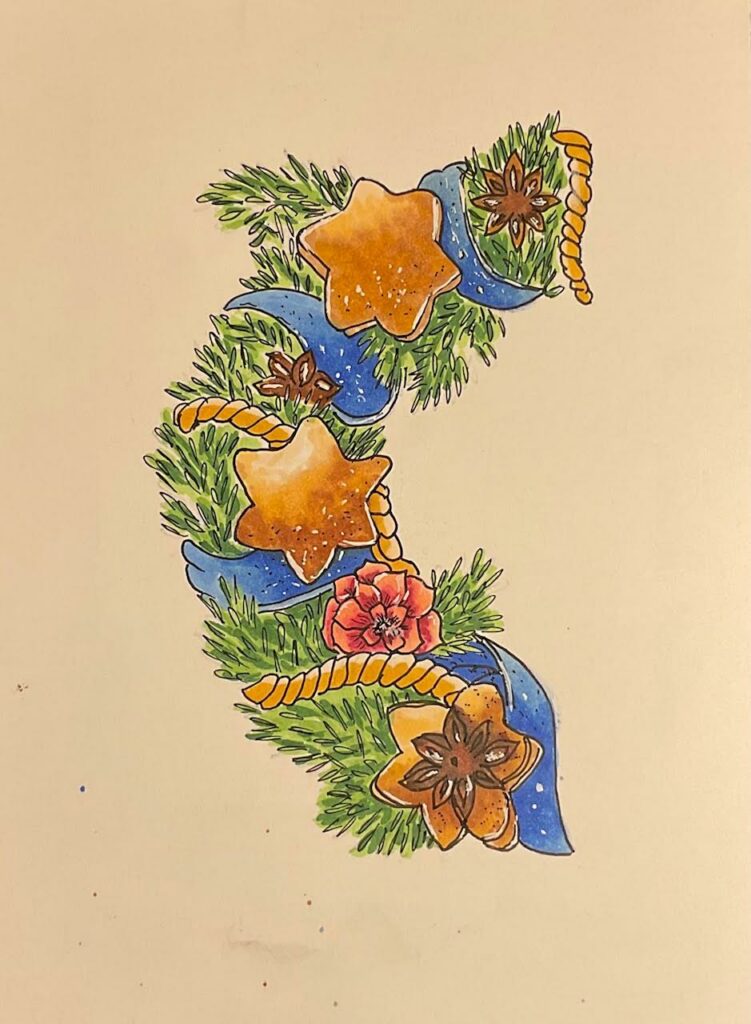
Pat, Ottawa, Canada 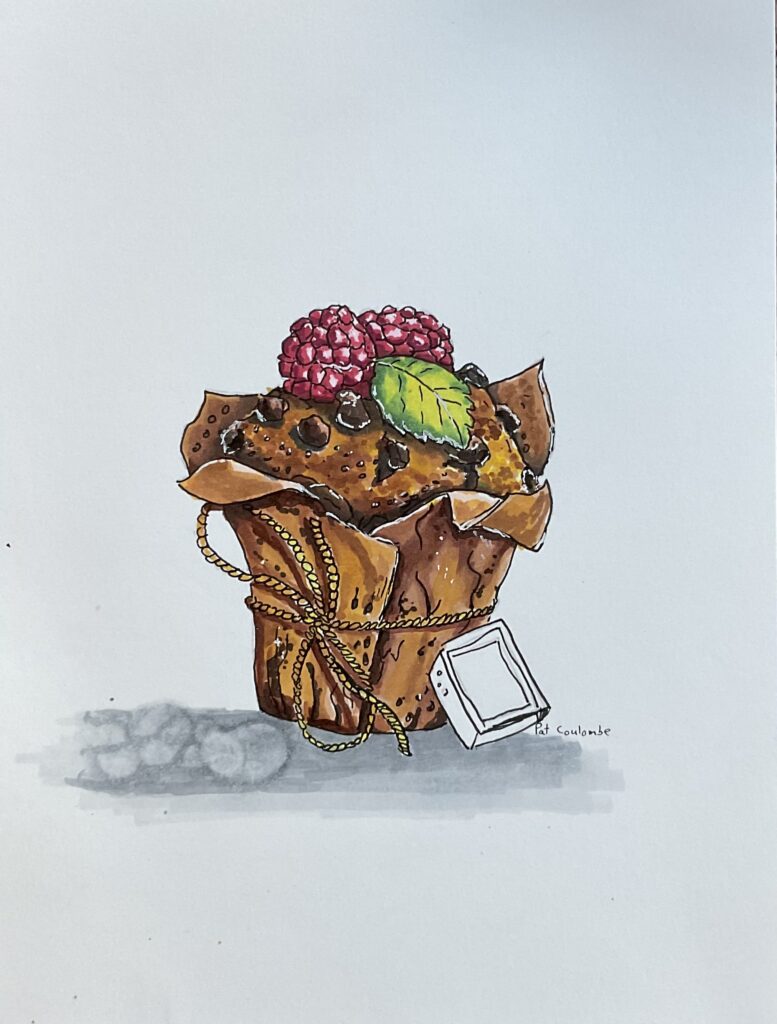
Pat, Ottawa, Canada 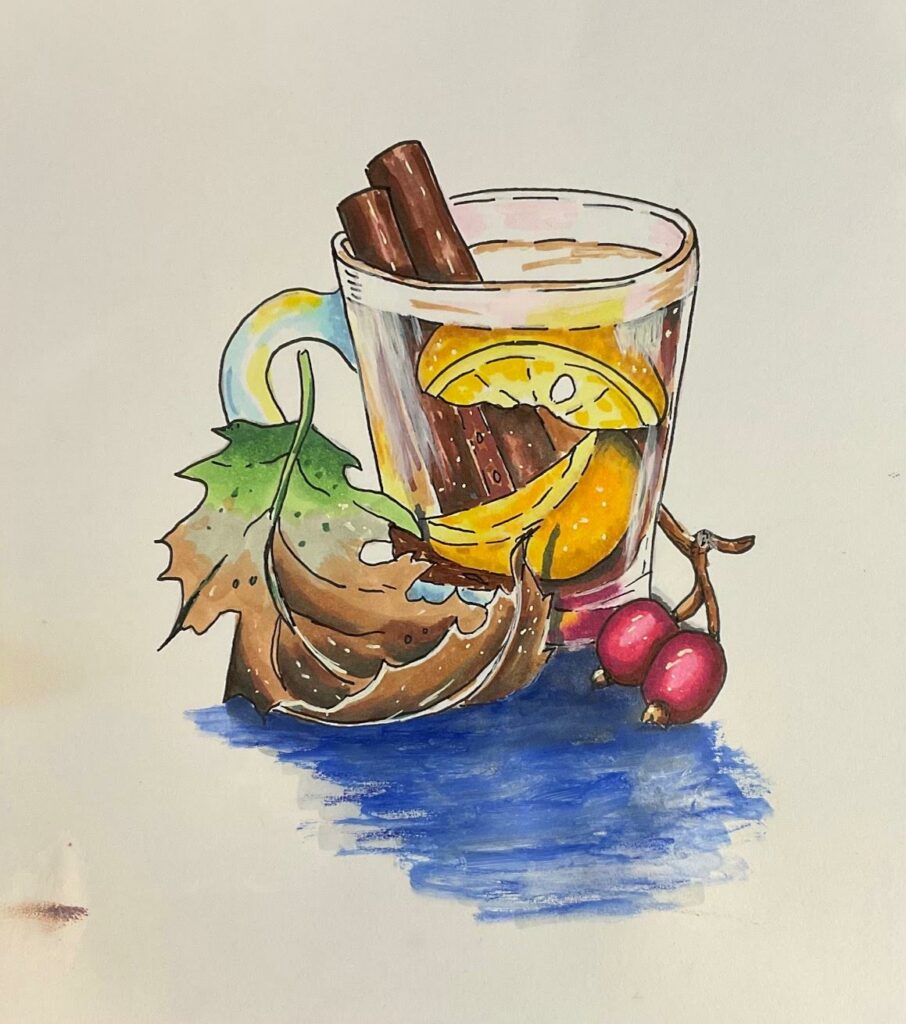
Pat, Ottawa, Canada 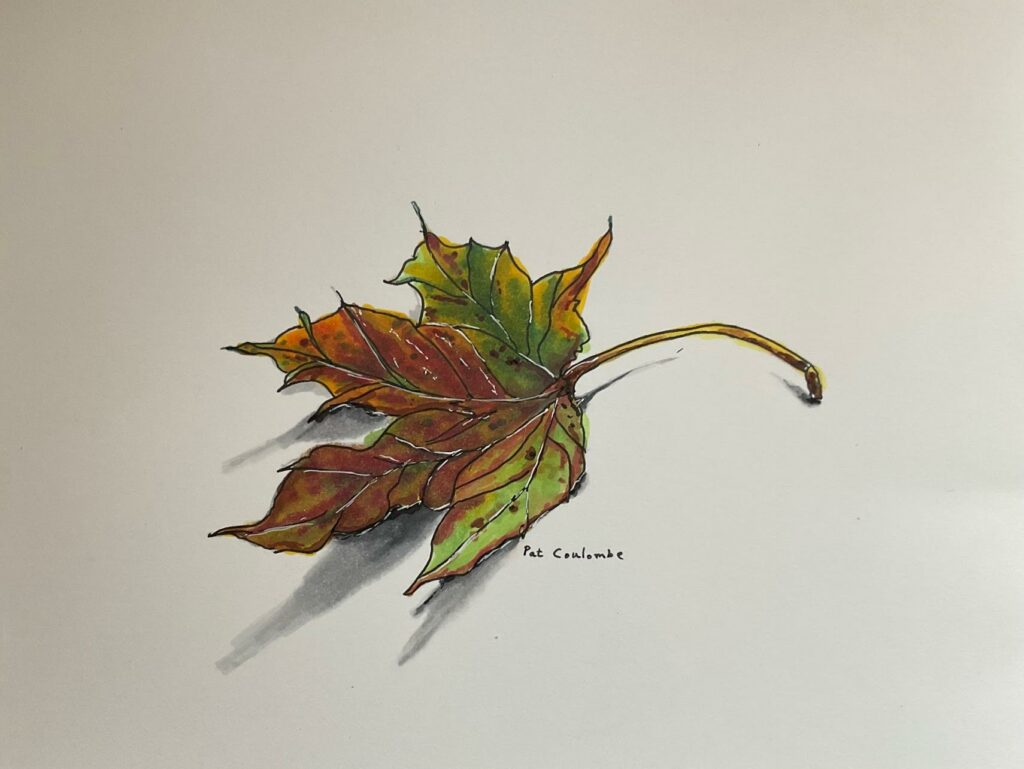
Pat, Ottawa, Canada 
Sarah, Ottawa, Canada 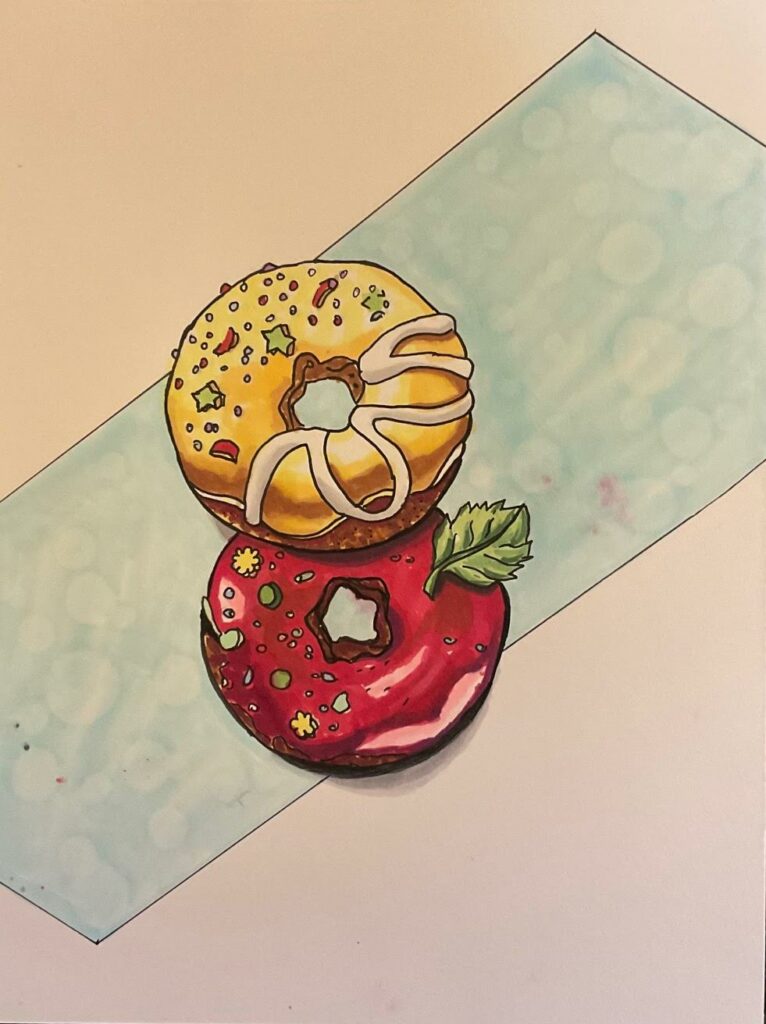
Pat, Ottawa, Canada 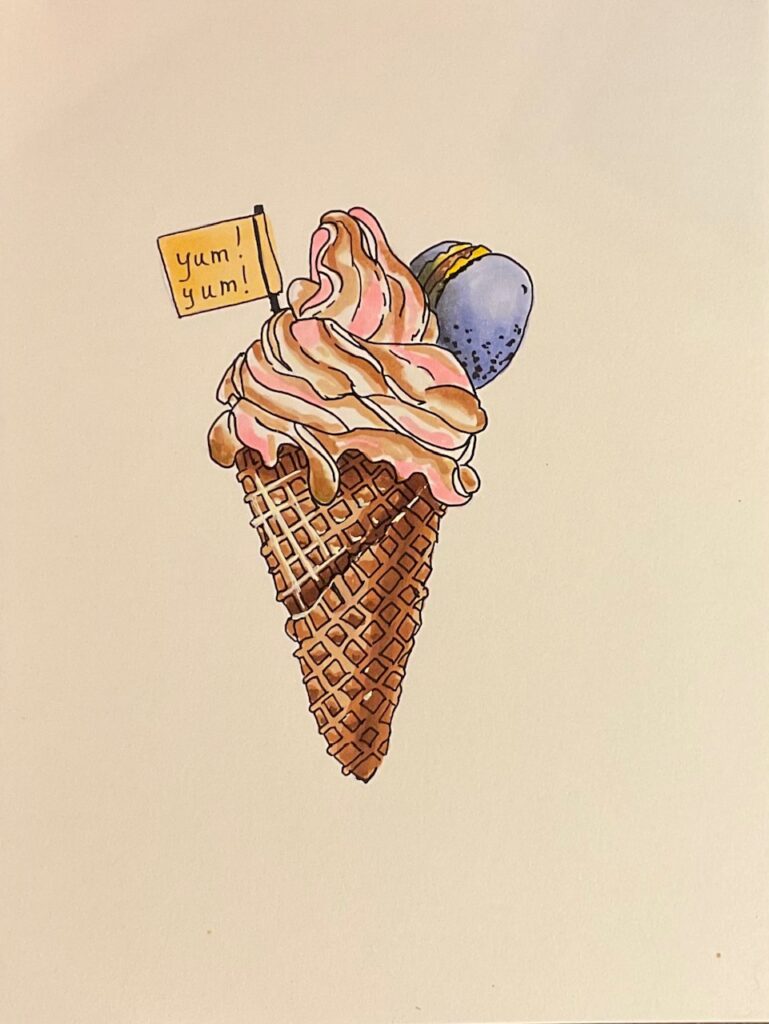
Pat, Ottawa, Canada 
Sarah, Ottawa, Canada 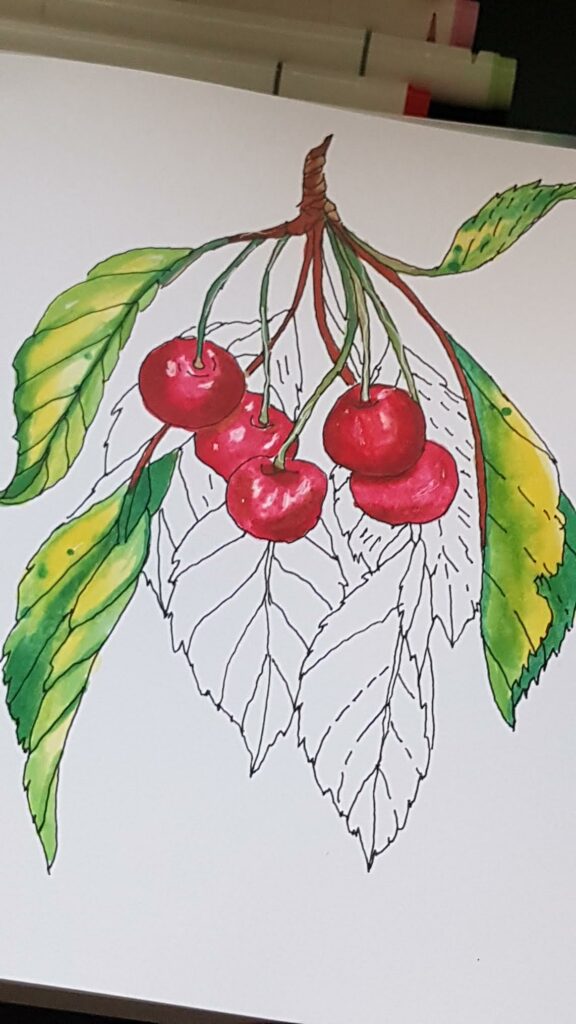
Sarah, Ottawa, Canada 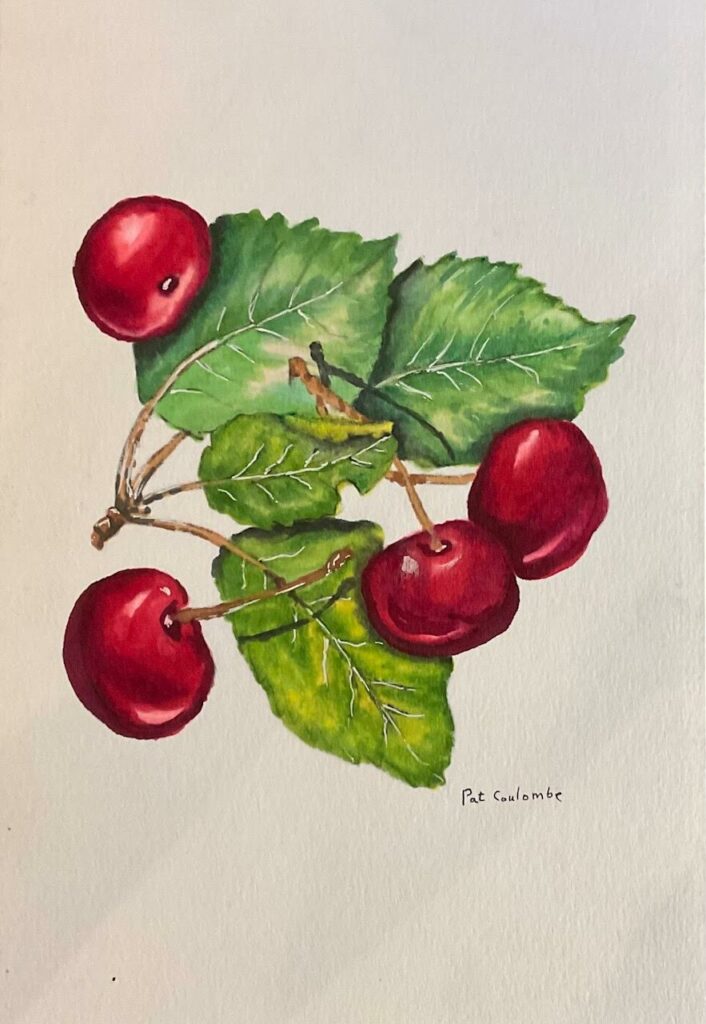
Pat, Ottawa, Canada 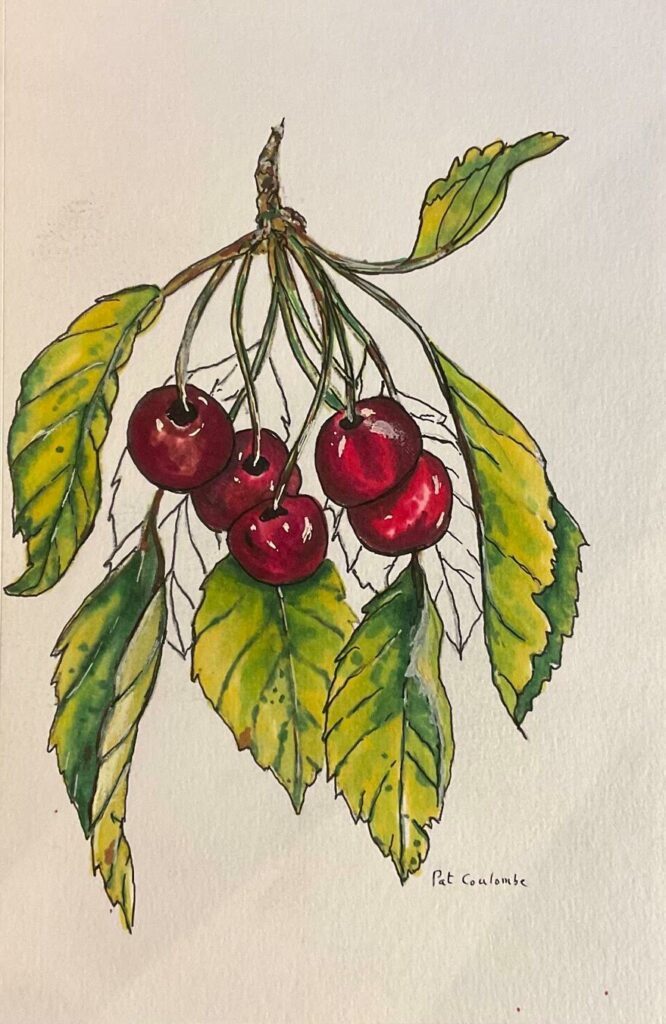
Pat, Ottawa, Canada 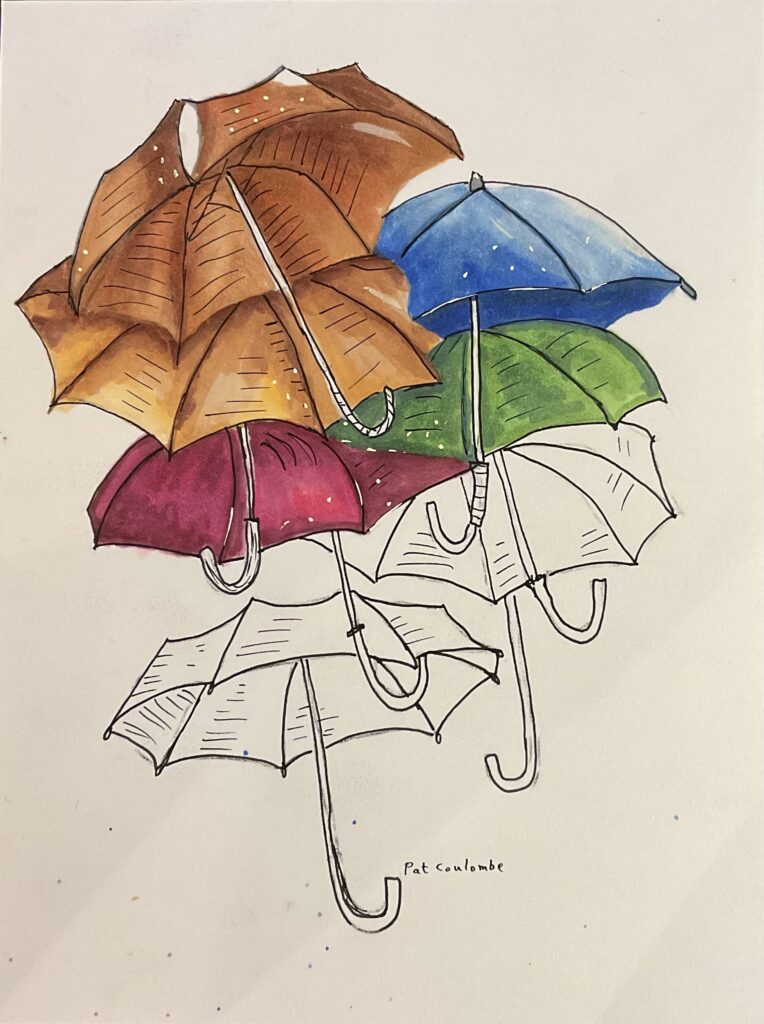
Pat, Ottawa
How to get access to the tutorial content
Materials that you will need for this FREE video tutorial; recommendation is the brackets:
Paper, notebook, any size (Canson XL, Mix Media, 160 g, 5,5x8,5) or you can use printer paper;
Plastic sheet the size of your notebook/paper (transparent paper file);
Pencil and eraser, any of your choice;
Black Liner marker, 0,5 mm or smaller (MUJI, 0,38mm)
White pen, Gelly Roll, 08, Sakura, Japan
And/or
COPIC White Opaque (optional)
Alcohol marker Blender (COPIC any of your choice) - optional
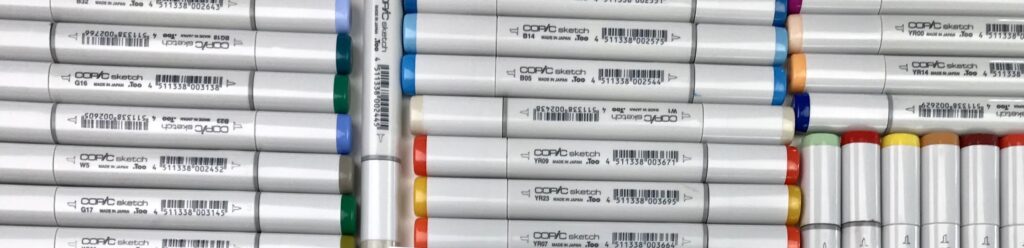
Alcohol markers (COPIC or any of your choice)
- yellow
- caramel or ochra
- orange
- red
- light green
- medium green
- dark green
- brown
And
three - six tones of Grey colour.
For example, in the Copic lines they named as Cool Grey 00, Cool Grey 01, Gool Grey 03, Cool Grey 05, Cool Grey 07 and Cool Grey 09.
As well, they have the same tonal gradation with Warm Grey.
You can get both sets. Although for beginning it might be enough to get either Warm or Cool Grey set of markers. You can get 3-6 tones of Cool Grey or 3-6 tomes of Warm Grey.
__________________________________________________
Materials that you will need for the whole COURSE; recommendation is the brackets:
Paper, notebook, any size (Canson XL, Mix Media, 160 g, 5,5x8,5);
Plastic sheet the size of your notebook (transparent paper file);
Pencil and eraser, any of your choice;
Black Liner marker, 0,5 mm or smaller (MUJI, 0,38mm)
White pen, Gelly Roll, 08, Sakura, Japan
And/or
COPIC White Opaque
Isoproryl Rubbing Alcohol
Small synthetic brush (cheap one)
Watercolour coloured pencils (optional)
Alcohol marker Blender (COPIC any of your choice)
Alcohol markers (COPIC or any of your choice)
The number of colours is up to you, my recommendation is to get at least two-three tones of the following colours:
- yellow (light yellow, medium yellow, dark yellow)
- orange (light orange, medium orange, dark orange)
- red (light red, medium red, dark red)
- pink (light pink, medium pink, dark pink)
- green (light green, medium green, dark green)
- blue (light blue, medium blue, dark blue)
- brown (light brown, medium brown, dark brown)
And
three - six tones of Grey colour.
For example, in the Copic lines they named as Cool Grey 00, Cool Grey 01, Gool Grey 03, Cool Grey 05, Cool Grey 07 and Cool Grey 09.
As well, they have the same tonal gradation with Warm Grey.
You can get both sets. Although for beginning it might be enough to get either Warm or Cool Grey set of markers. You can get 3-6 tones of Cool Grey or 3-6 tomes of Warm Grey.
![]()